A good friend of mine, Juan, is from Argentina, and loves doing big Argentinian-style barbecues (“asado”) in his backyard. He asked me where he might be able to get a large wooden serving board – somewhere around 800mm x 400mm. As you can imagine, boards that size don’t come cheap!
So I told him I’d see what I could do for him.
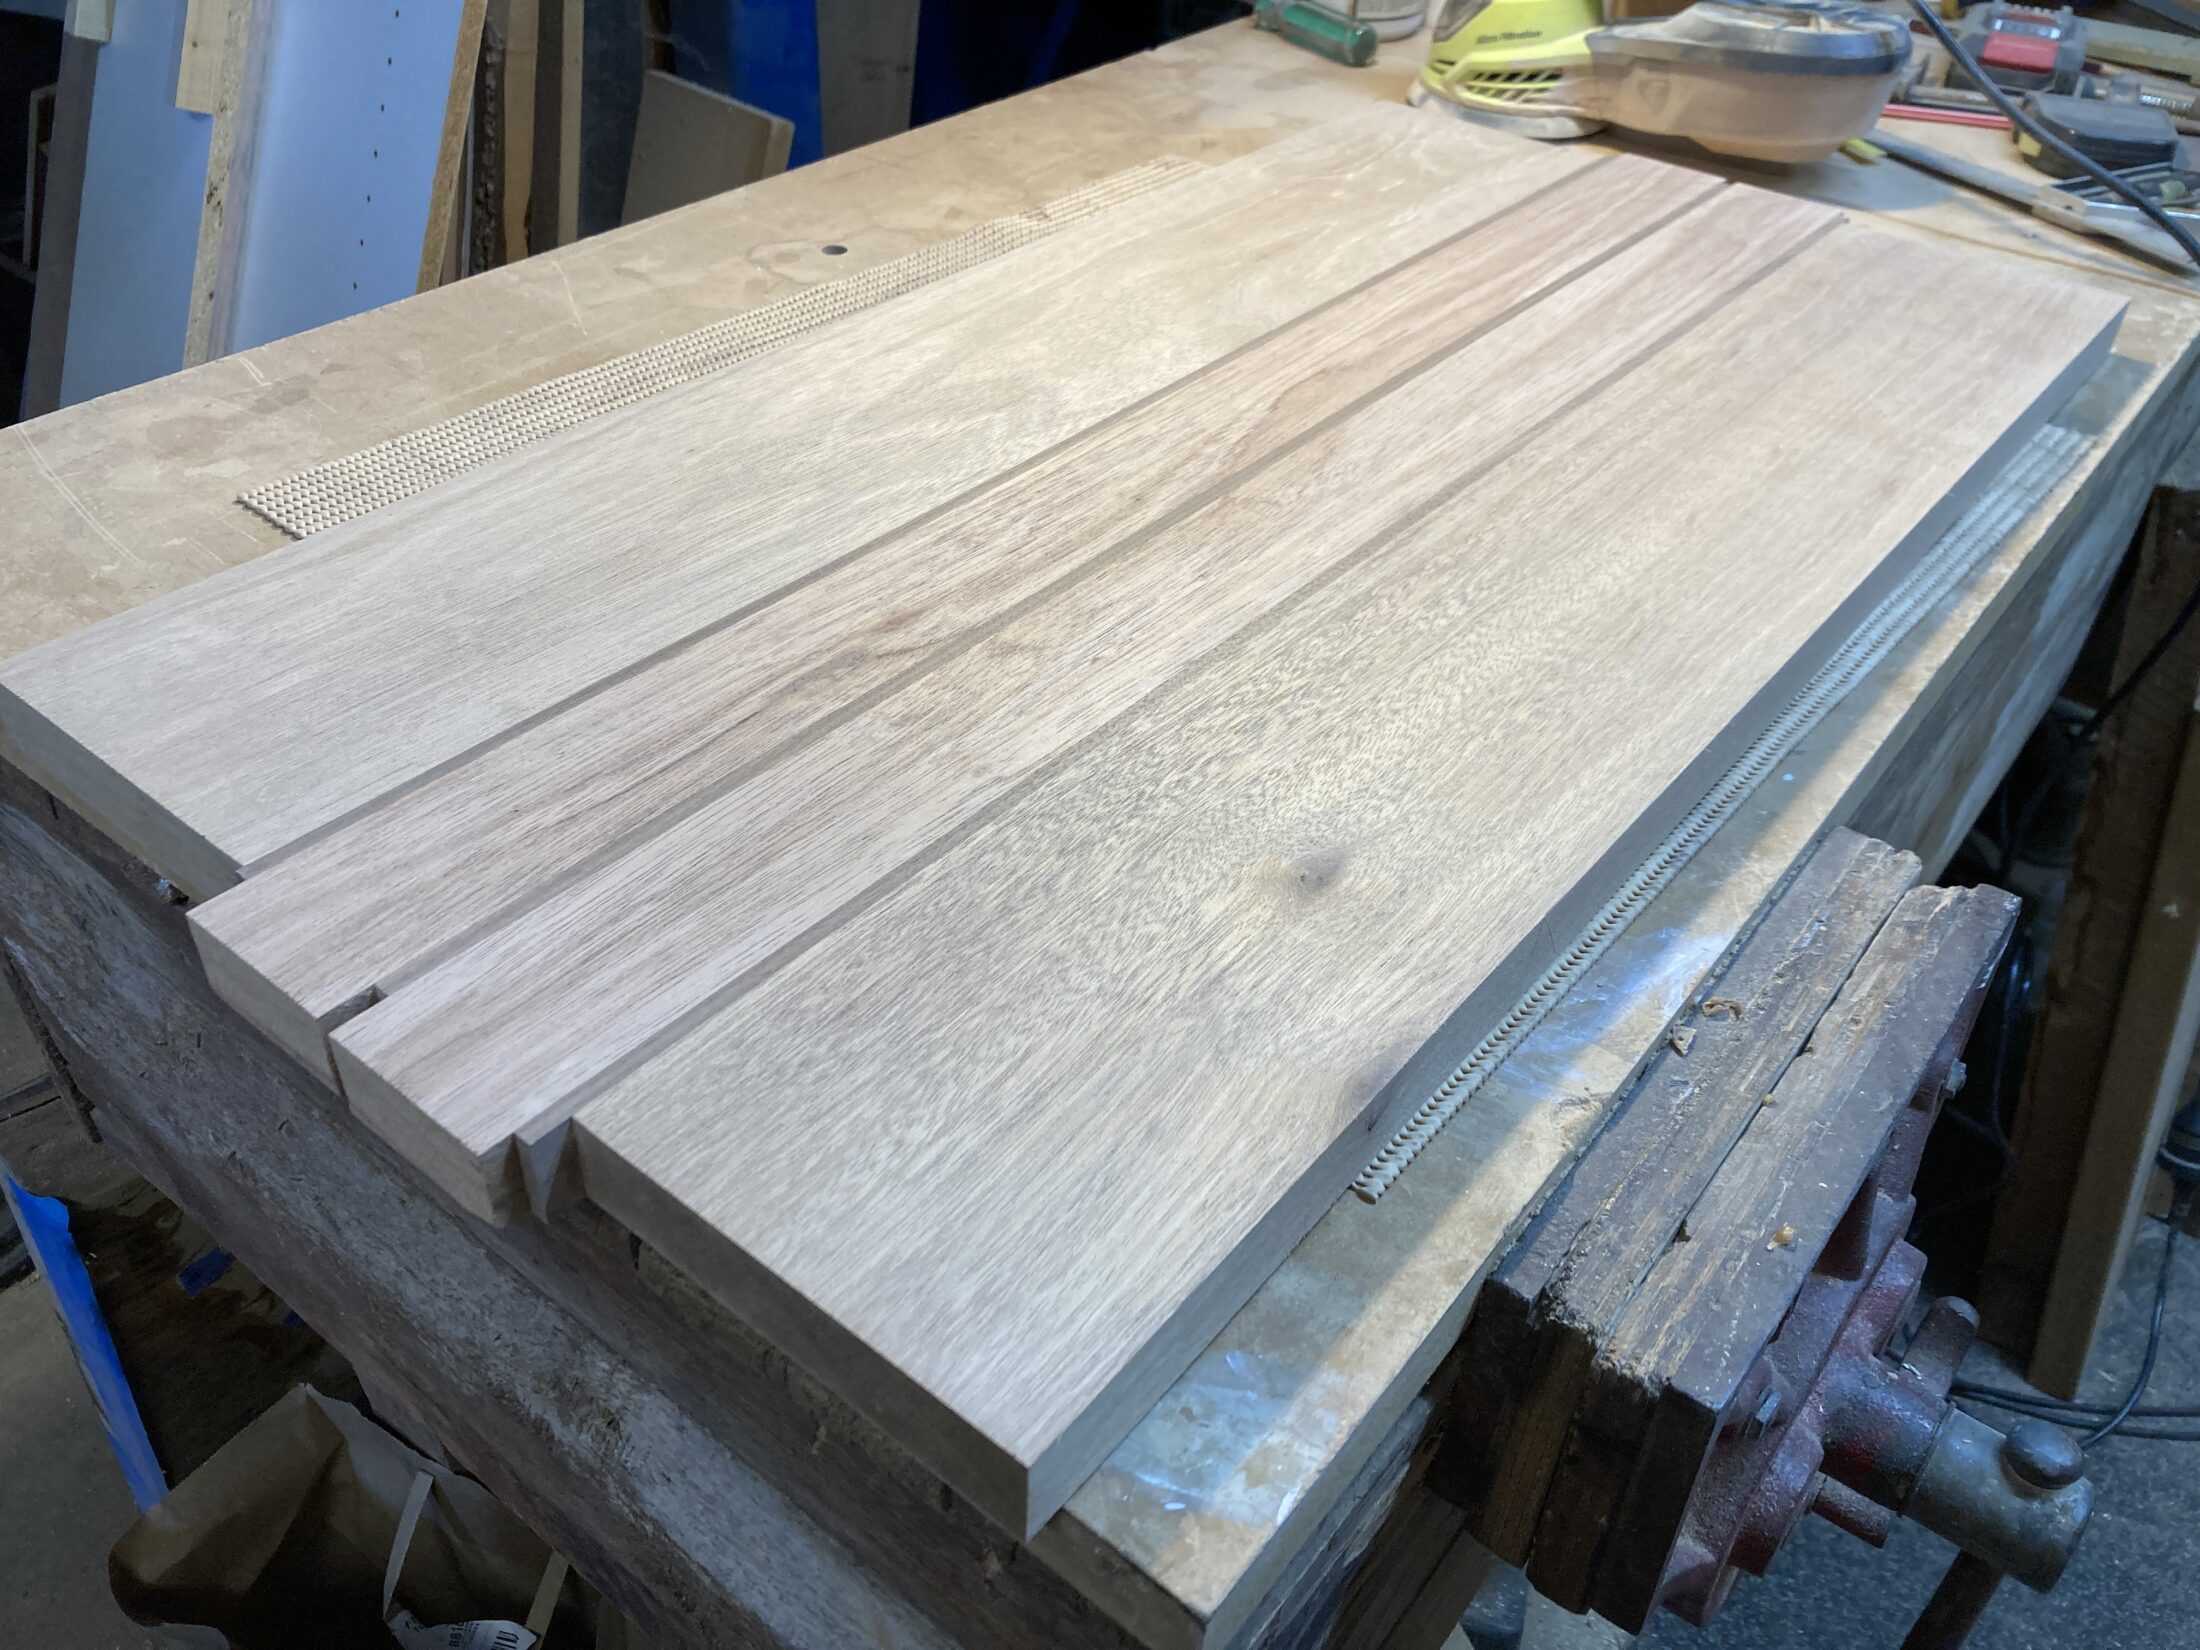
I found some suitable meranti offcuts at a good price, which was a starting point. There was a bit of colour variation between the boards, though, so I ripped the off-colour one in half and added some contrasting timber laminations to turn it into a feature.
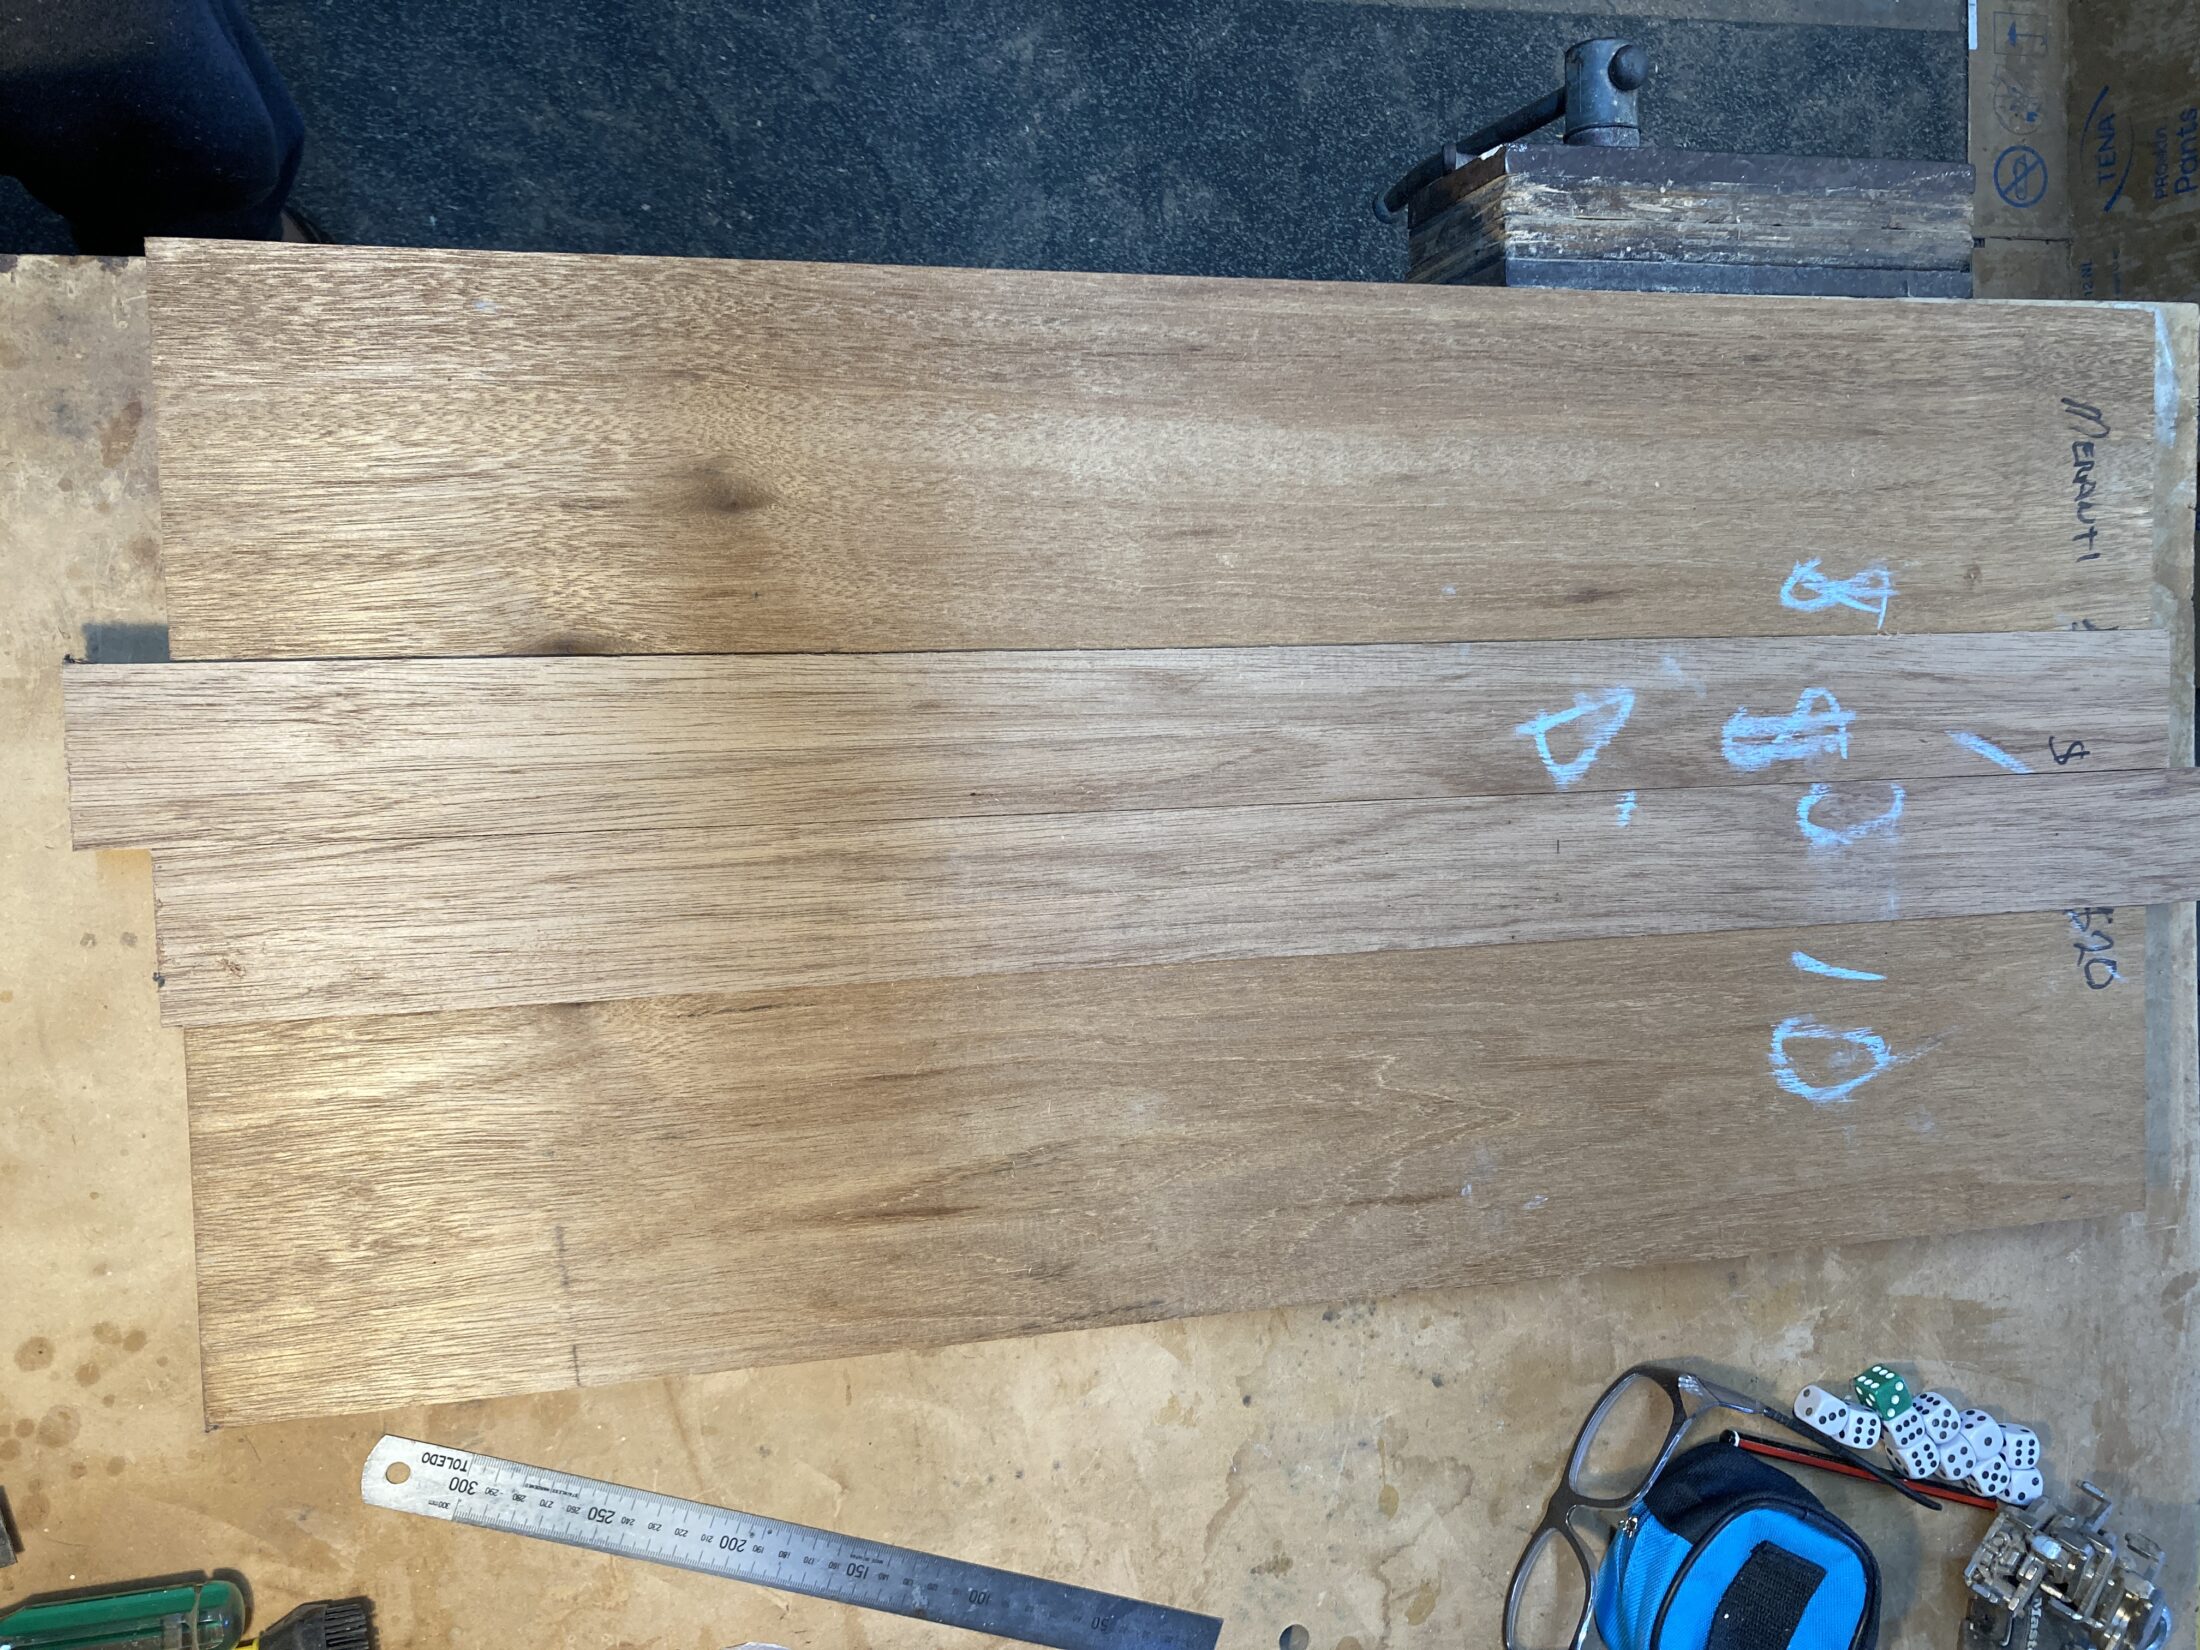
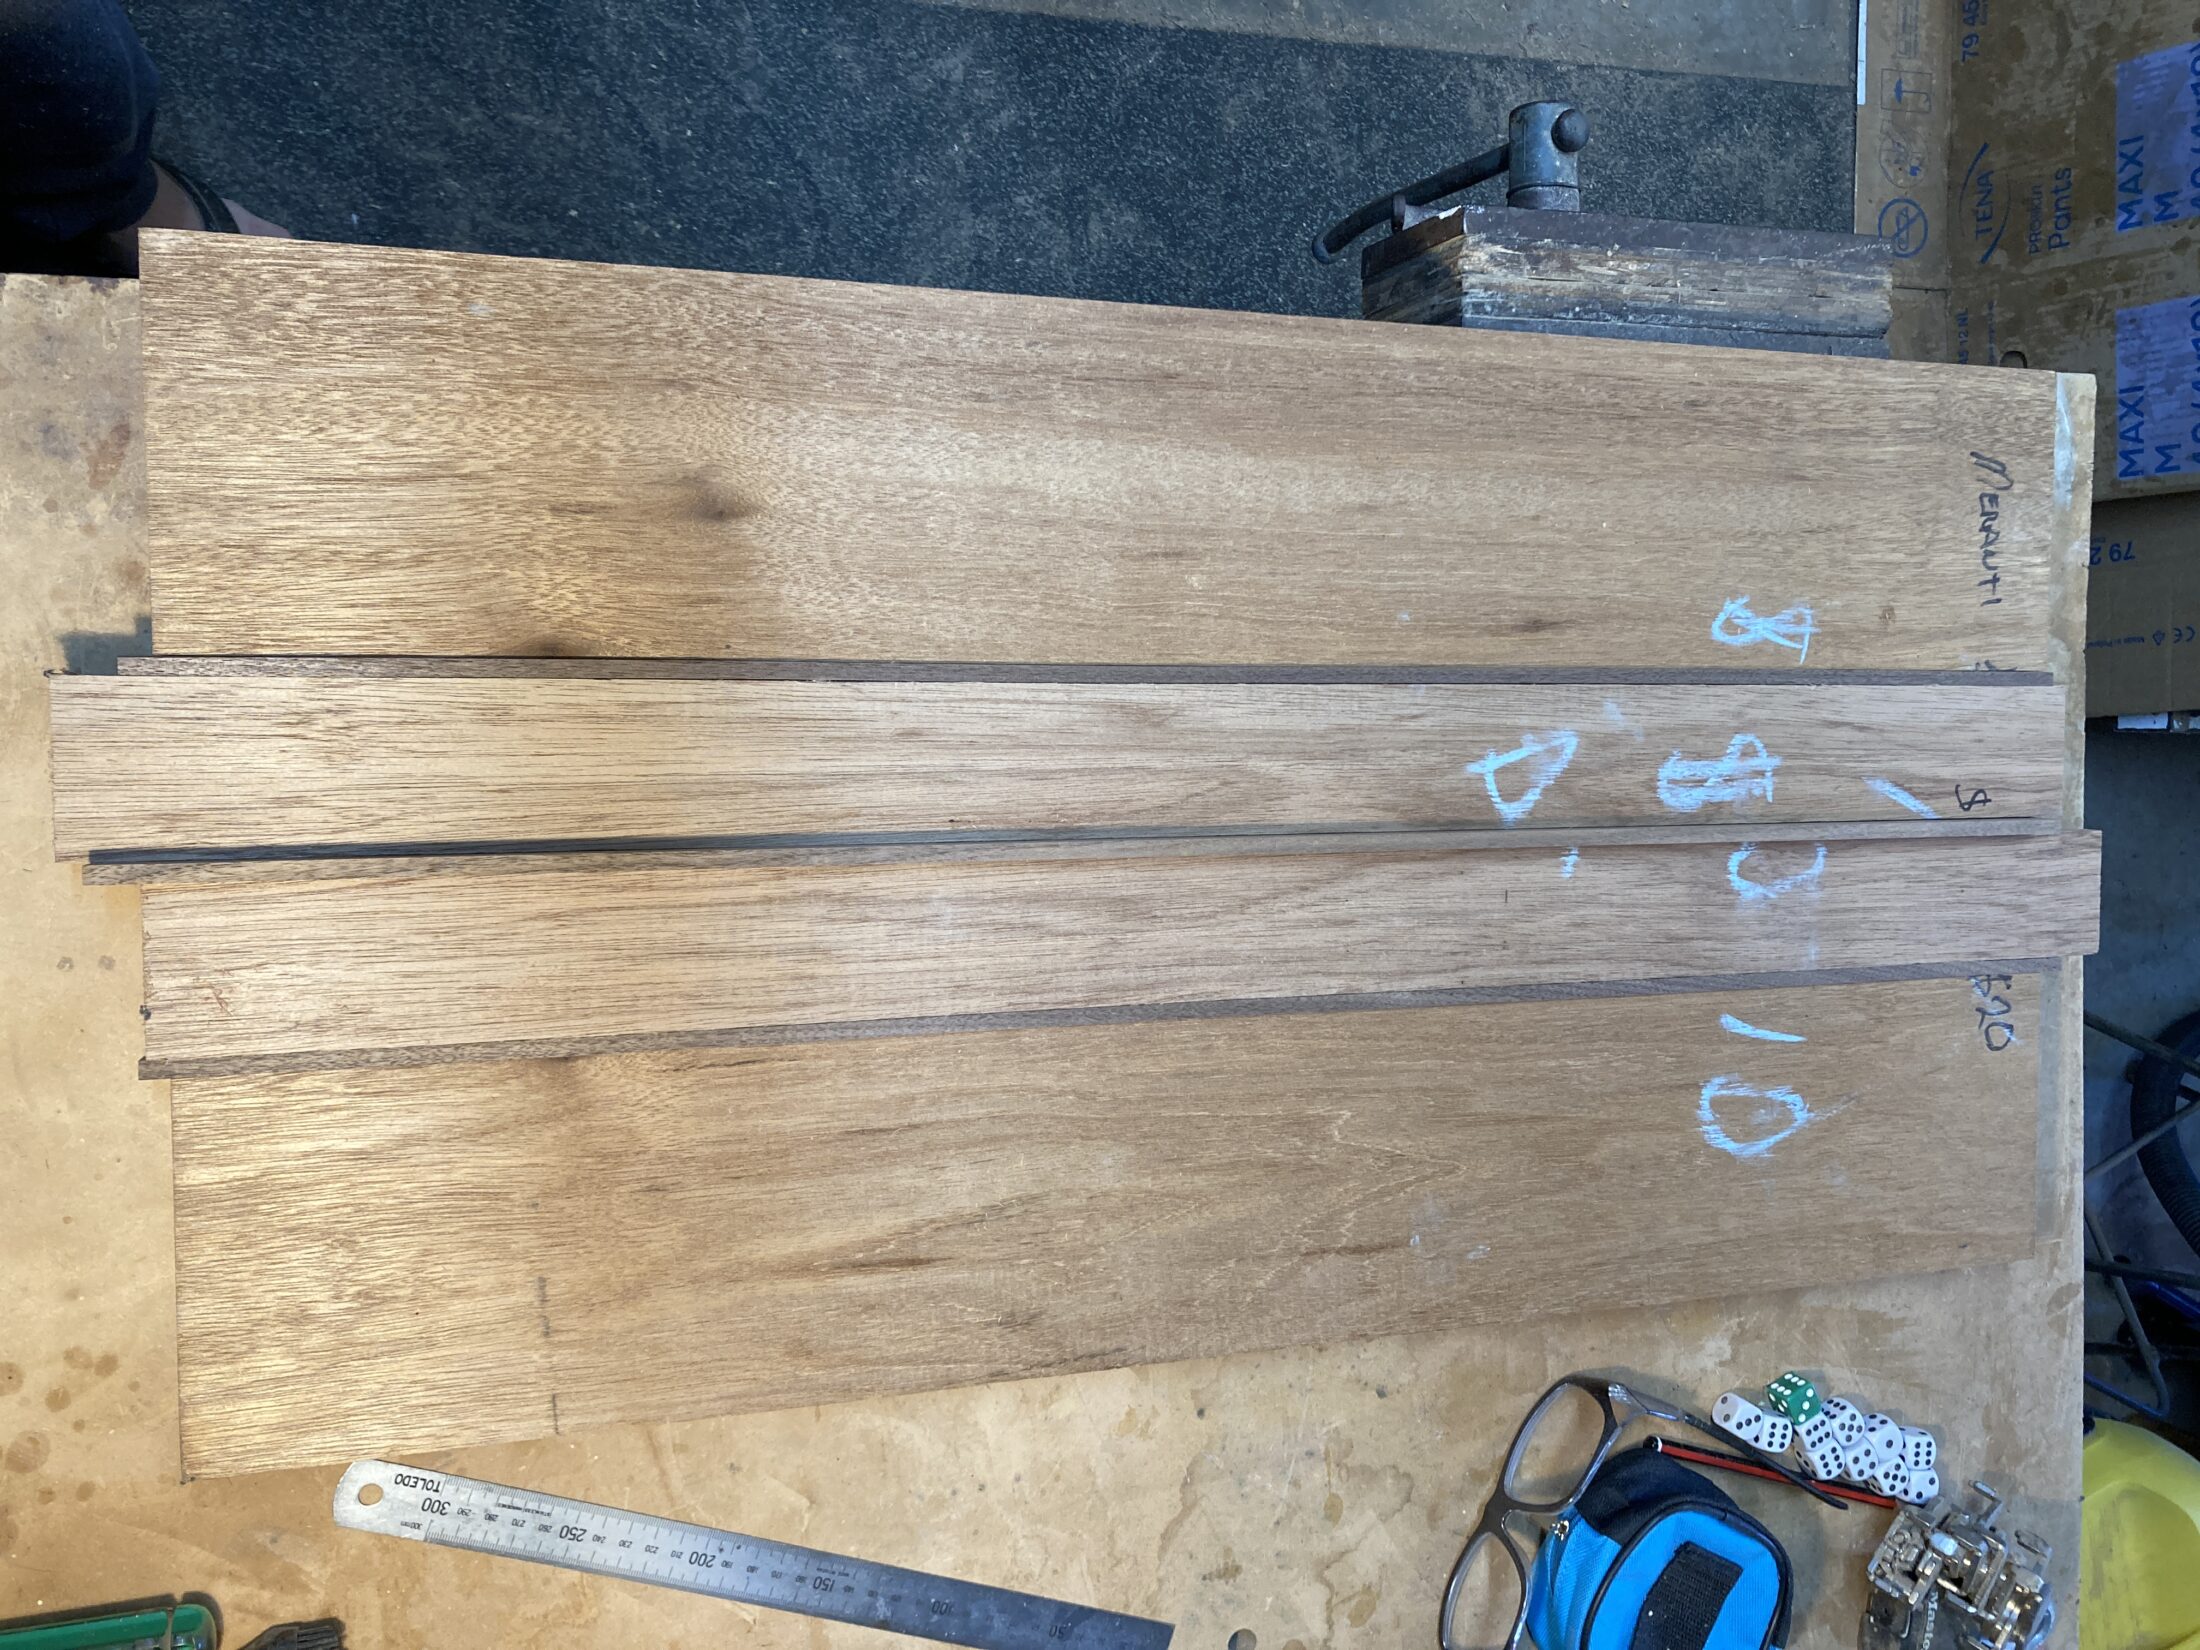
This board would be wider than my thicknesser after the final glue-up, so getting it flat was going to be a challenge. I decided to glue up the centre piece with the laminations first, so I could thickness it and treat it as a single board. I put the two outer boards through the thicknesser at the same time, so they would all be identical.
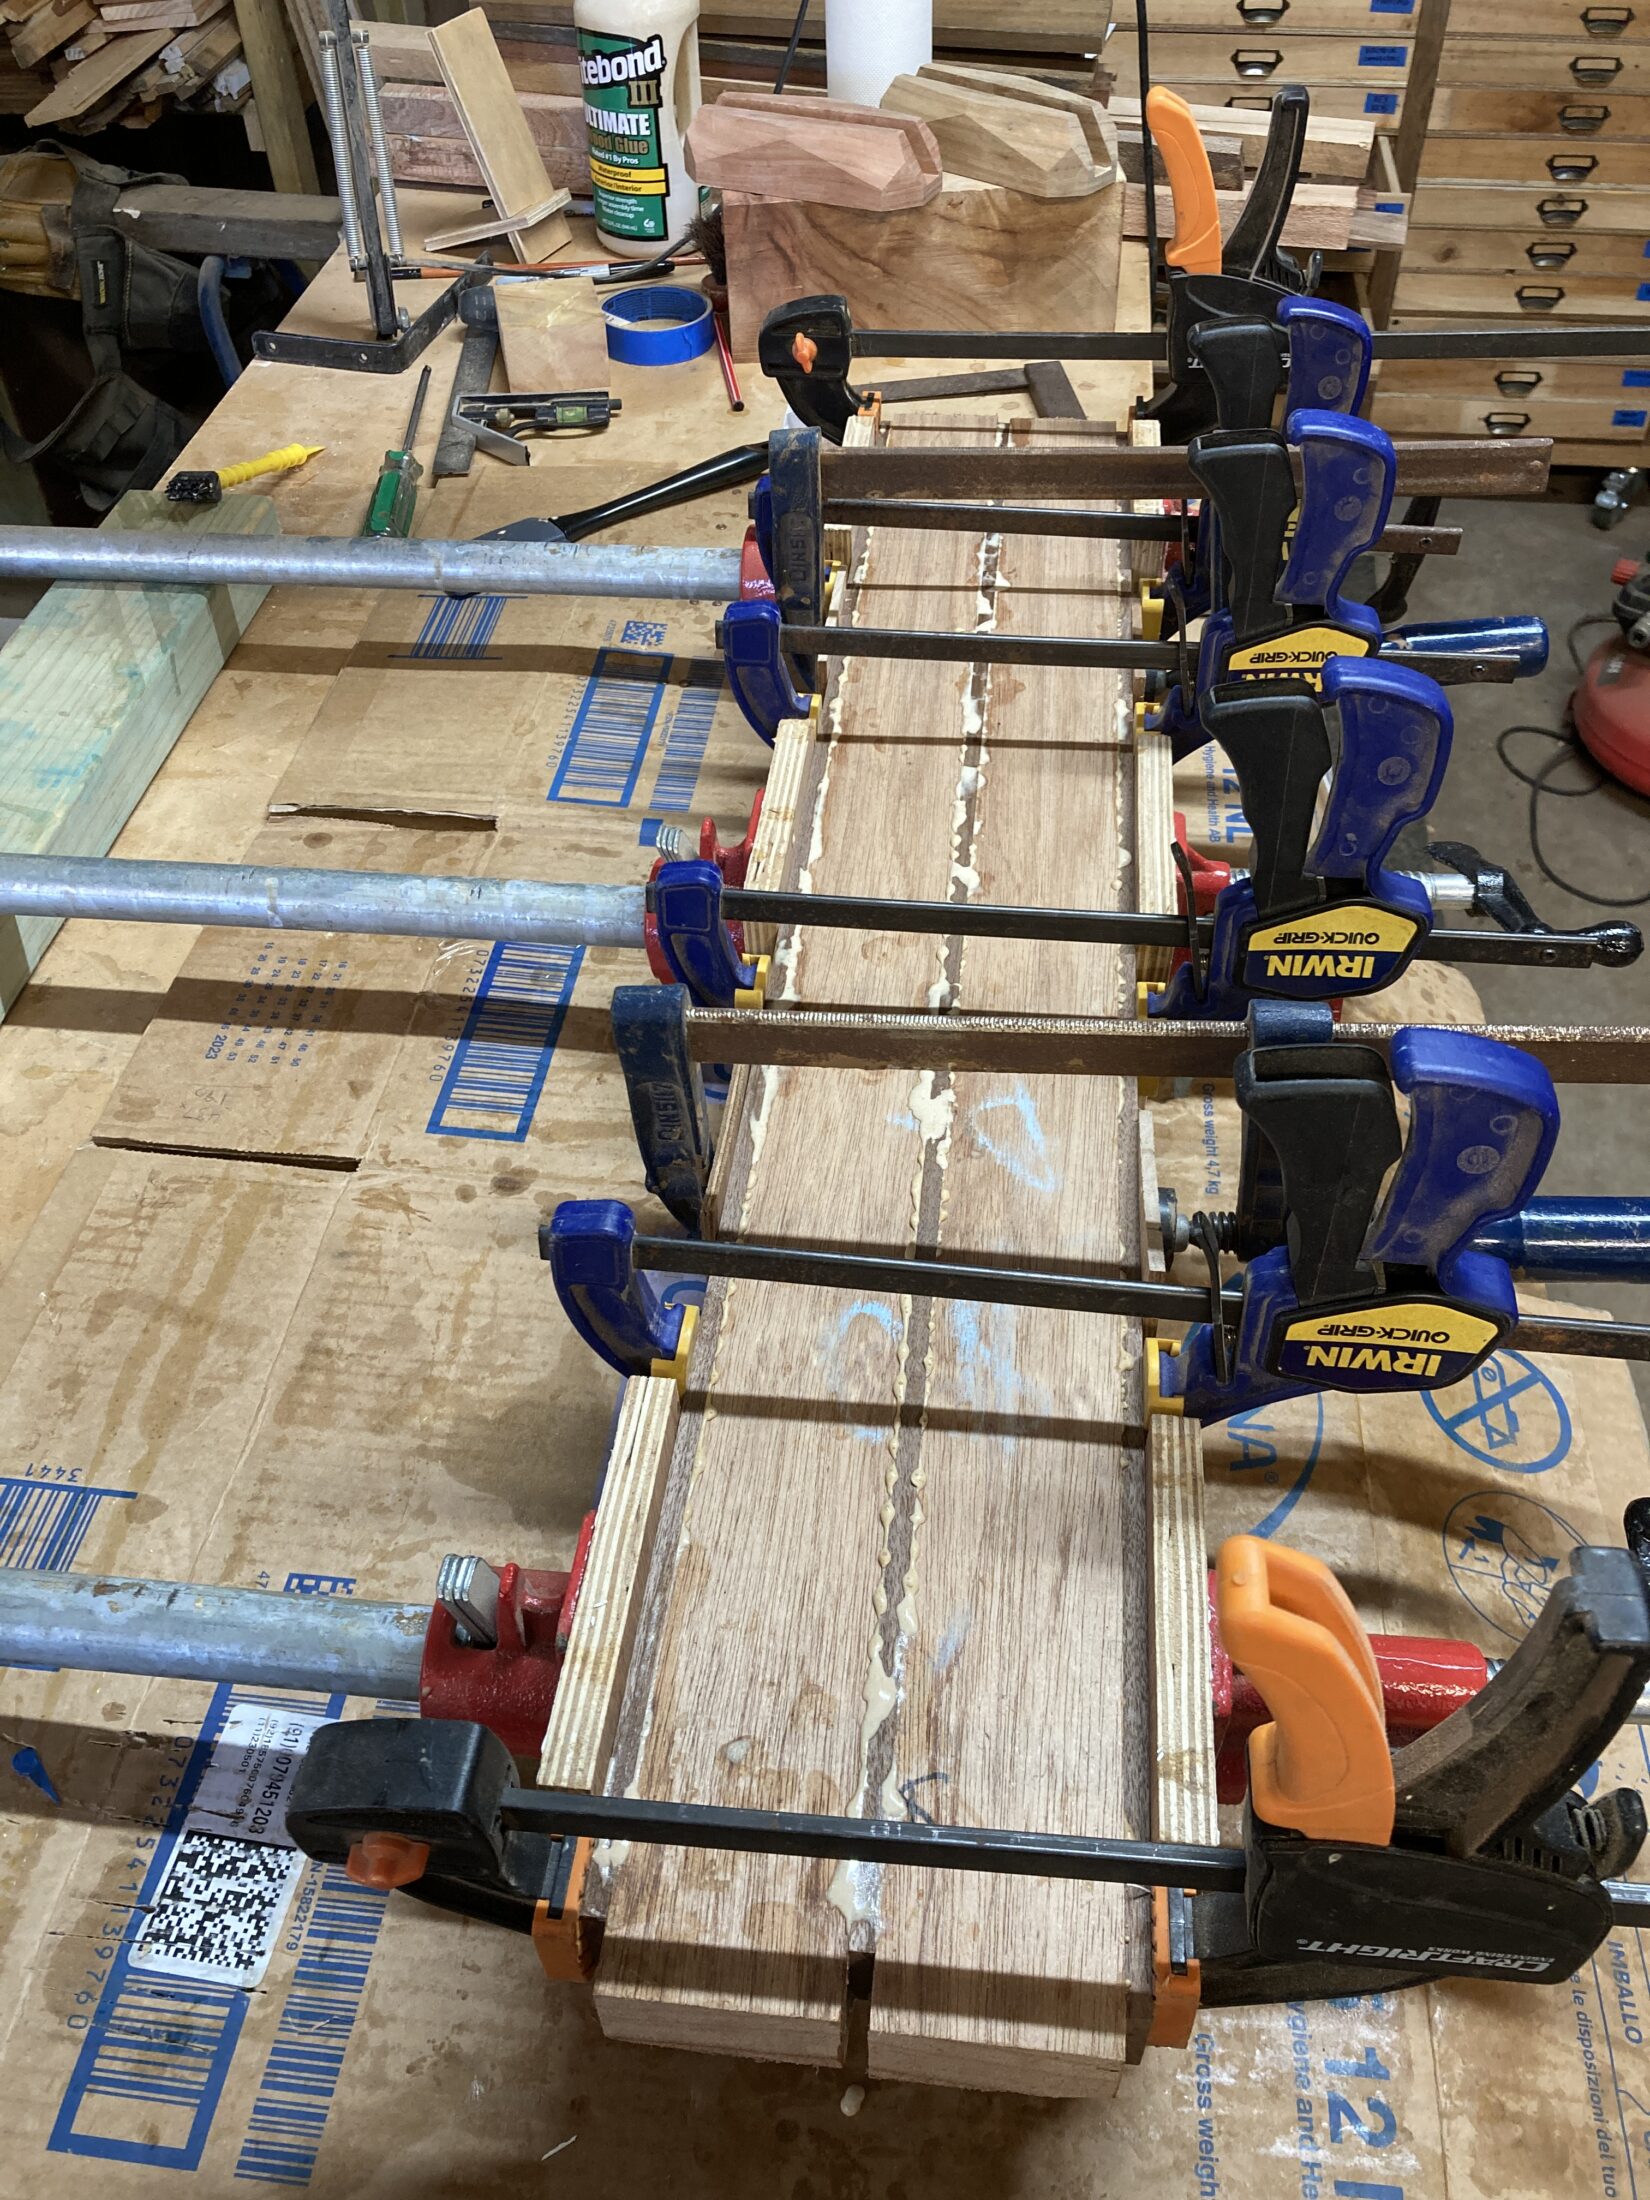
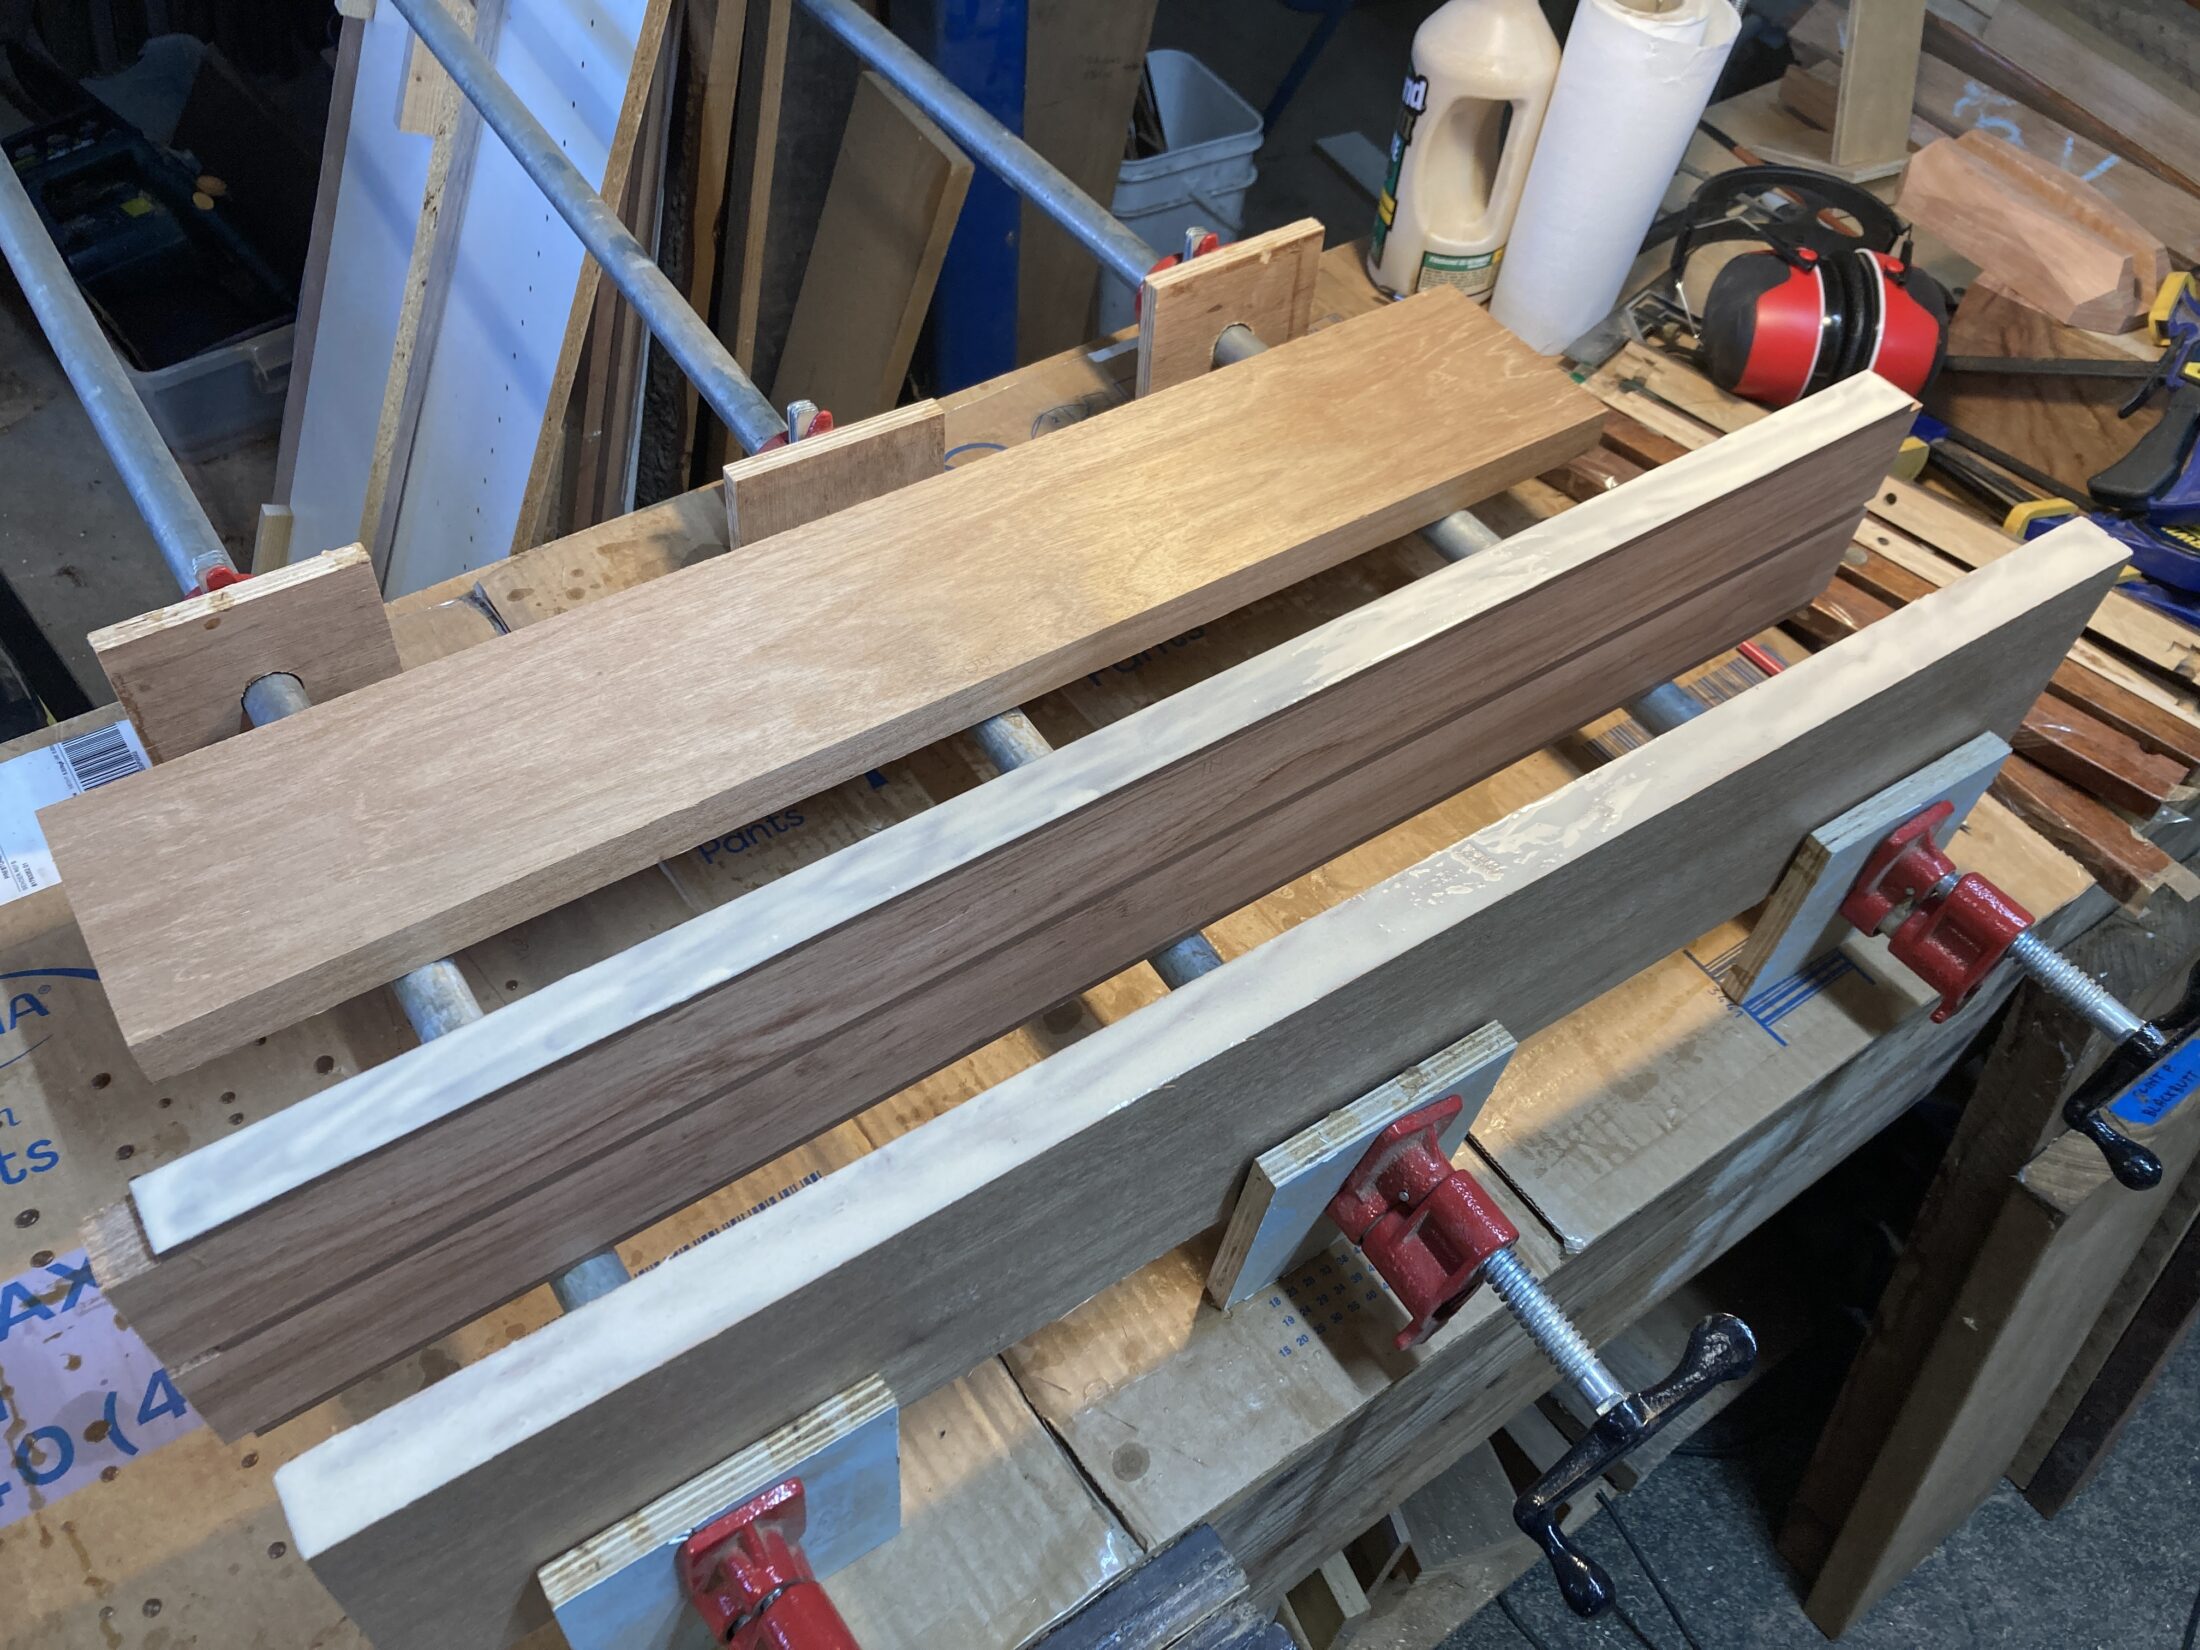
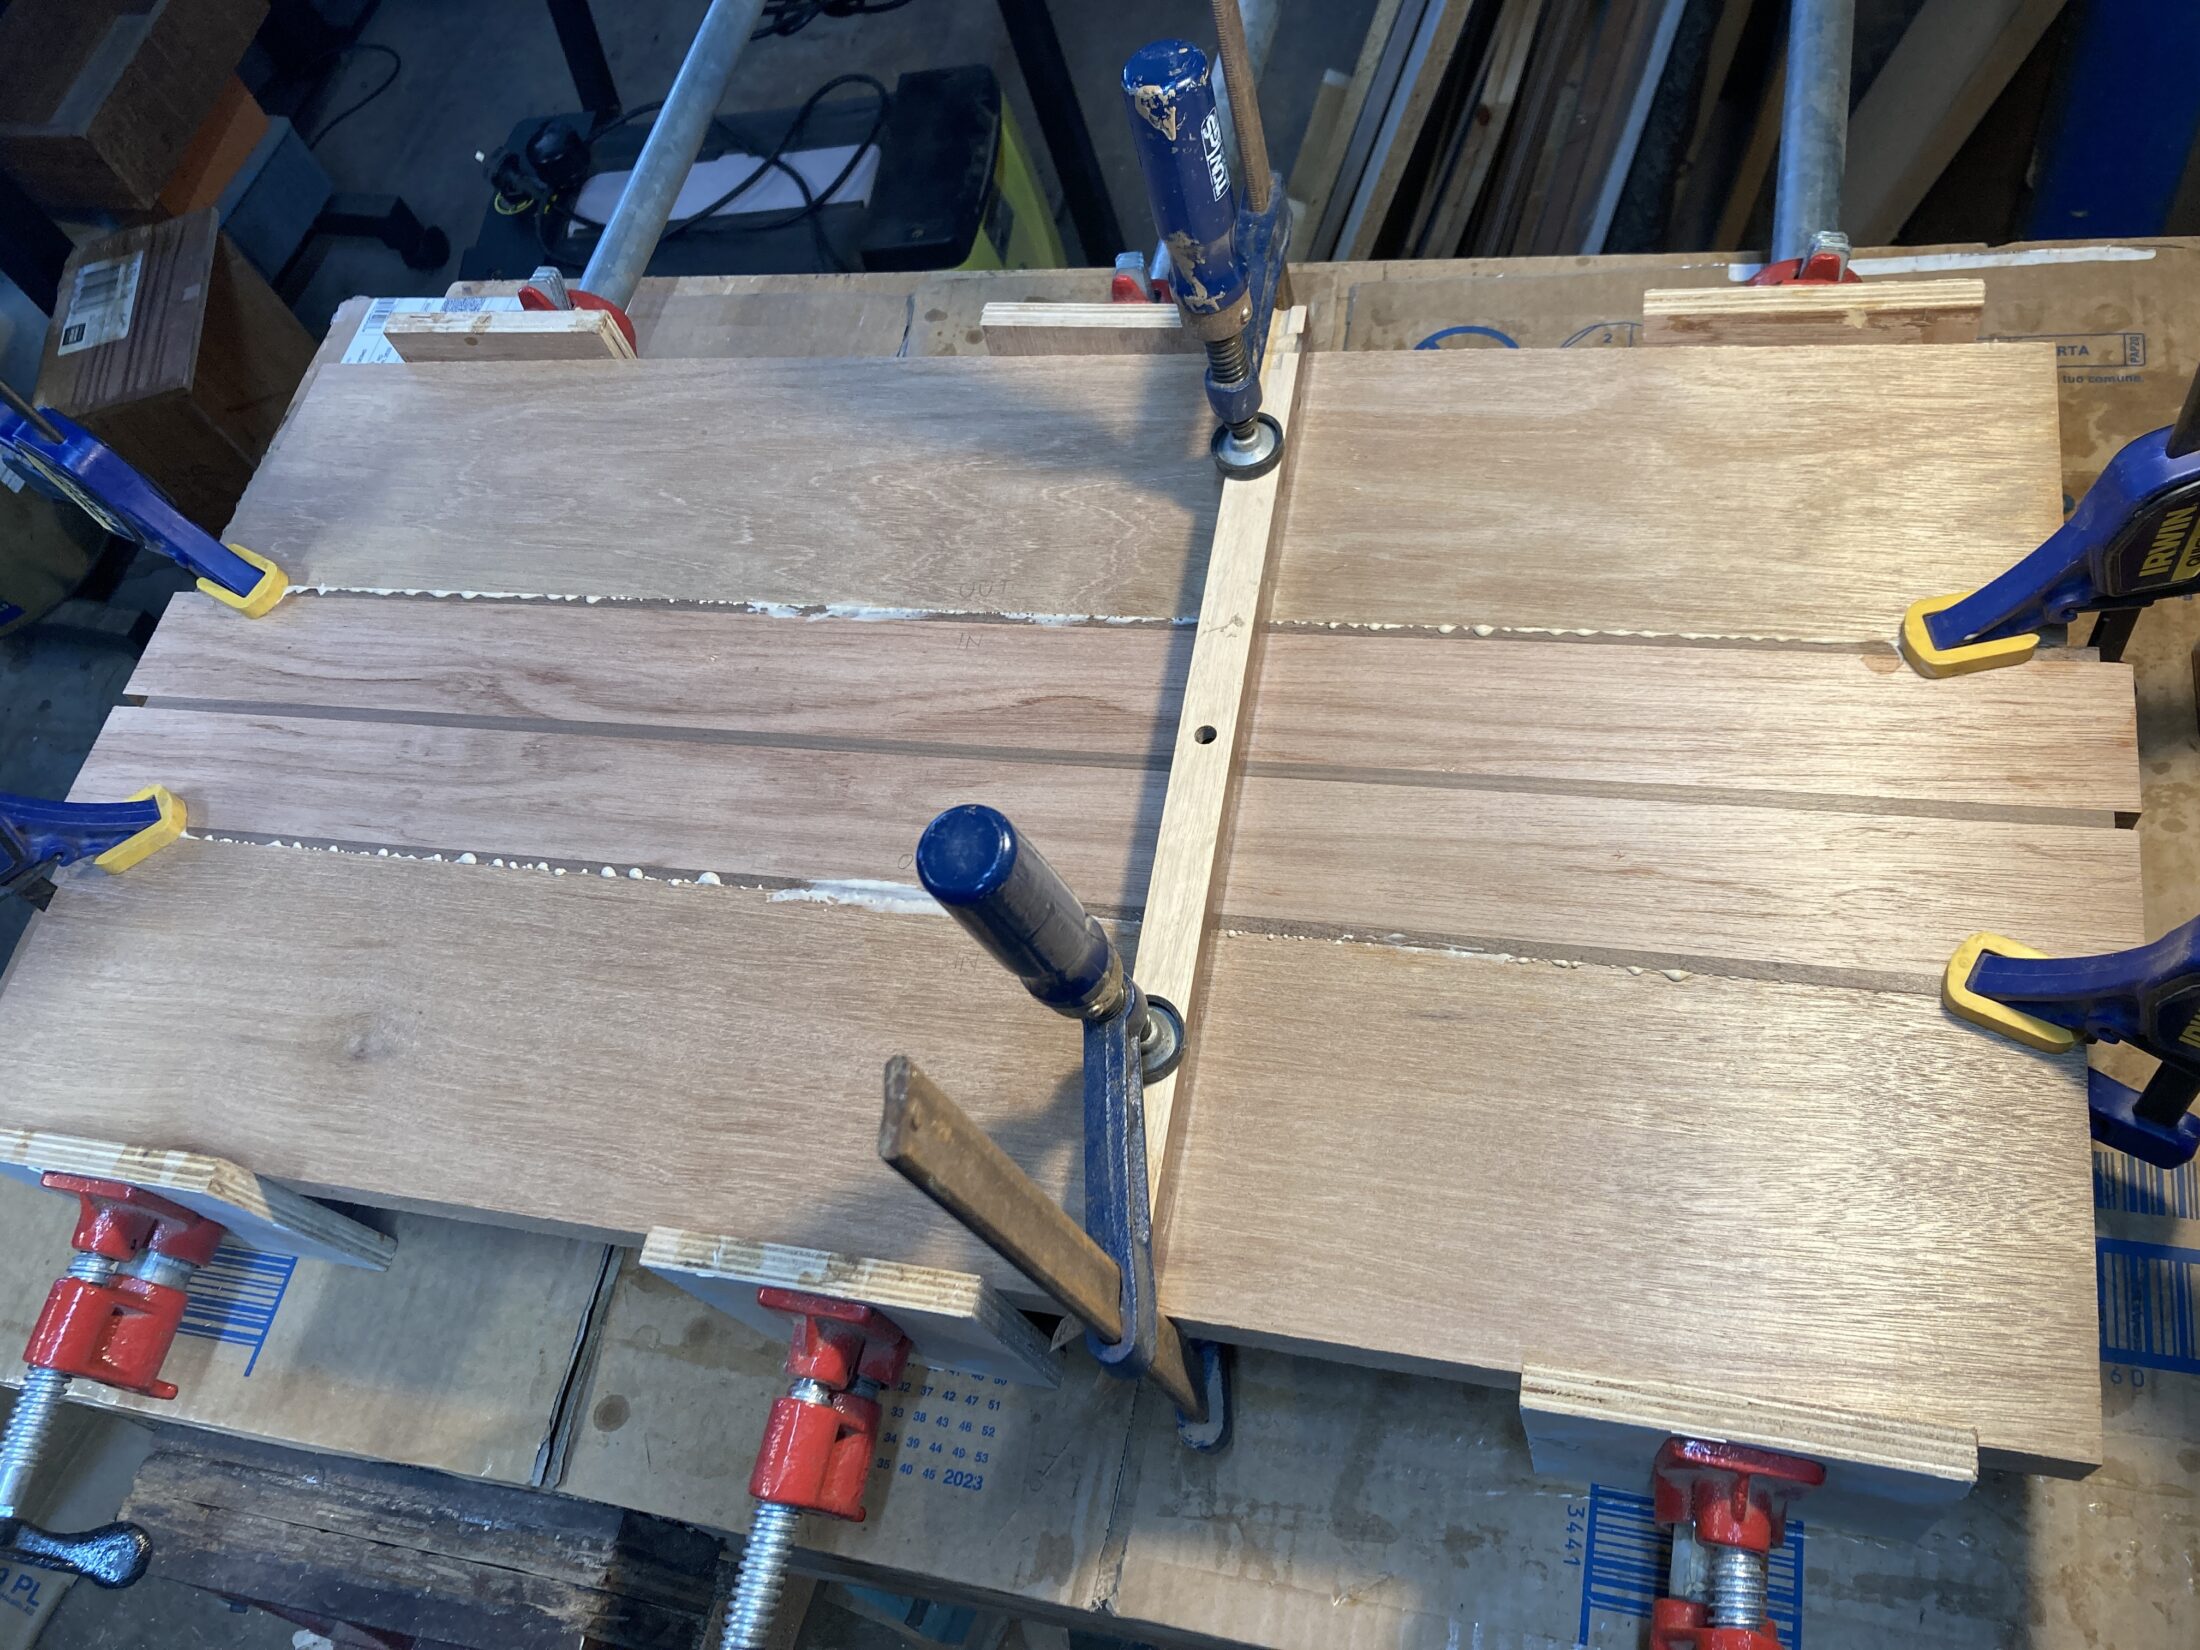
I then glued up the three boards, taking care to get them aligned well. This was helped by clamping on the joints, and where the clamps couldn’t reach, clamping cauls across the three boards to push them into alignment.
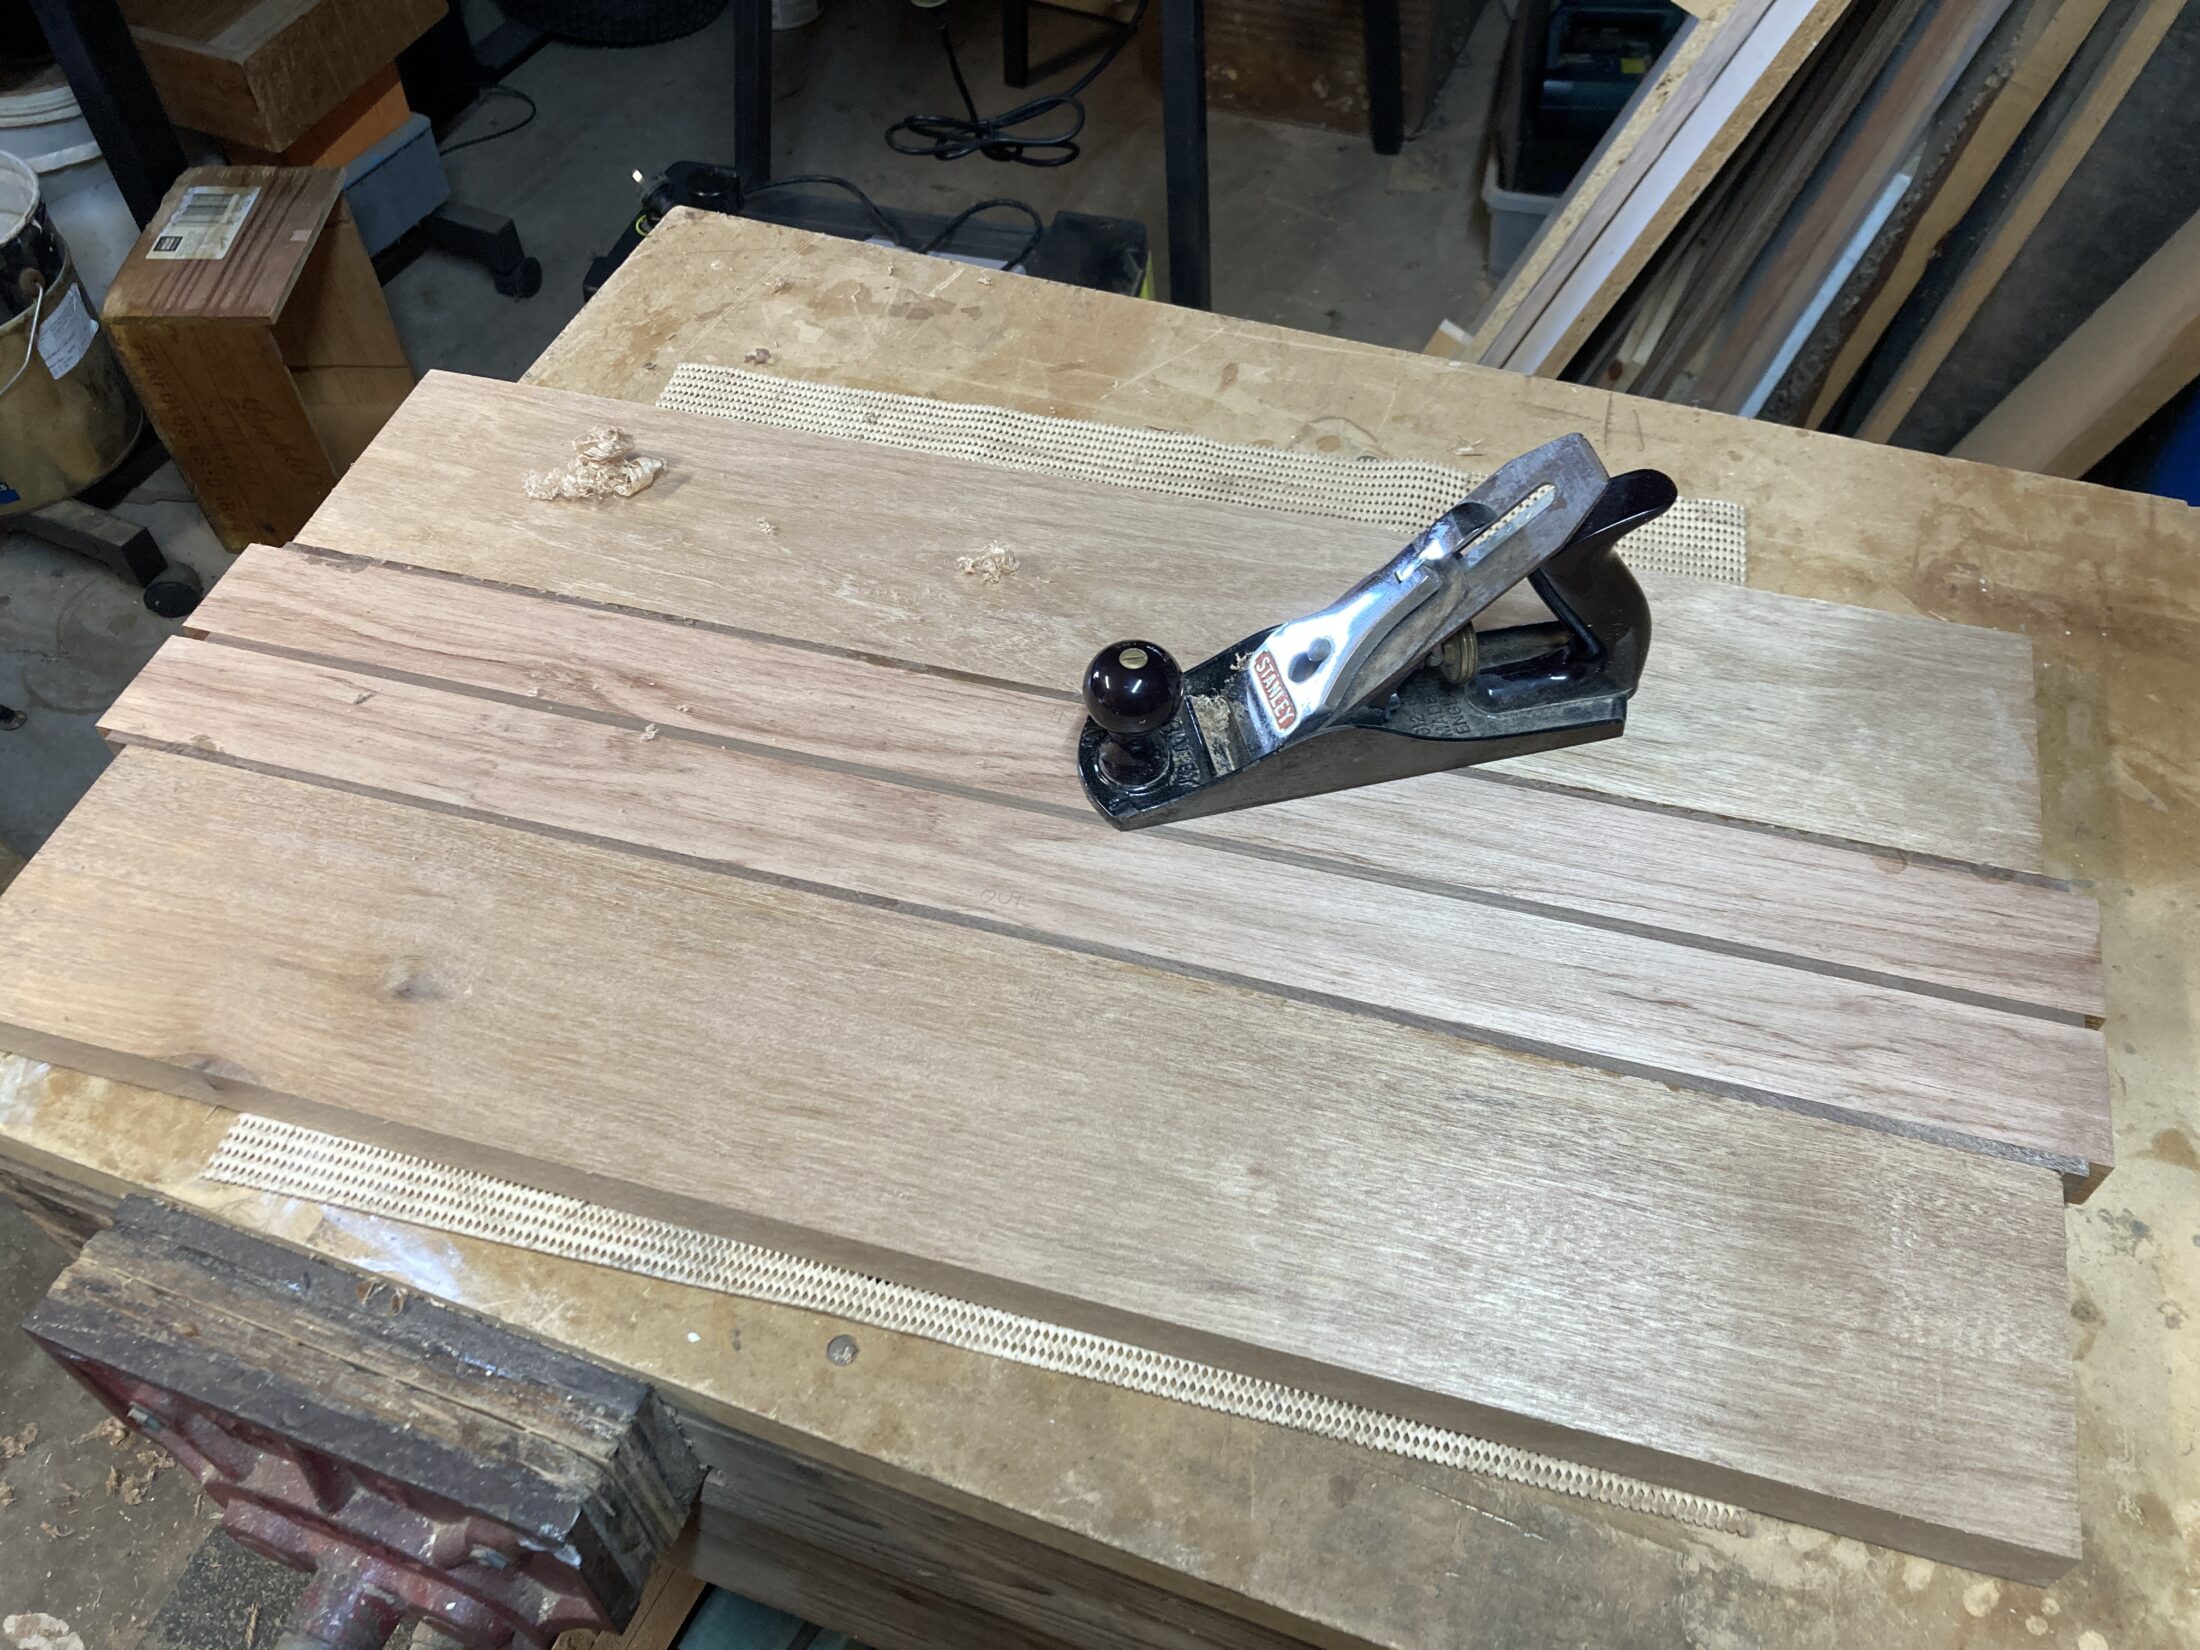
Once the board came out of the clamps, it was a quick job to plane the glue lines and get everything looking good. I then sanded the board, working up through the grits – 80, 120, 180. I didn’t bother going higher at this stage, since there was still work to do on the board.
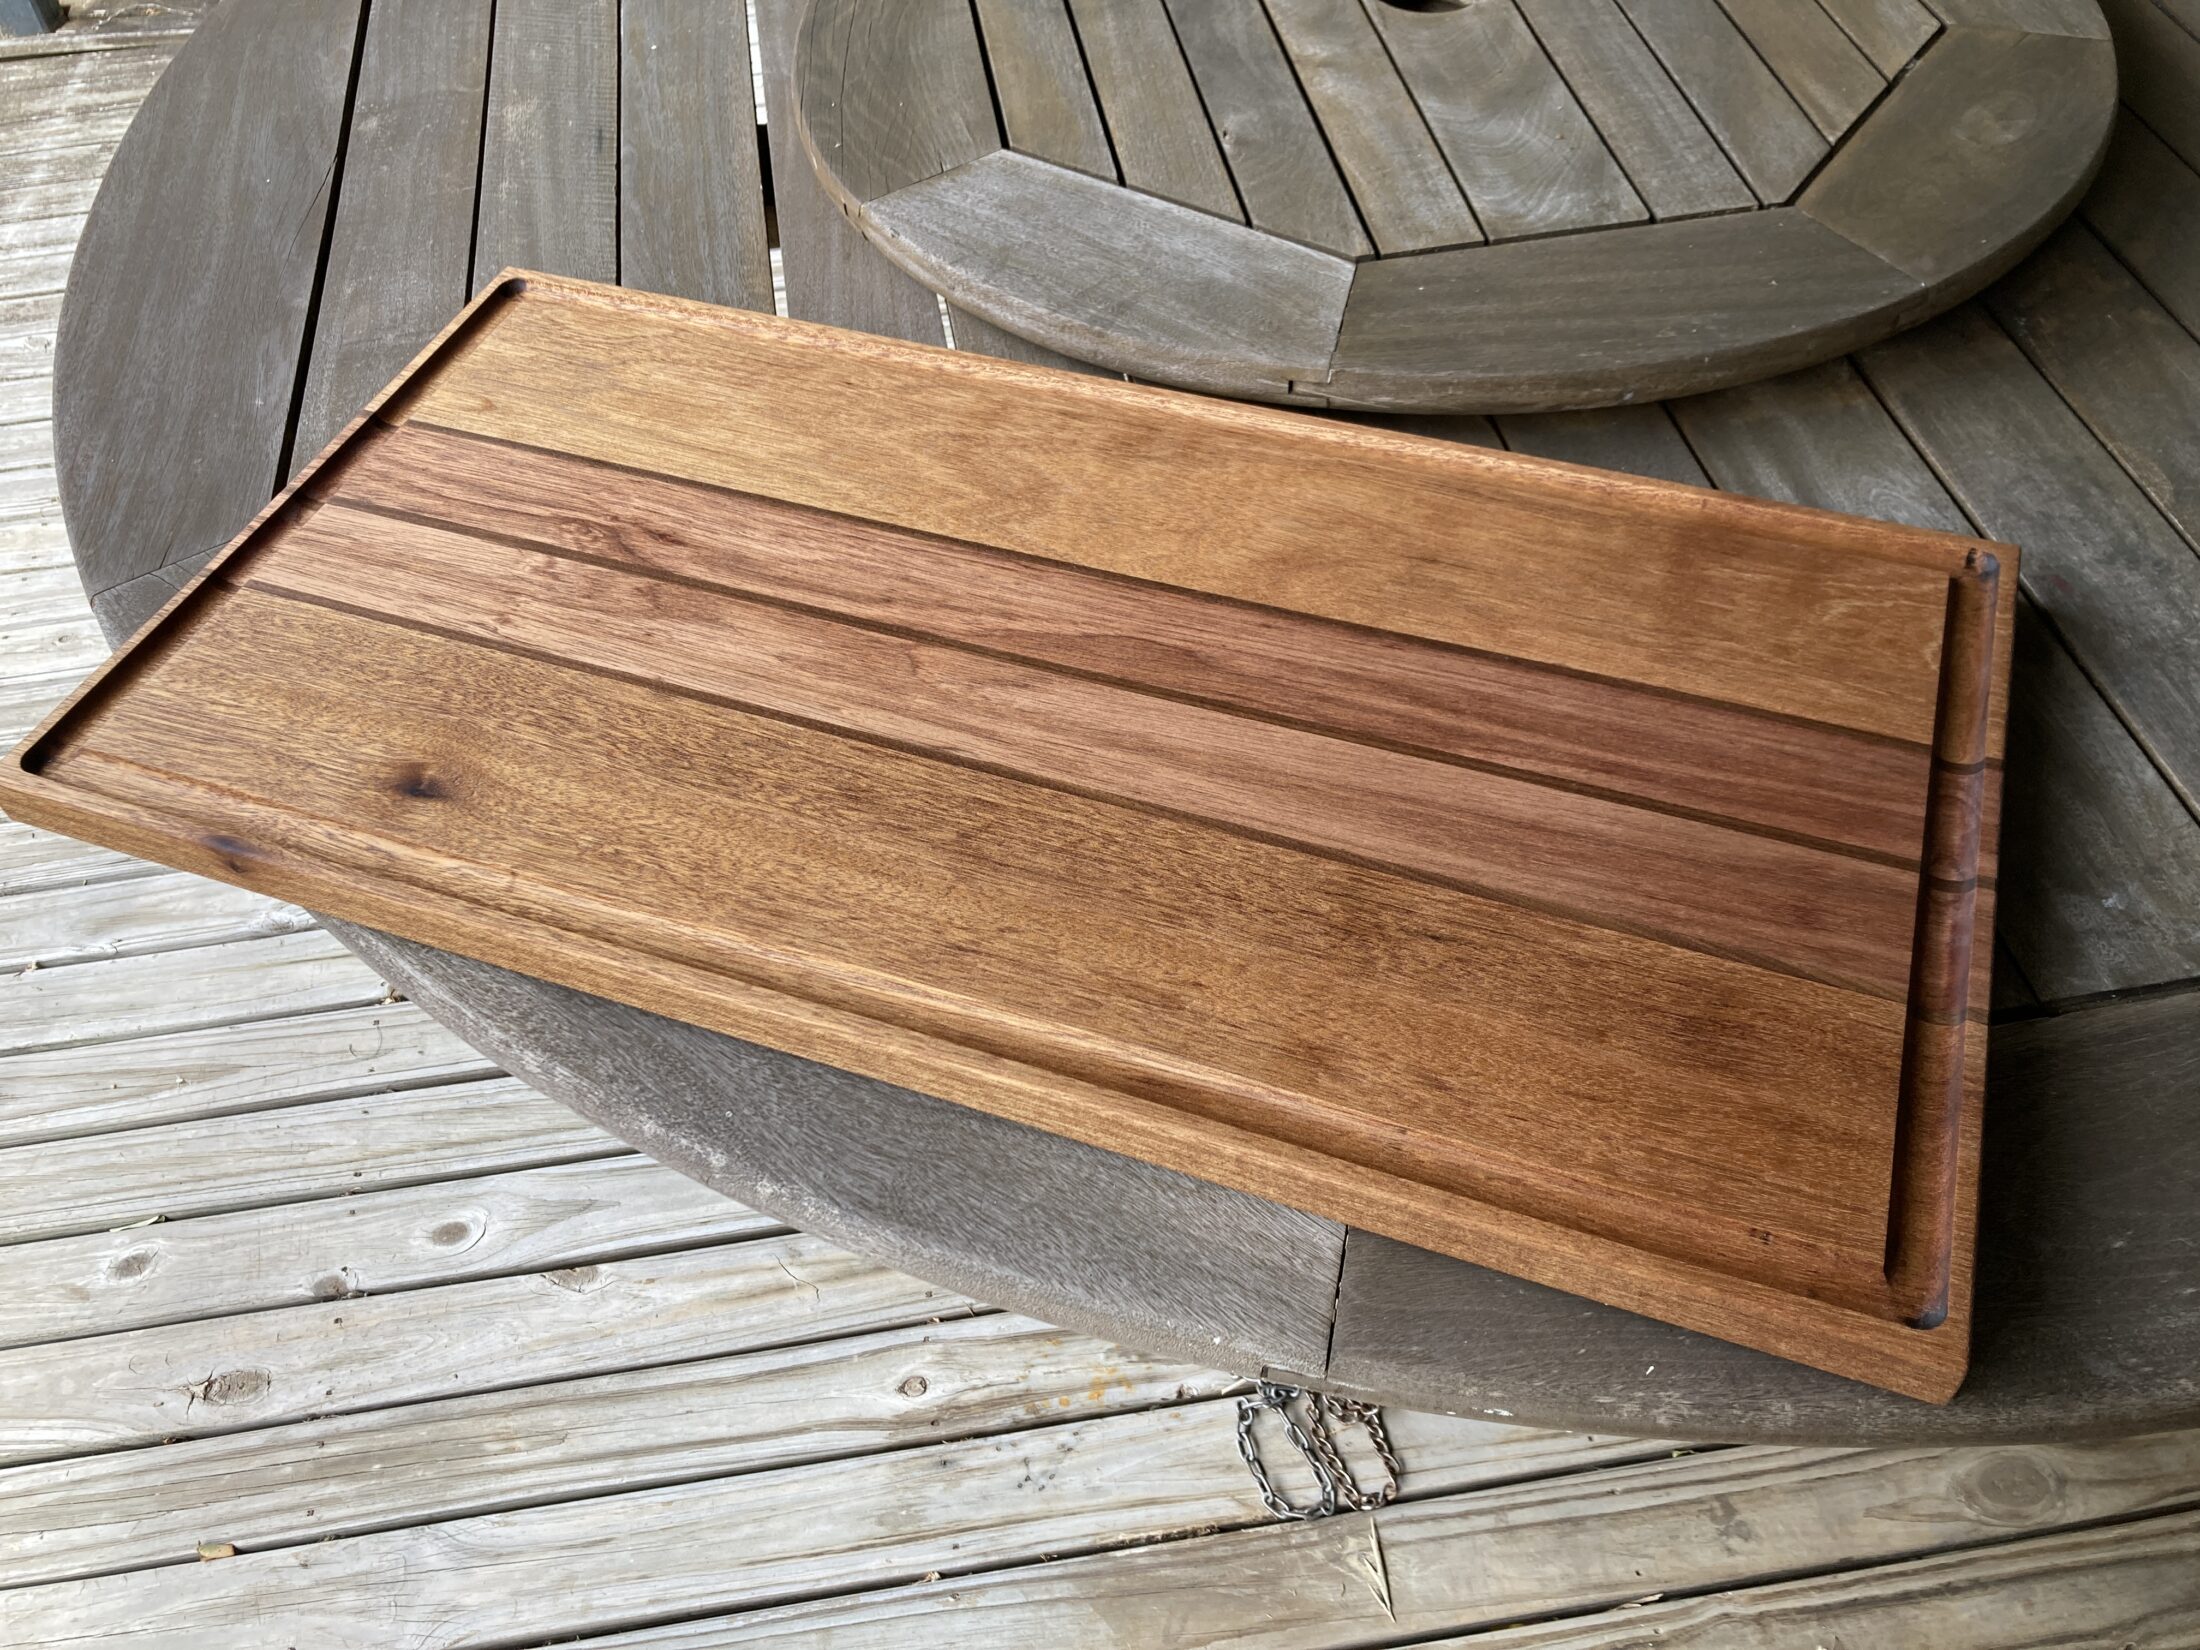
Because this would be a serving board for cooked meat, I wanted it to handle the inevitable fats and juices properly so they didn’t just run off the edge and onto the table. To do that, I needed to add a juice groove around the perimeter.
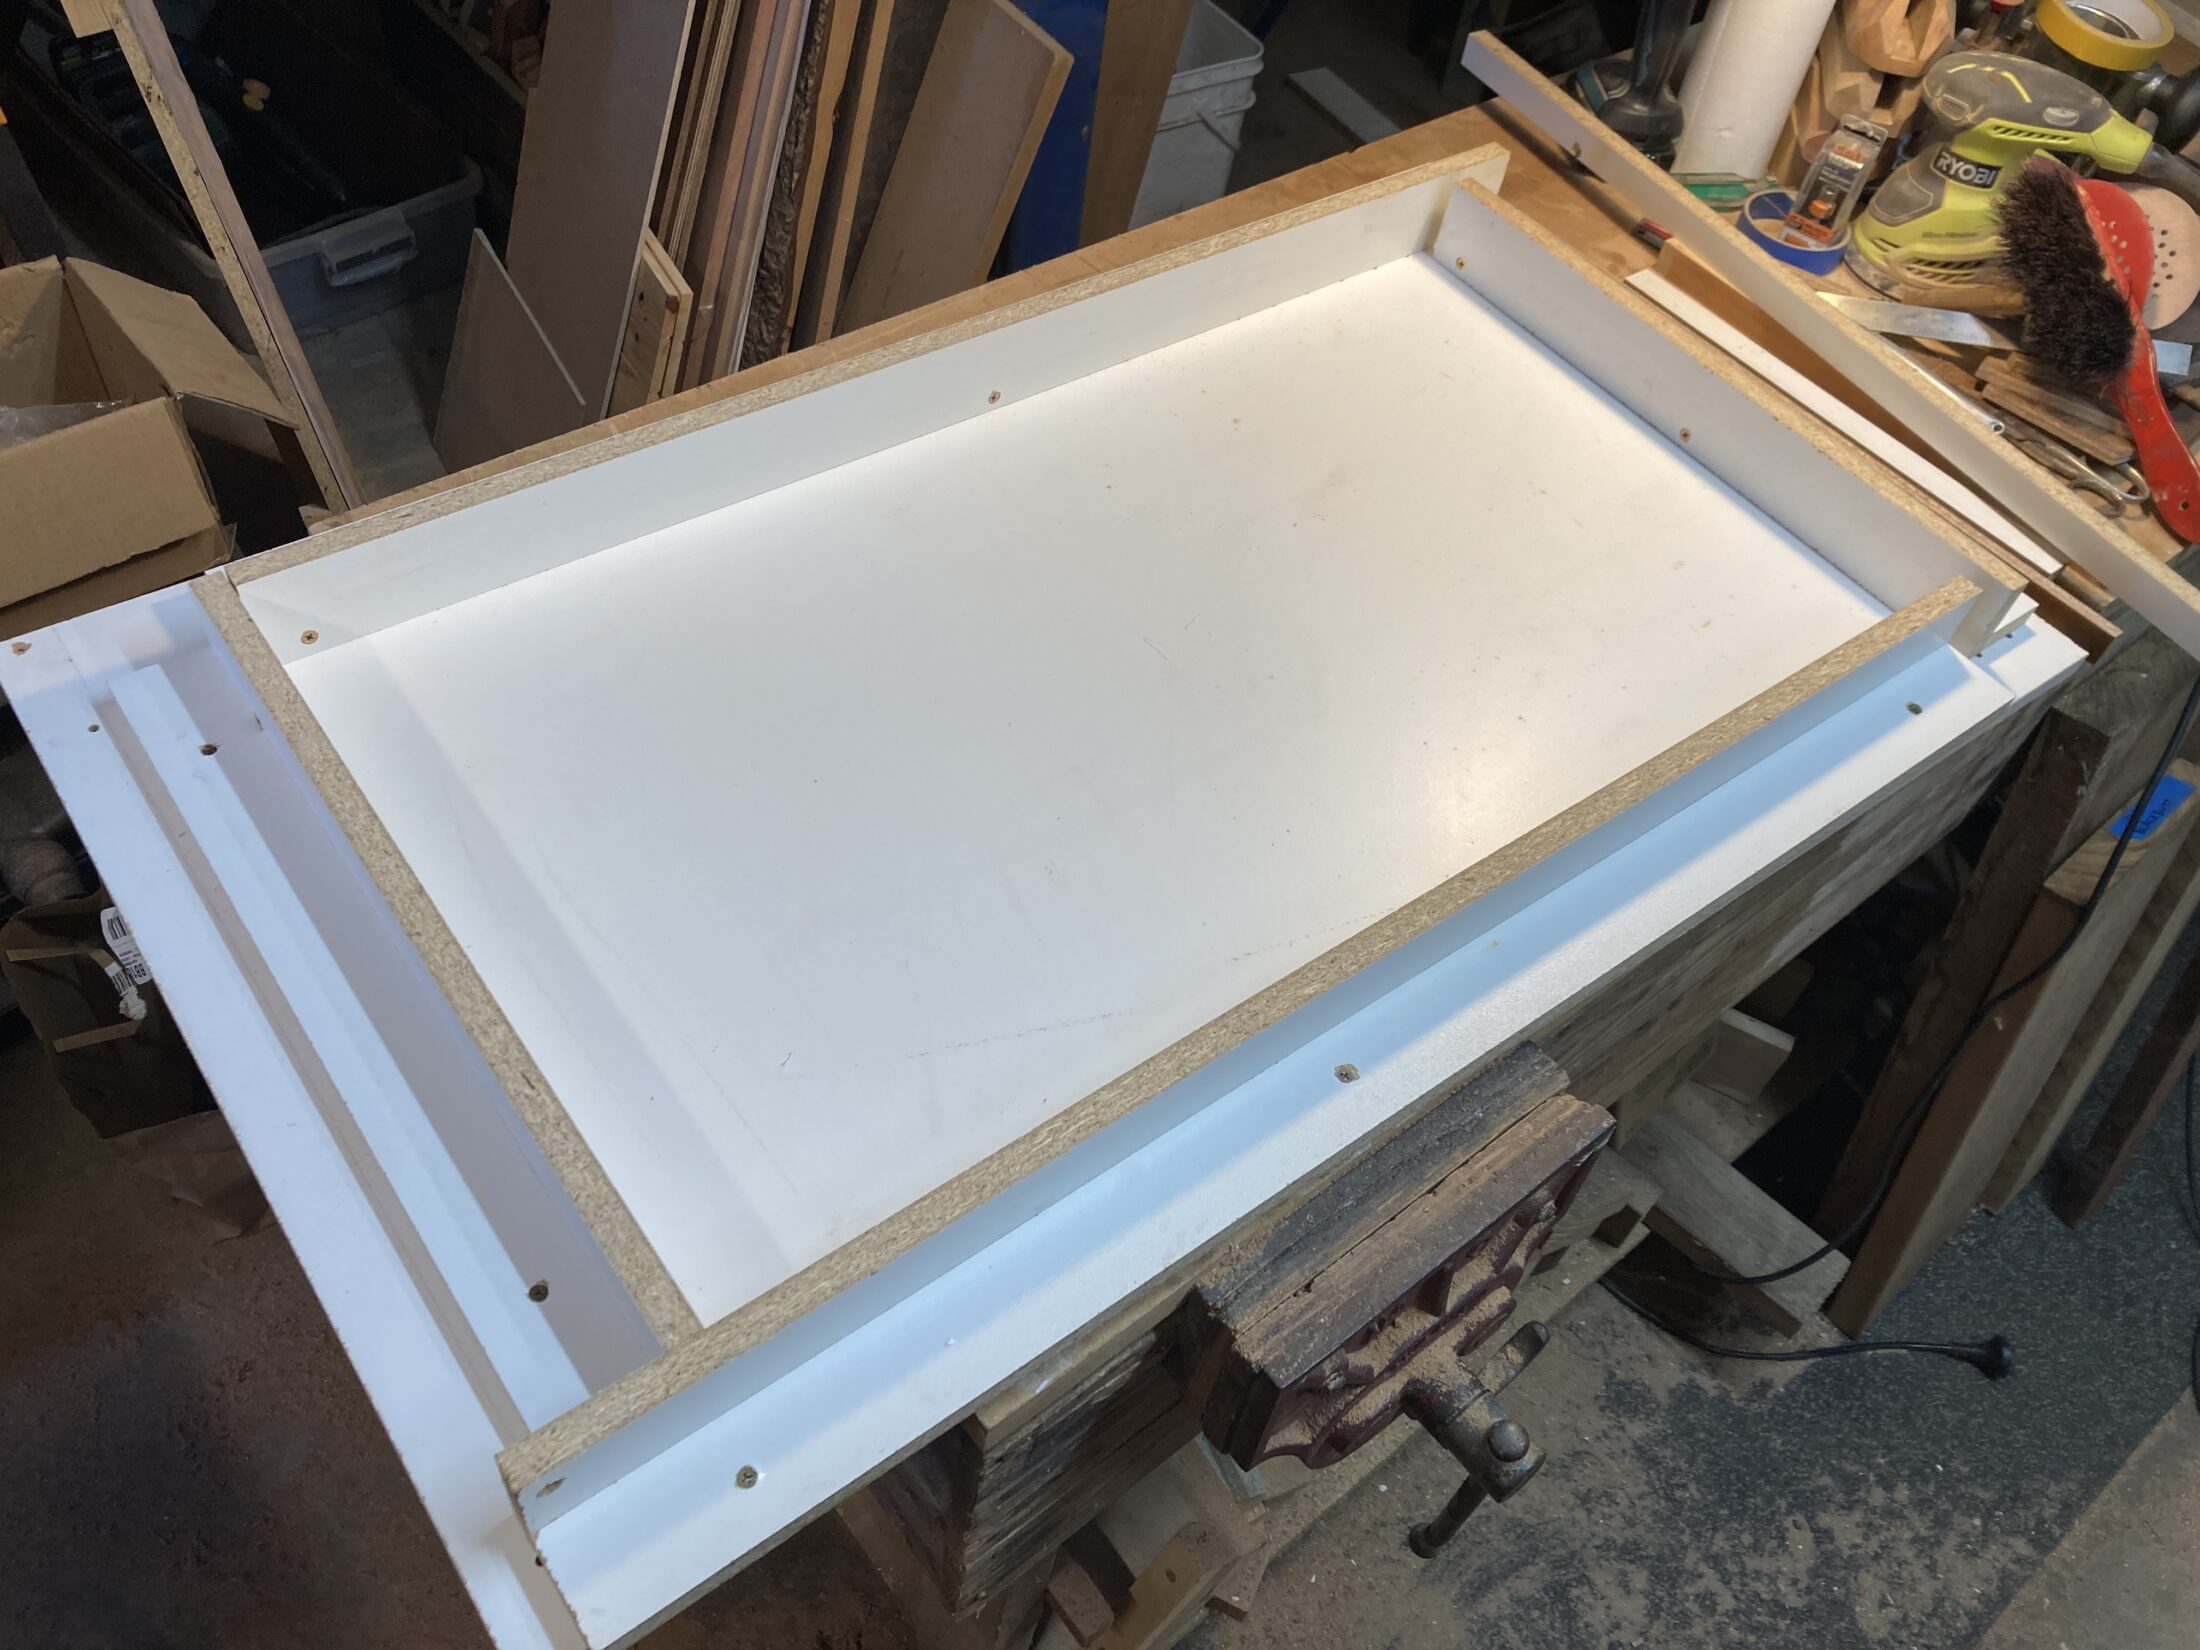
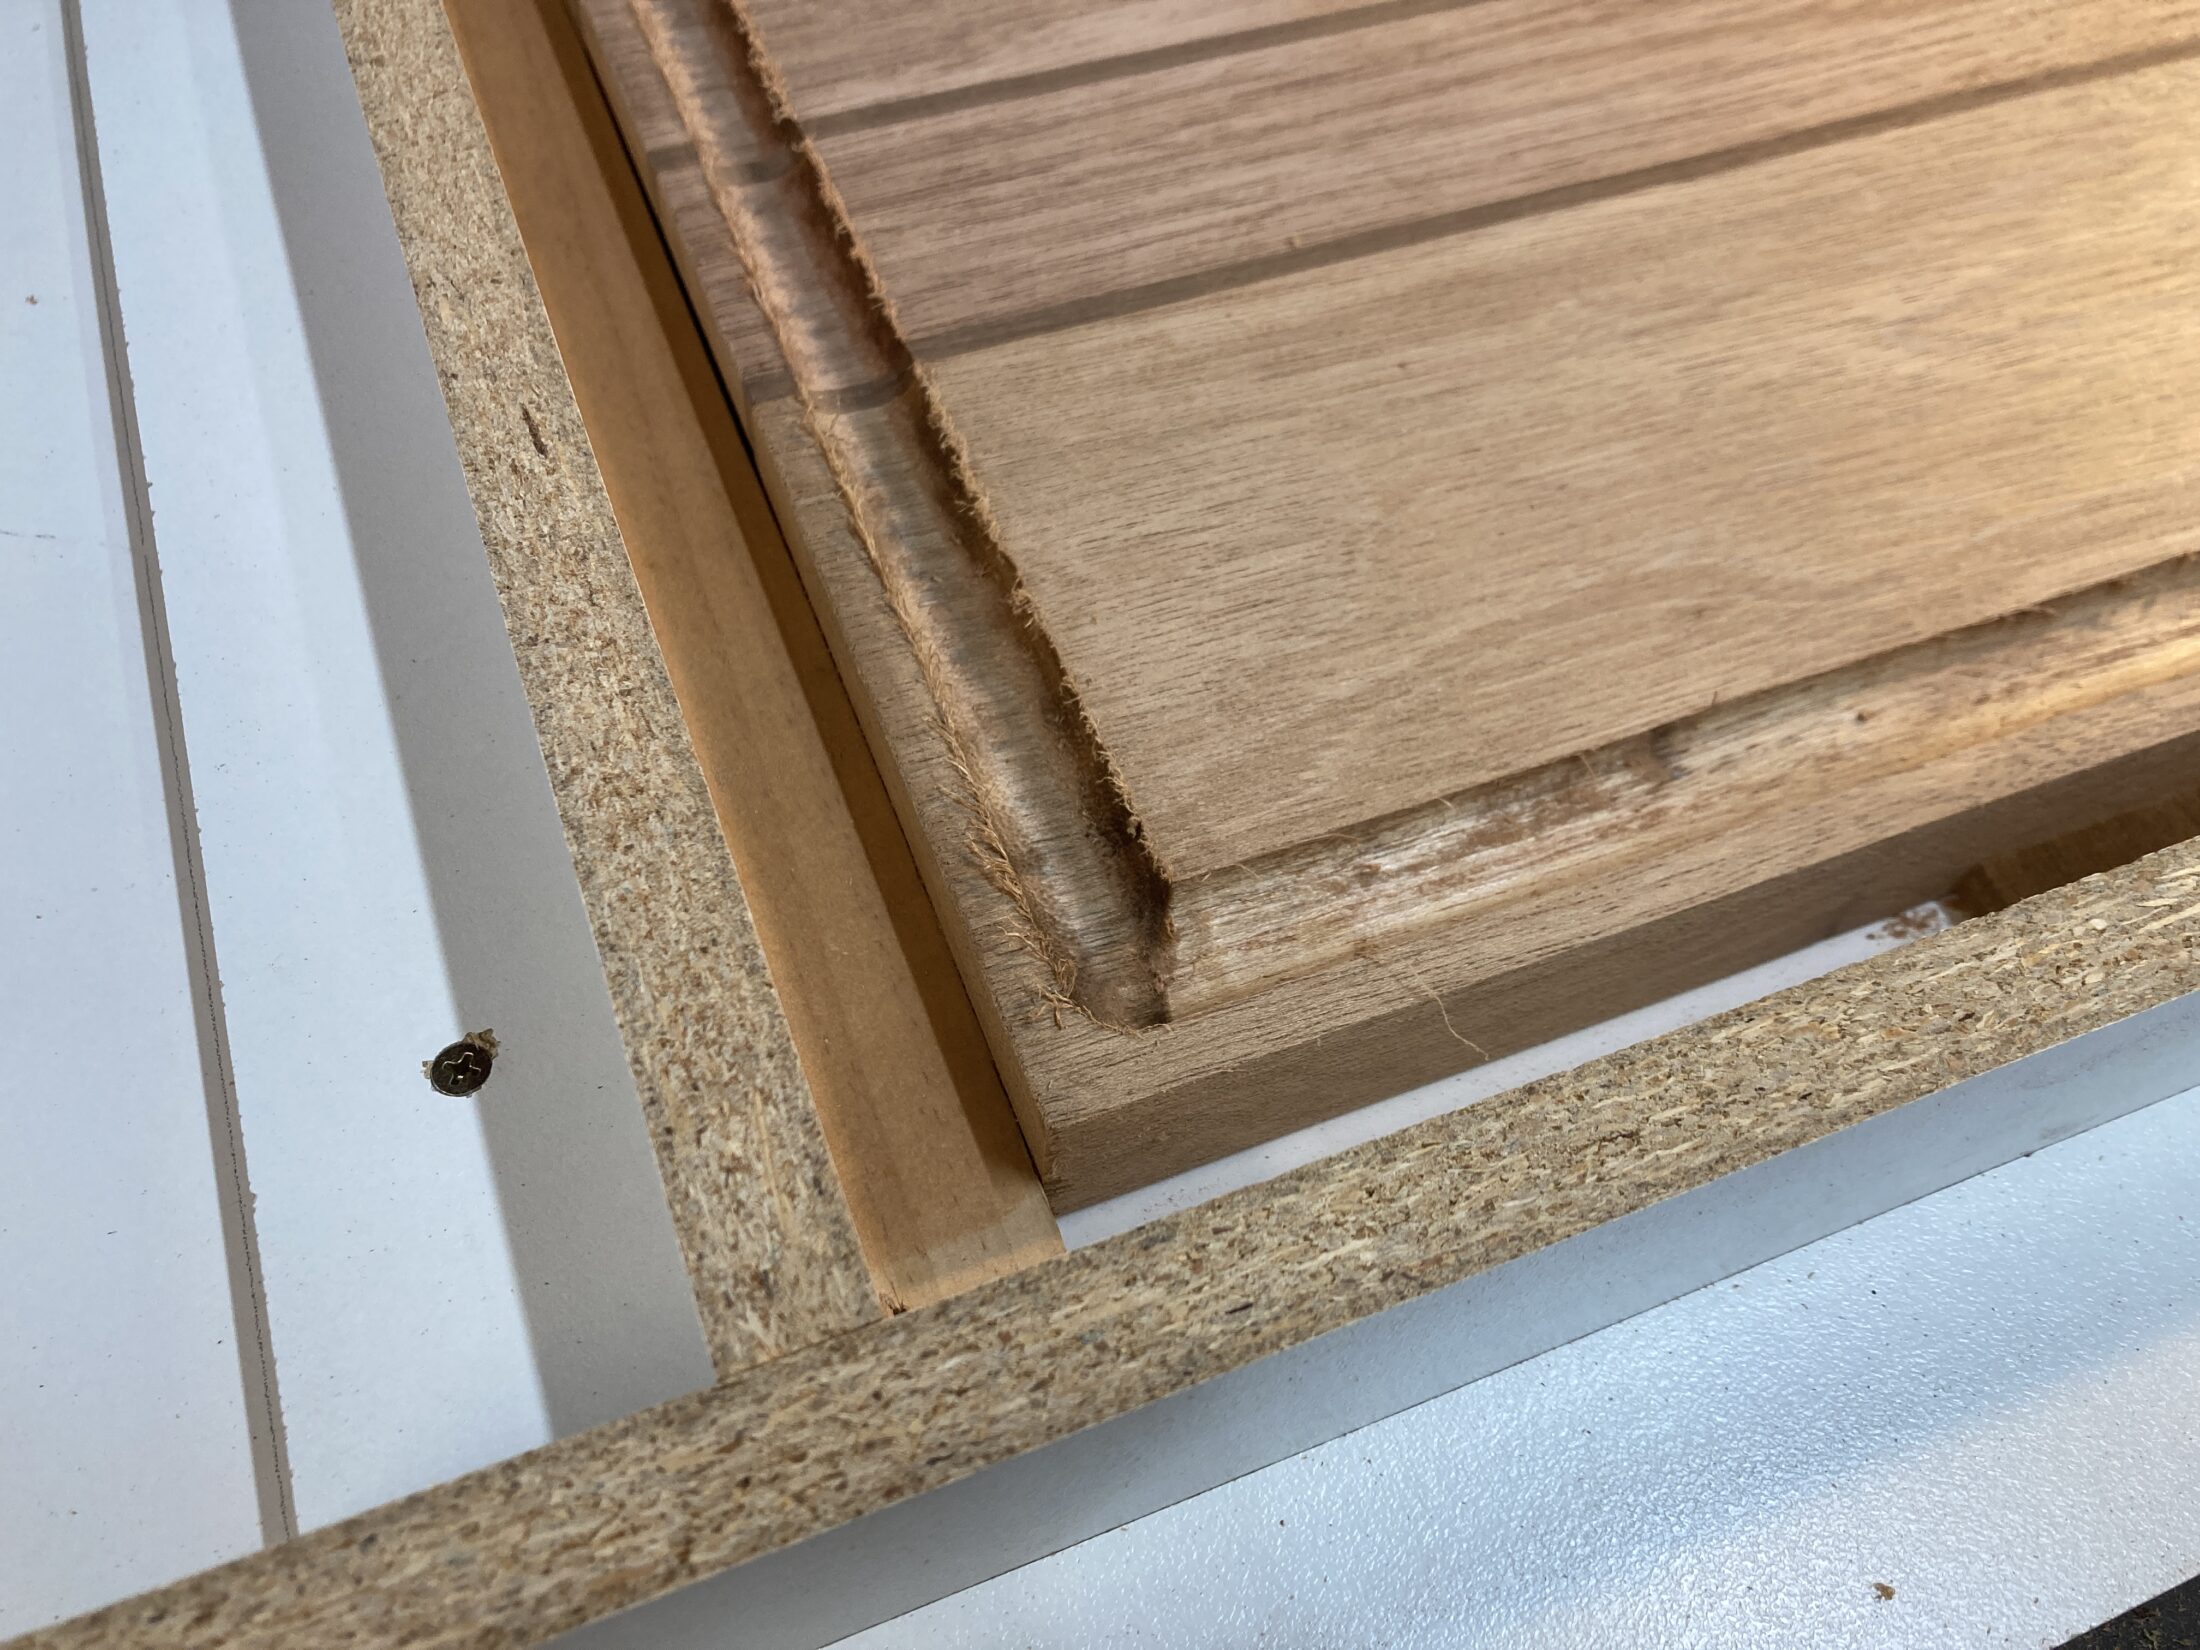
I made a jig from scraps of melamine. I screwed the outside guides in place around the board, with spacer blocks between the guides and the board to get the router bit lined up with where I wanted the centre of the groove. The spacers and board were held in place with hot glue.
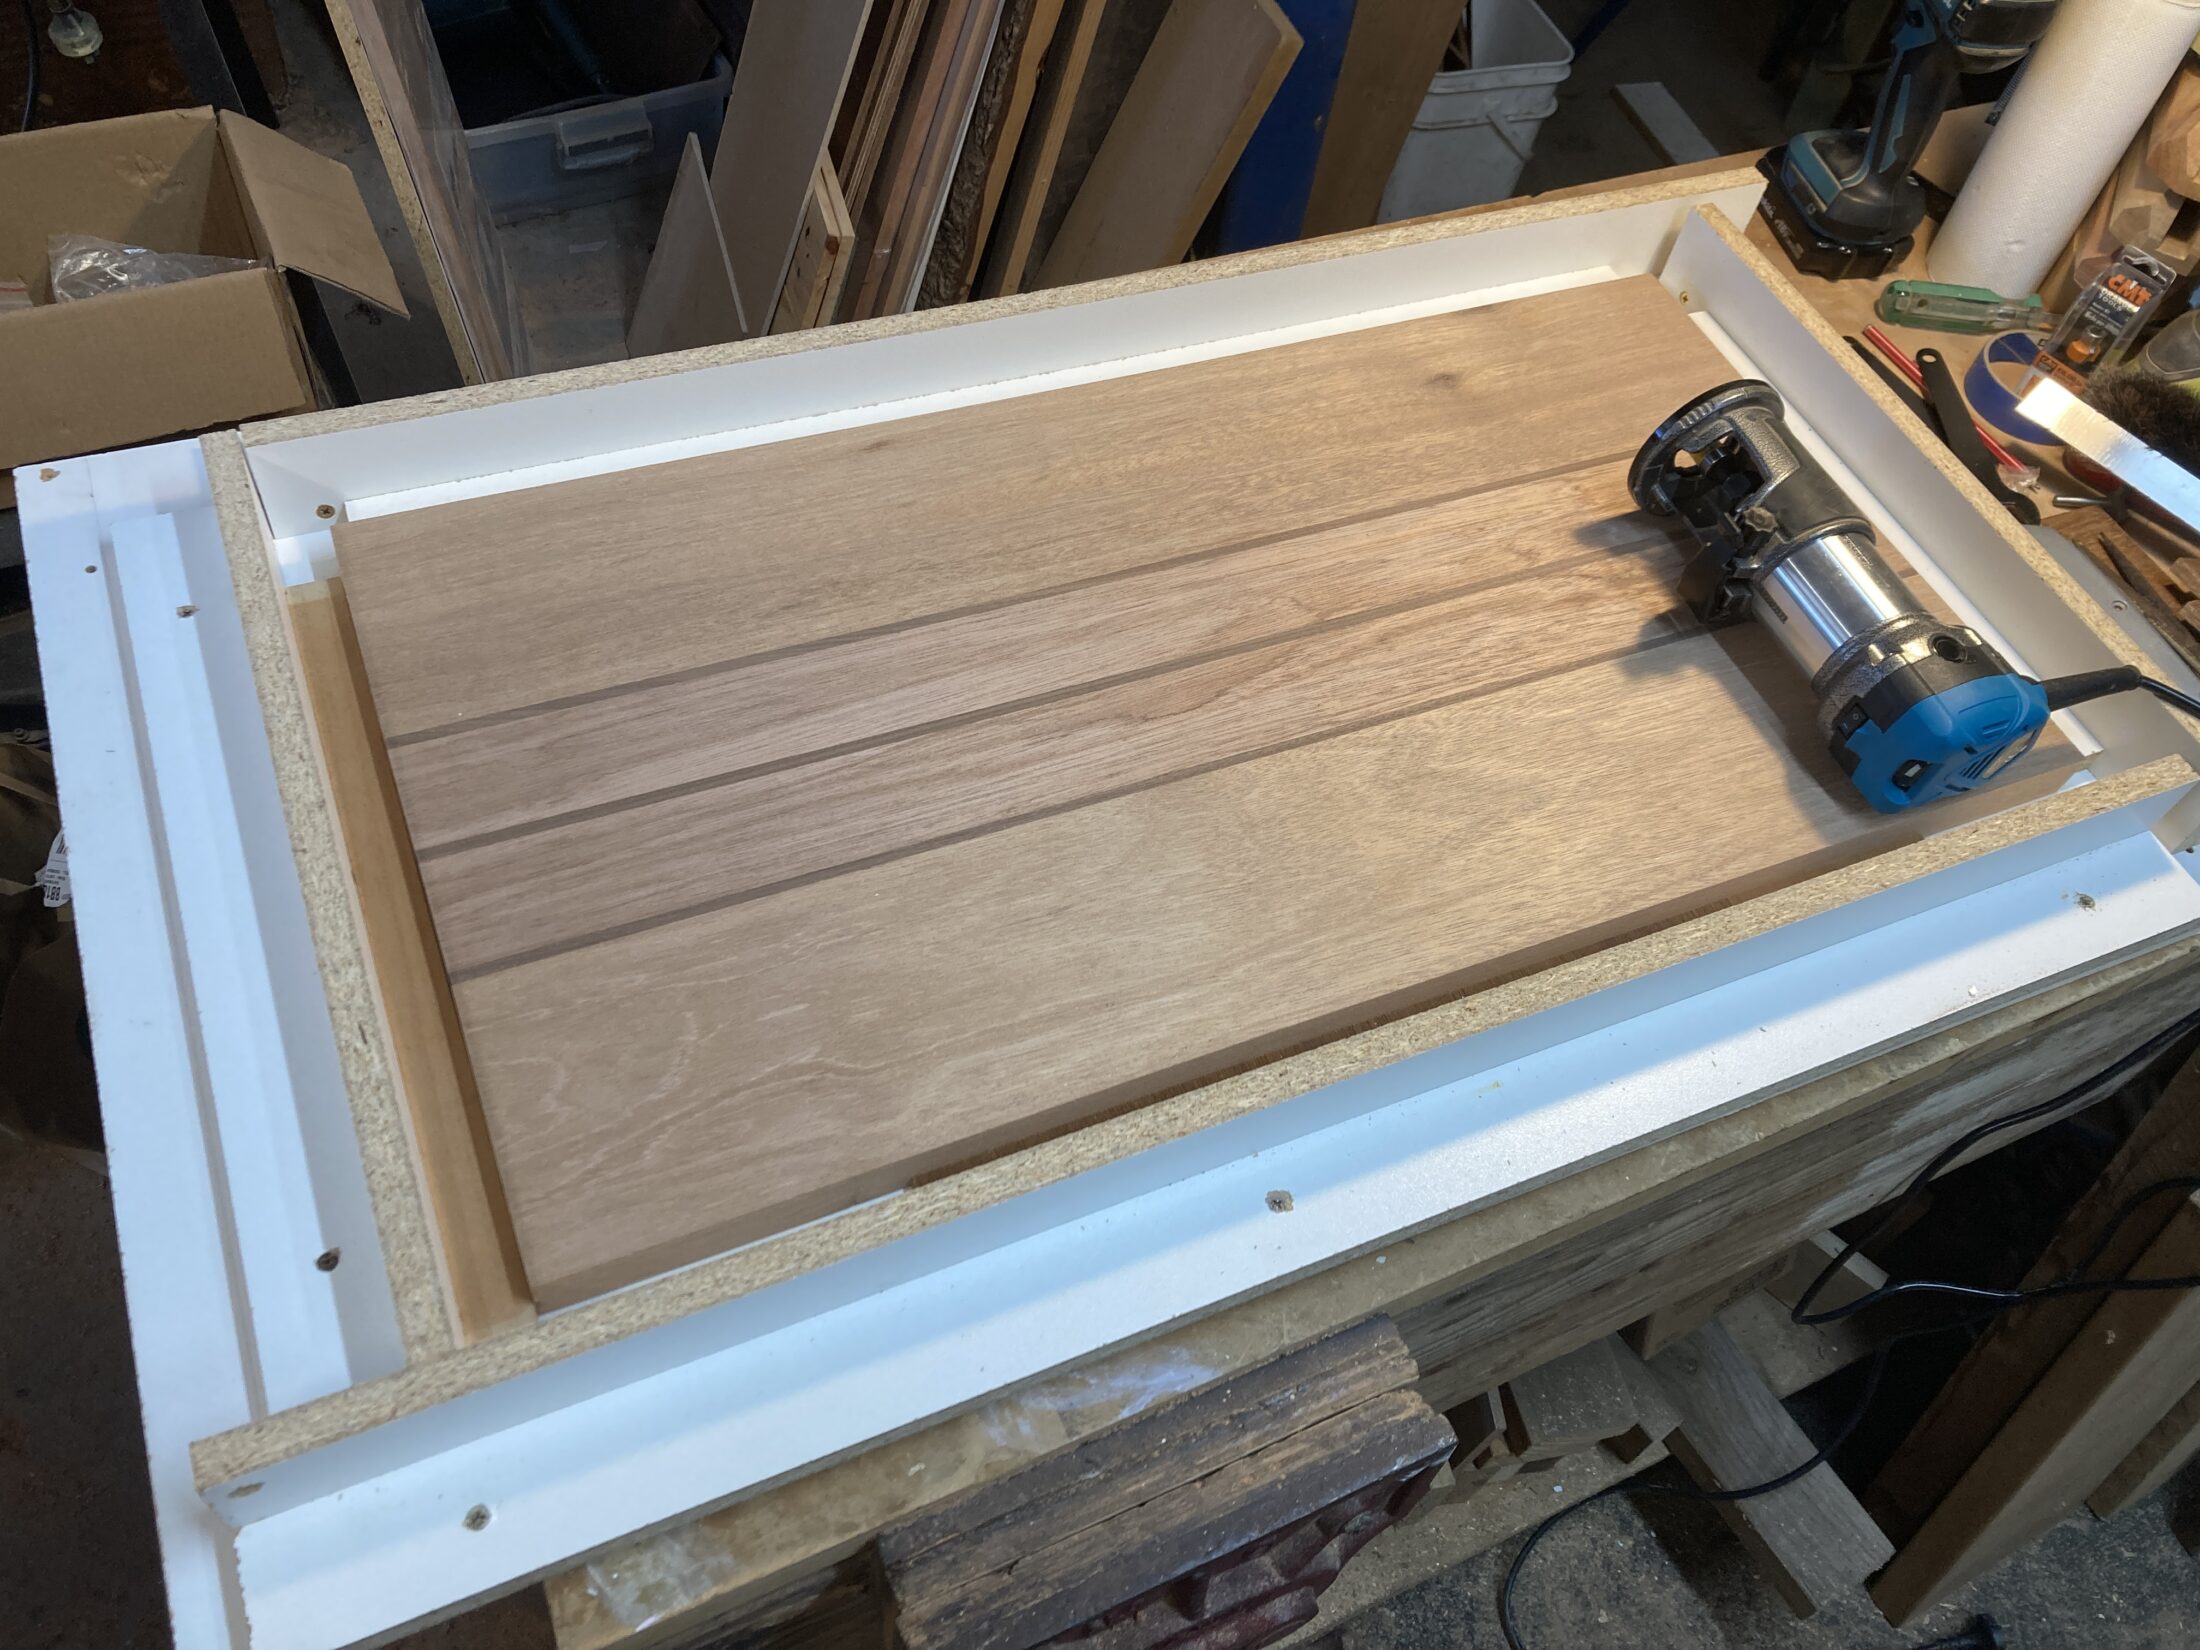
I then carefully routed around the board using a half-dome bit, being very careful to keep the router against the guides. This was a bit nerve-wracking, as I didn’t want to stuff up all the work I’d put in so far!
I did a couple of passes with the router, so it wasn’t cutting too deep on each pass. I then did a final pass, lowering the bit just a millimetre or so – this removes very little material, but cleans up the burn marks from previous router passes.

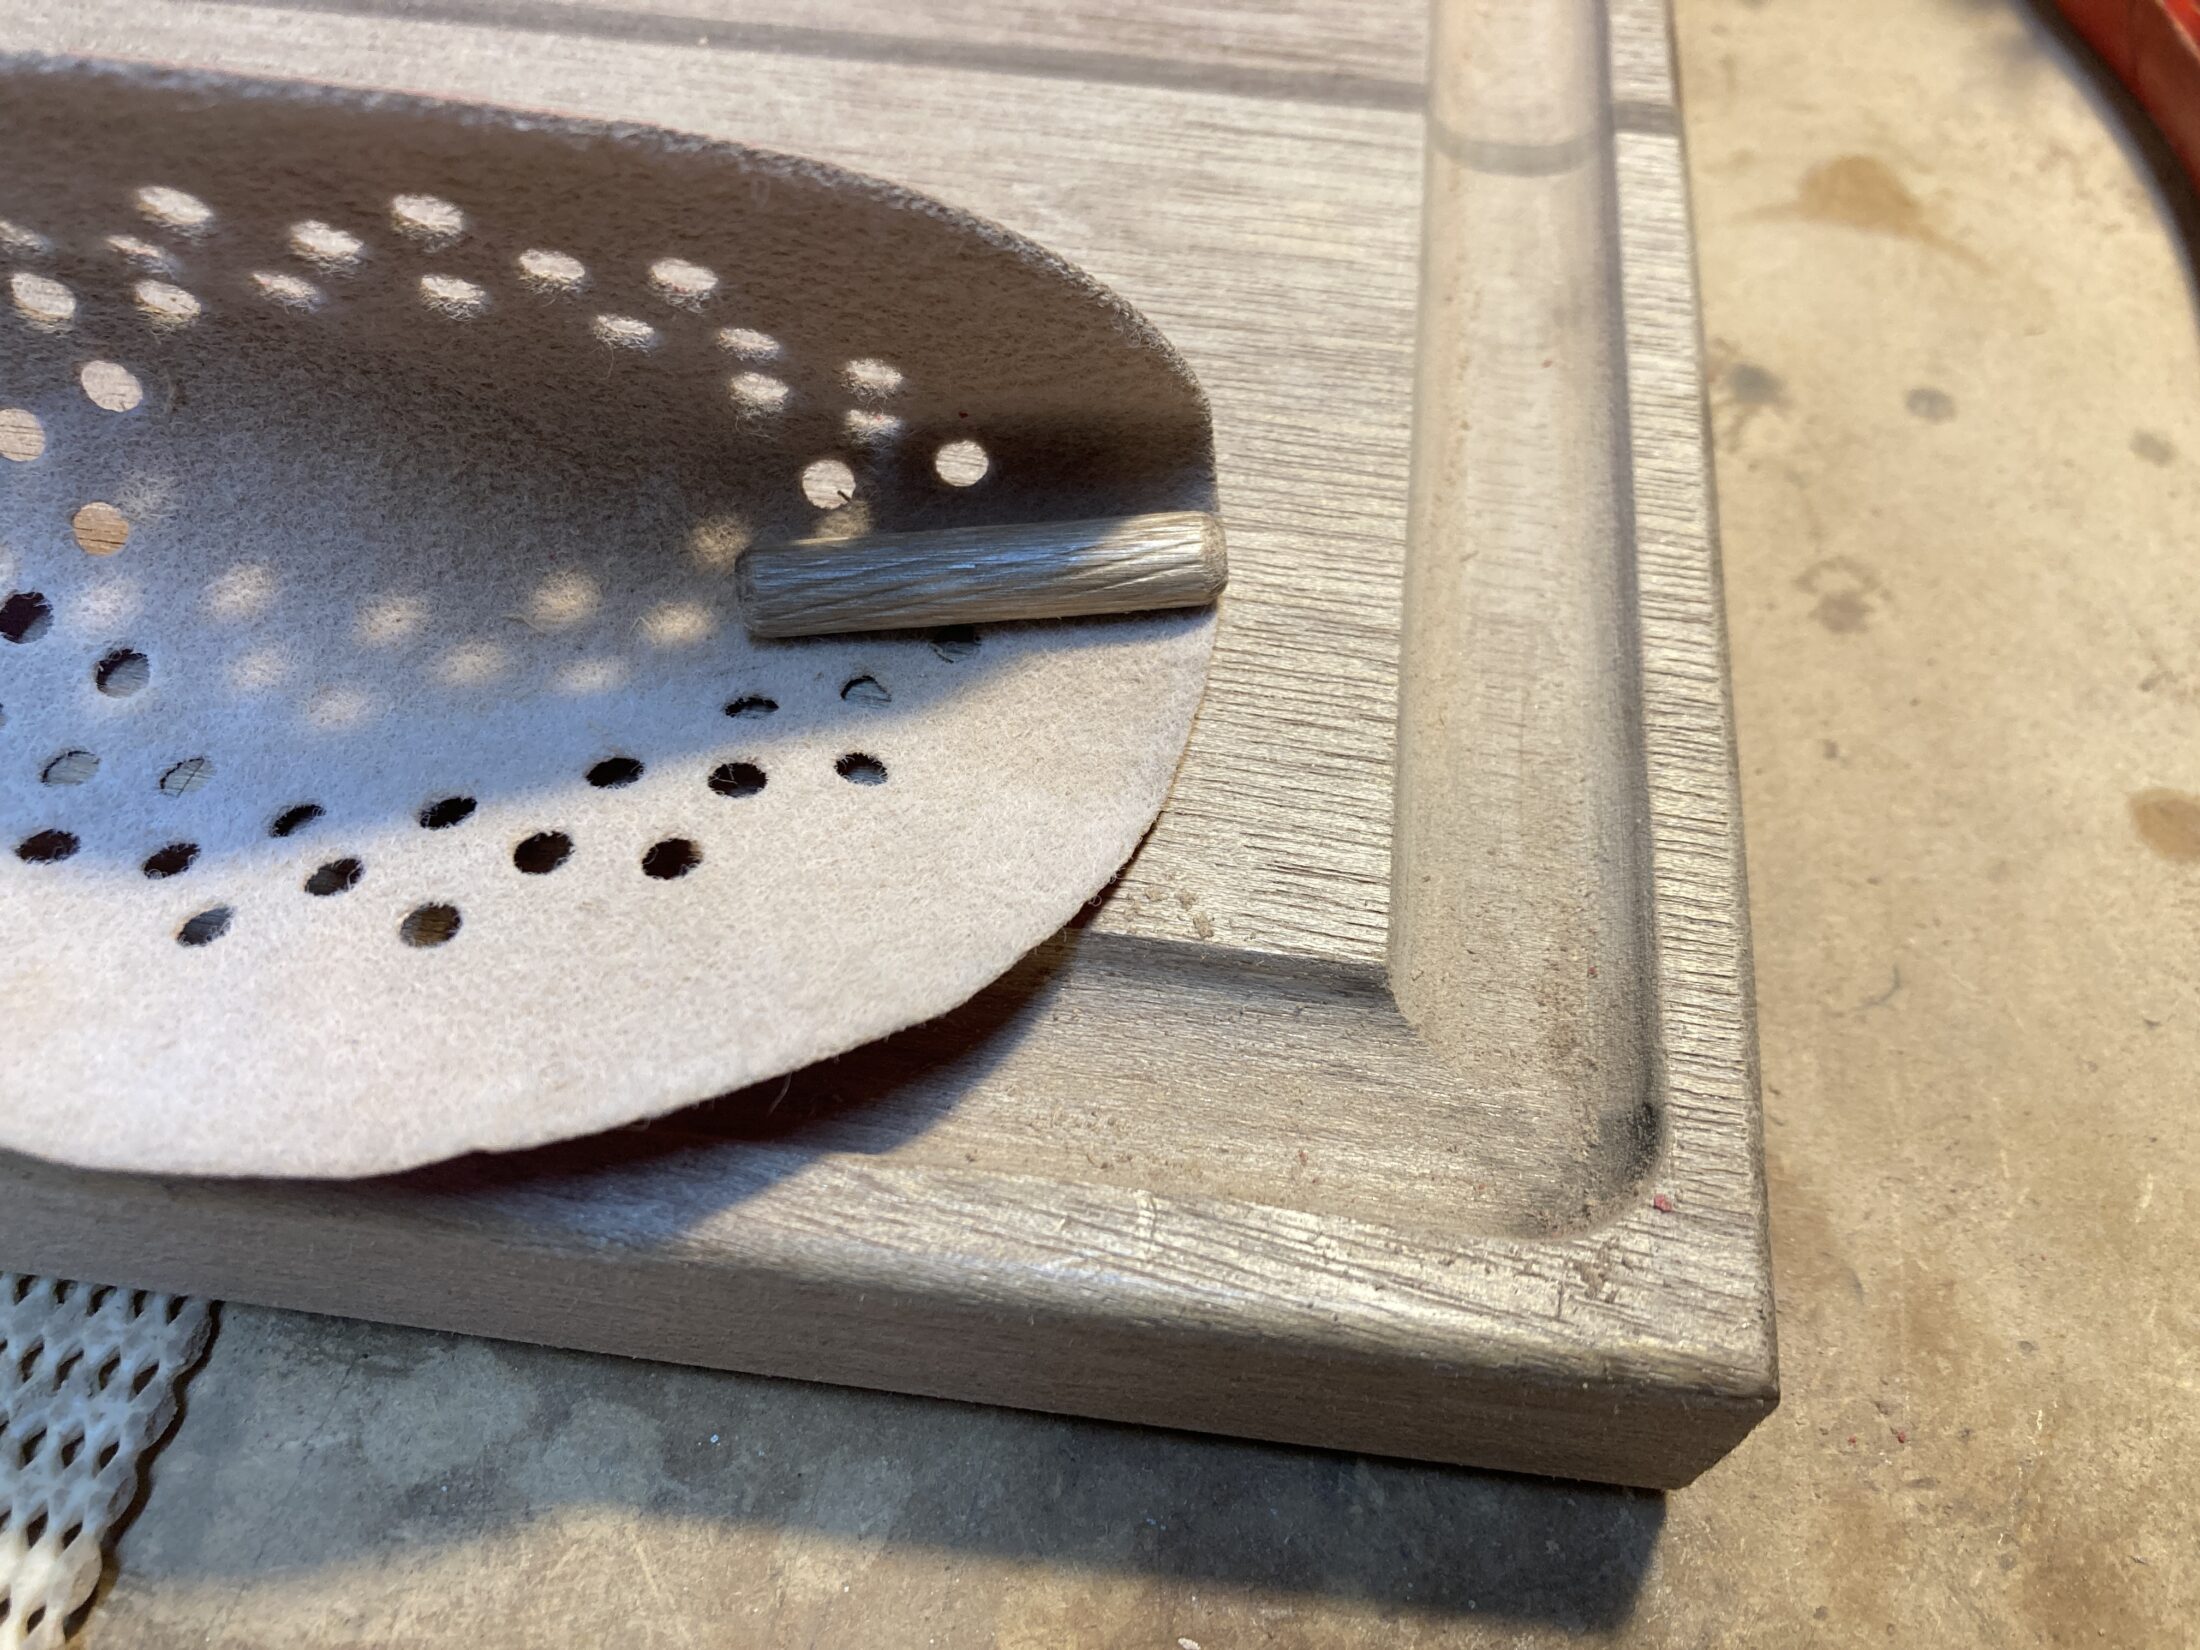
I cleaned up the juice grooves using a piece of dowel wrapped in sandpaper.
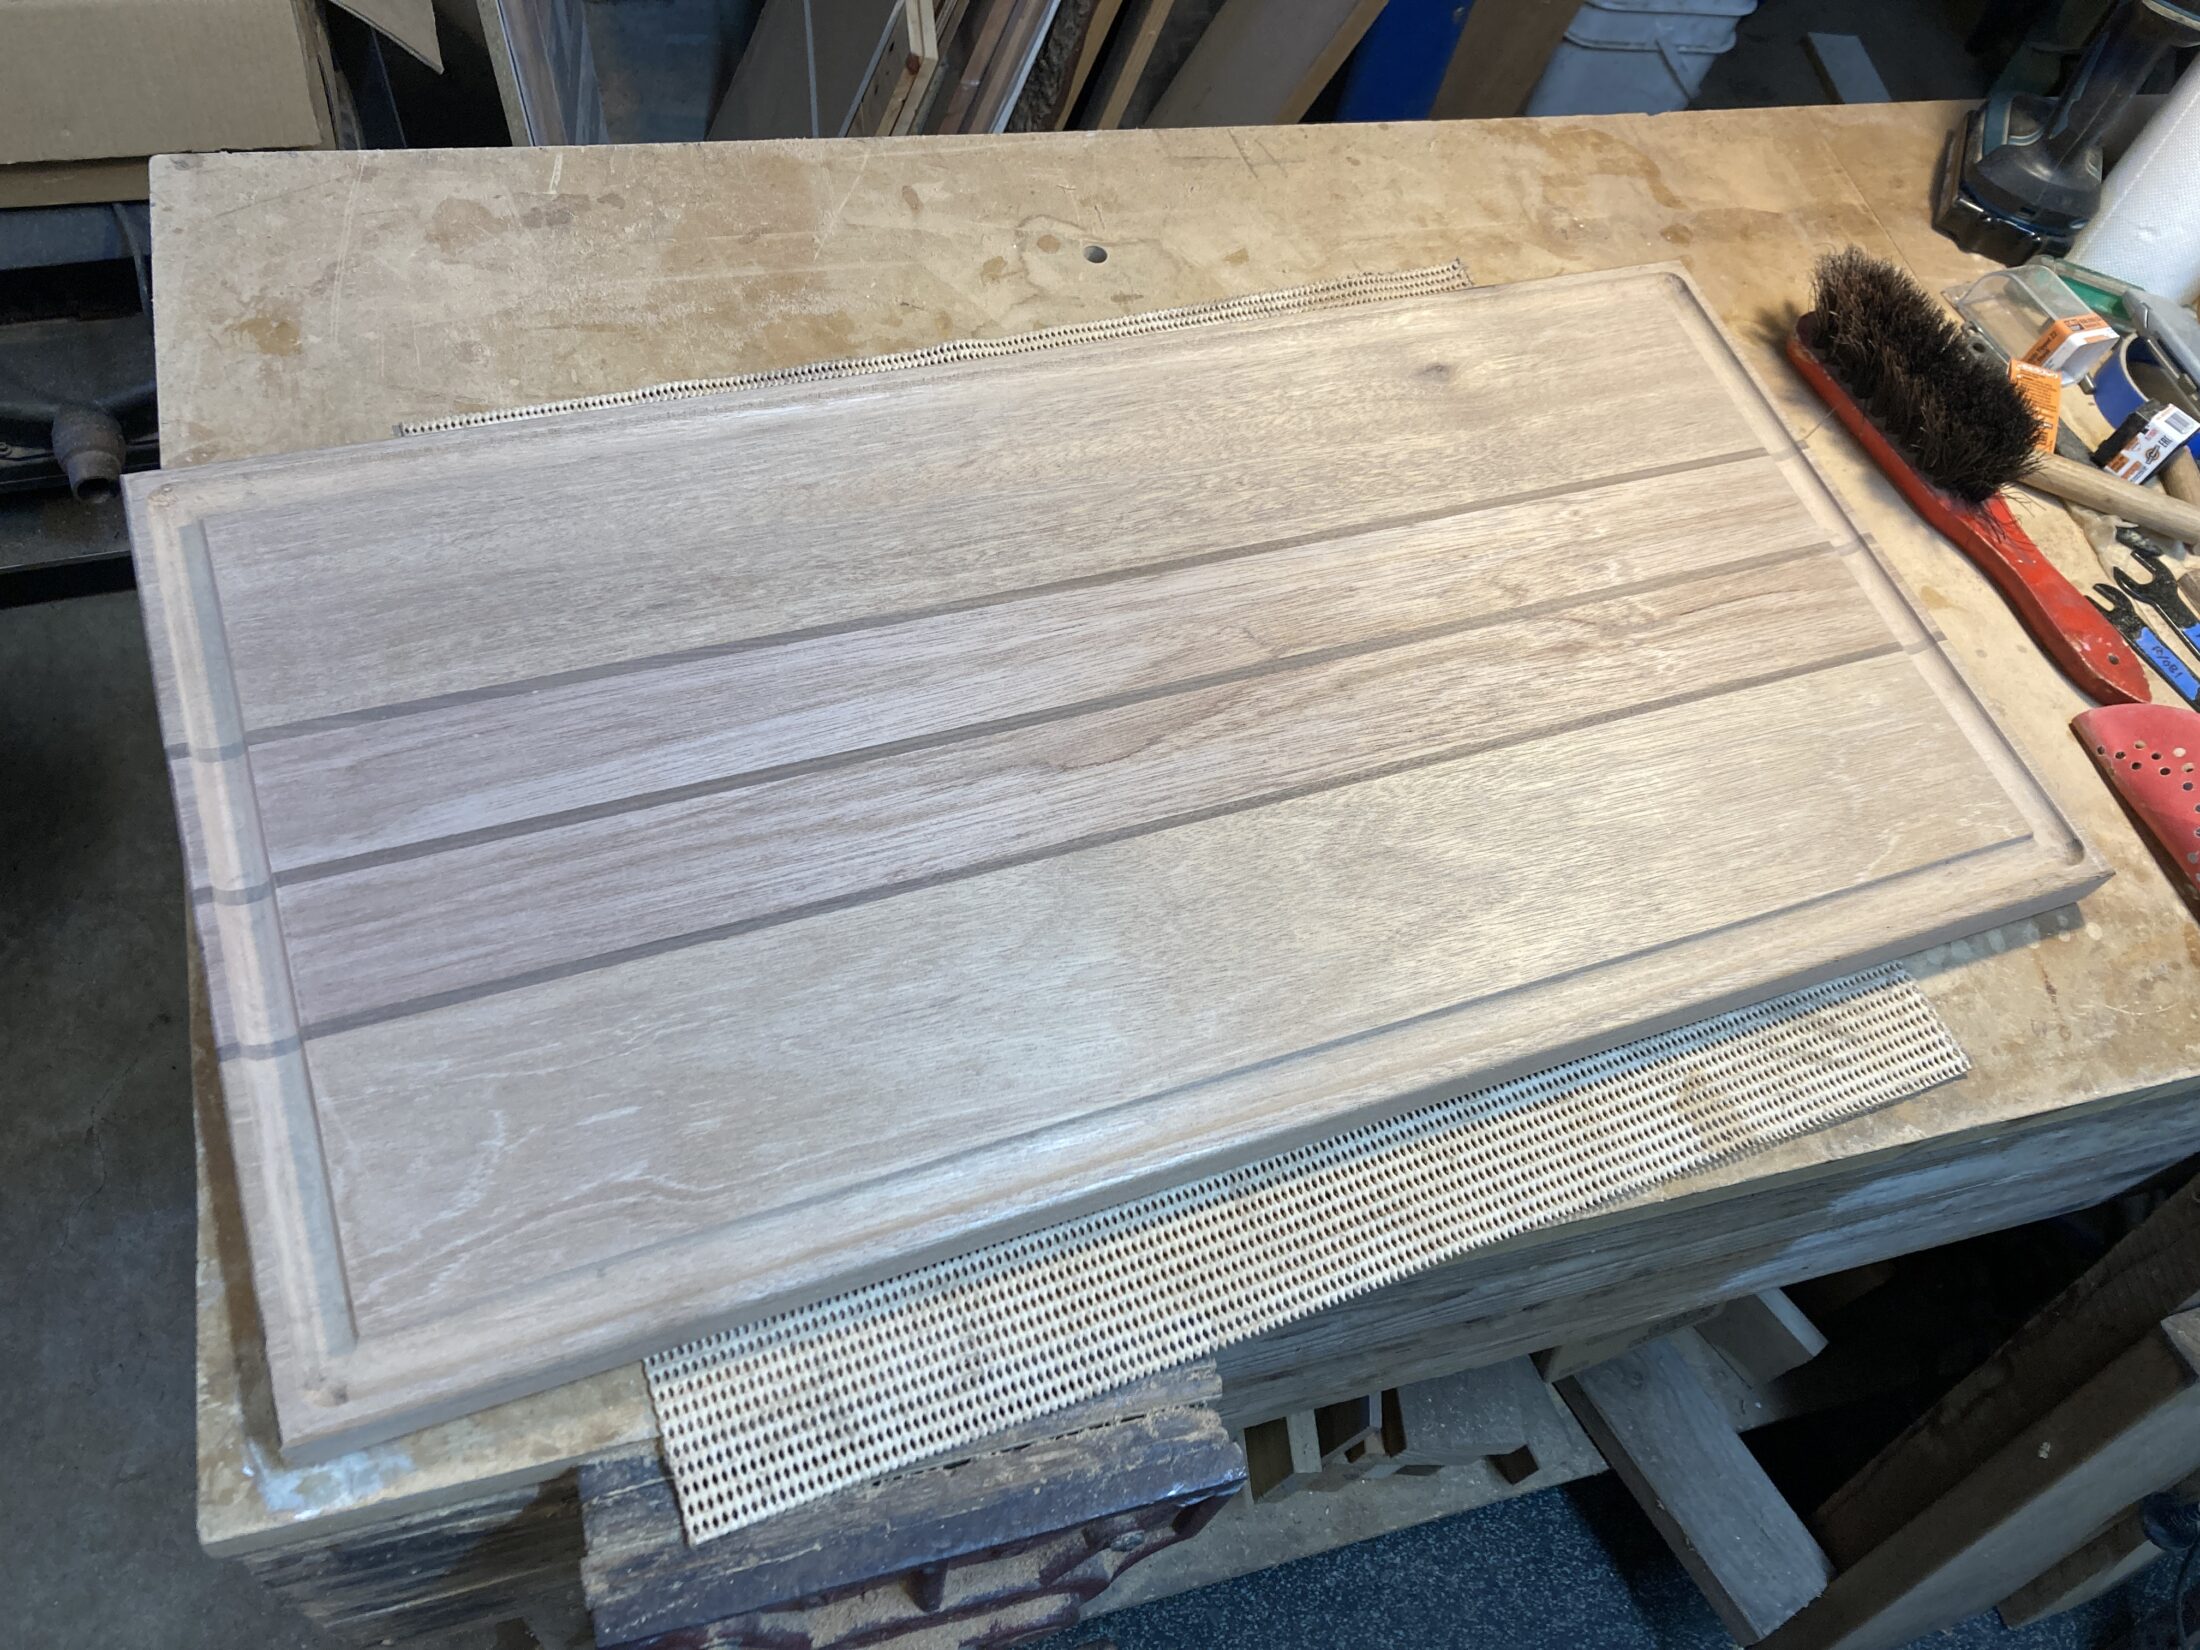
Then I sanded the board again with 180 grit, then 240 grit, and then “water popped” it. This involves spraying the board with water, waiting for it to dry, and then sanding again with 240 grit. The water makes the loose timber fibres pop up above the surface, and they remain like that when they dry. A second pass with 240 grit sands off those “popped” fibres, and ensures those fibres won’t swell and make it feel rough when the finish goes on.
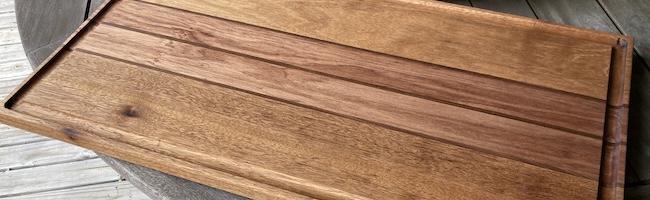
Next up was a coat of food grade mineral oil, and then I came back the next day to treat it with my board butter (a combination of mineral oil, beeswax and carnauba wax). I gave my friend a tin of board butter as well, so he can keep it in good condition.
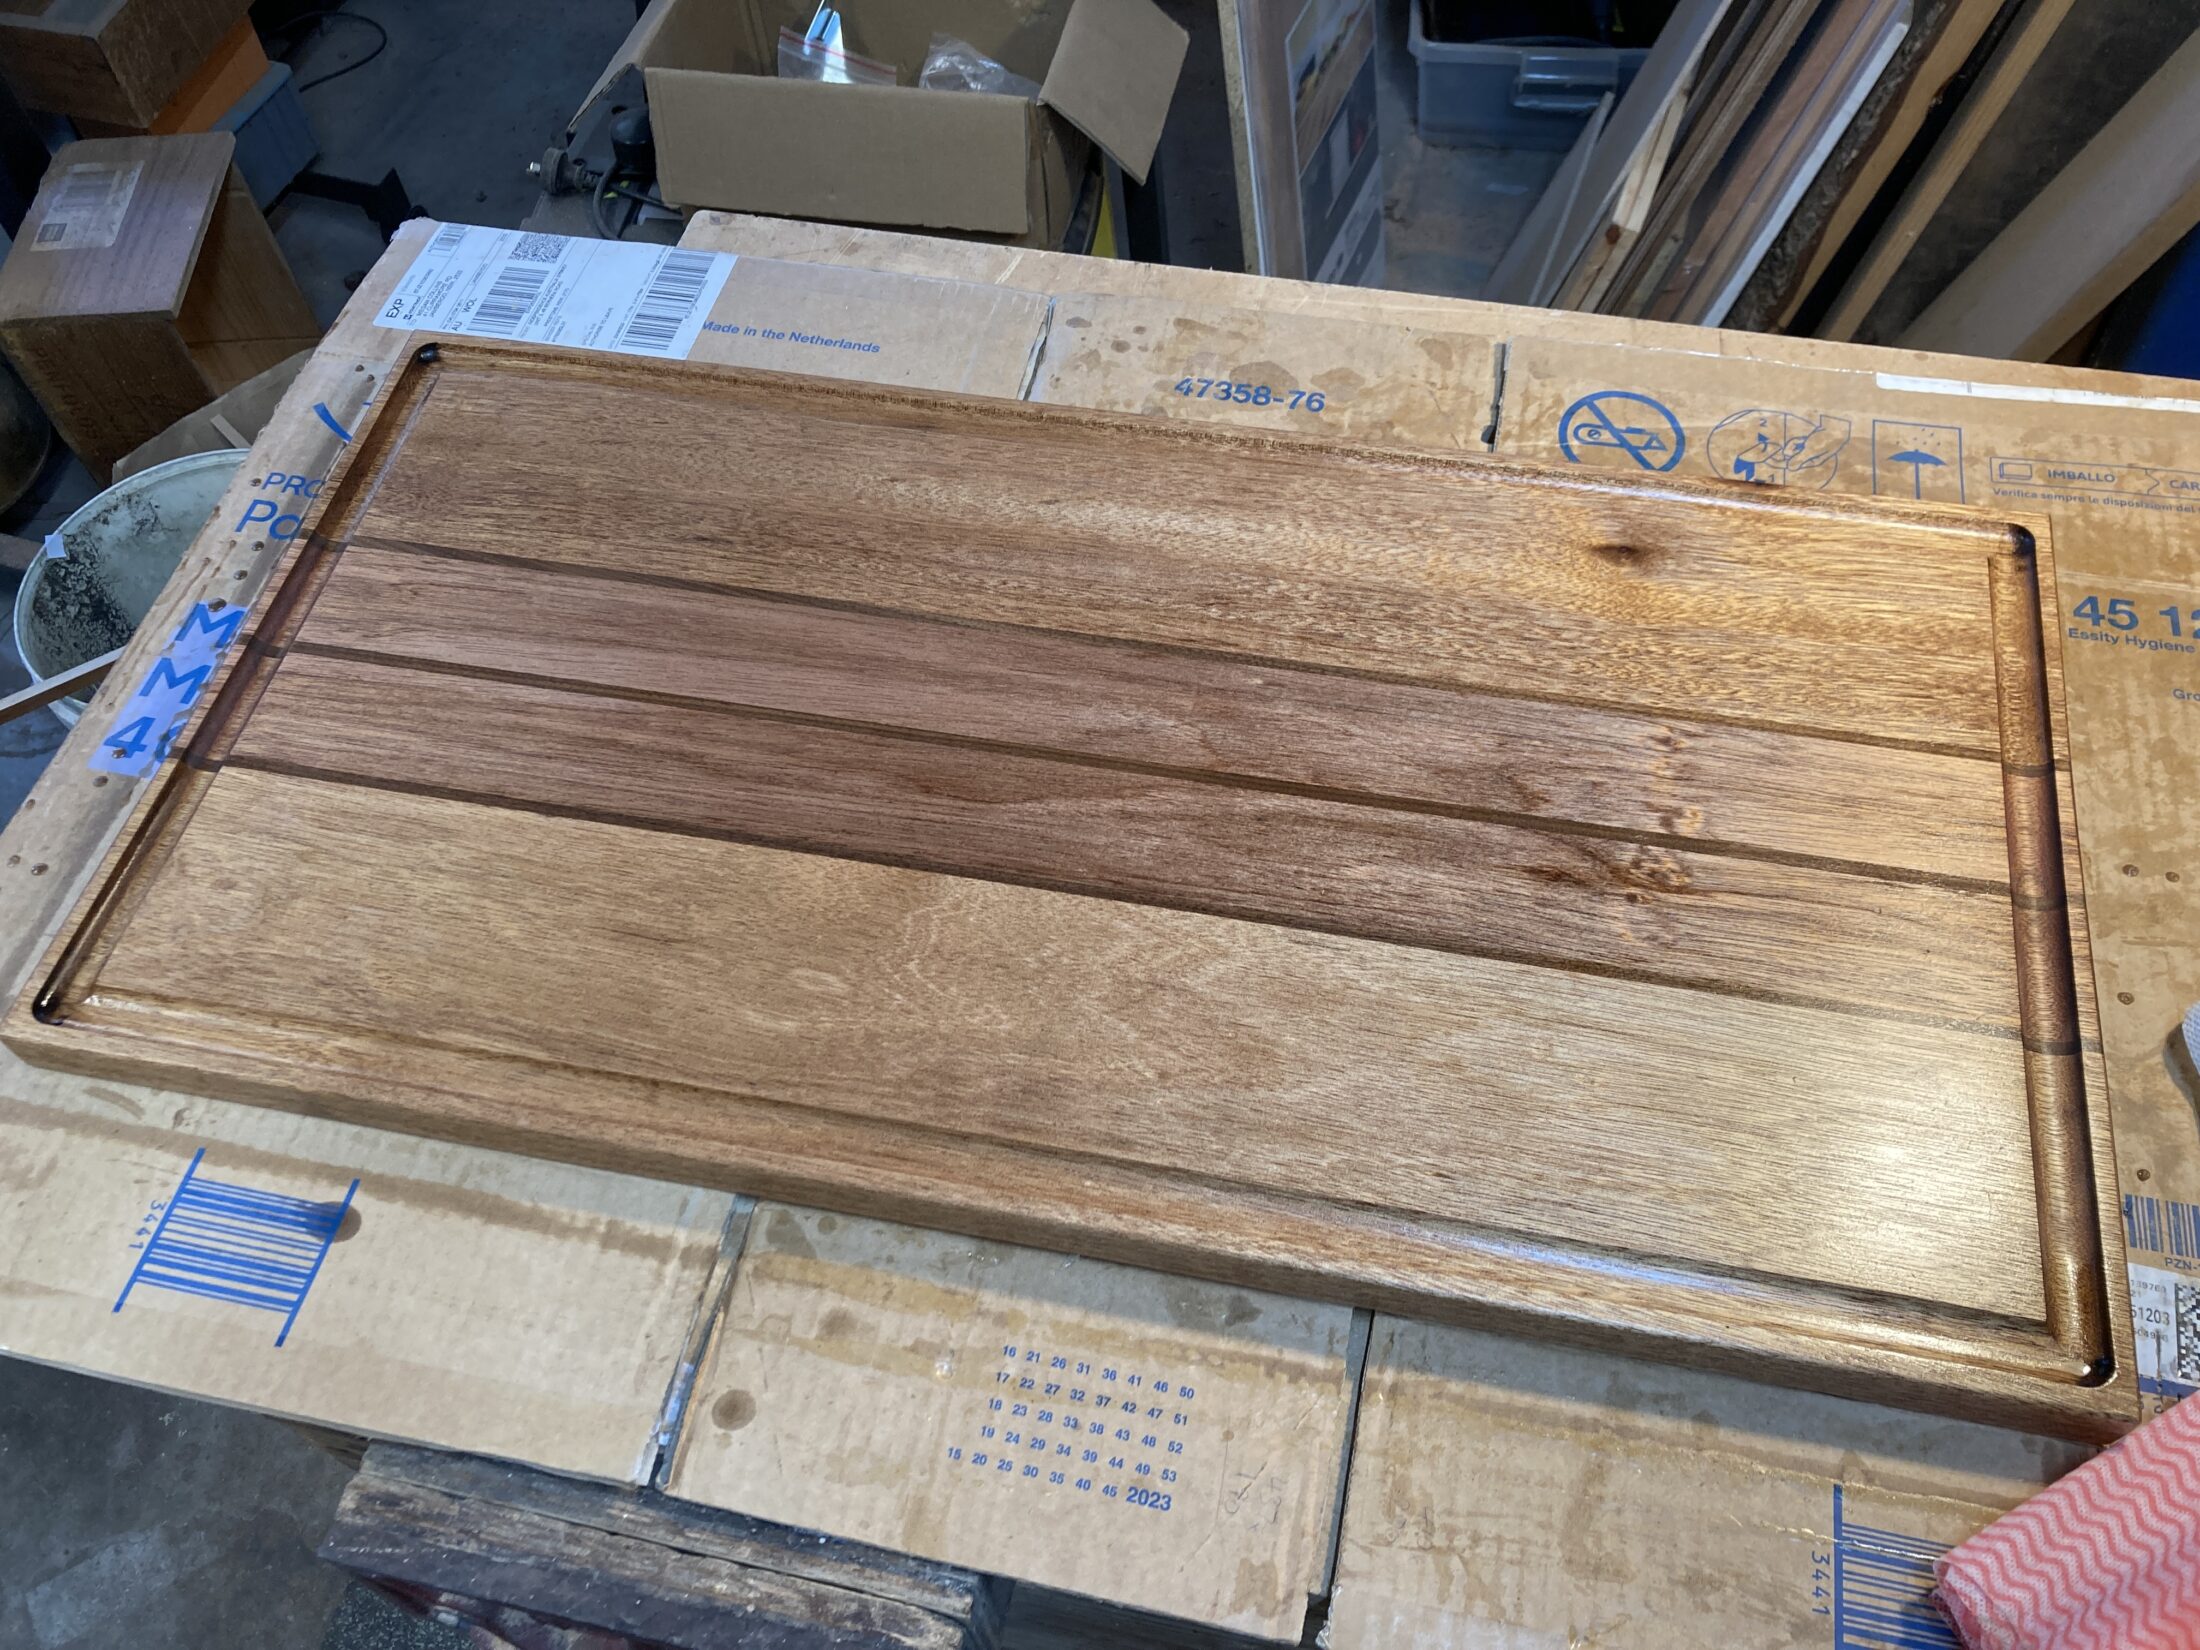
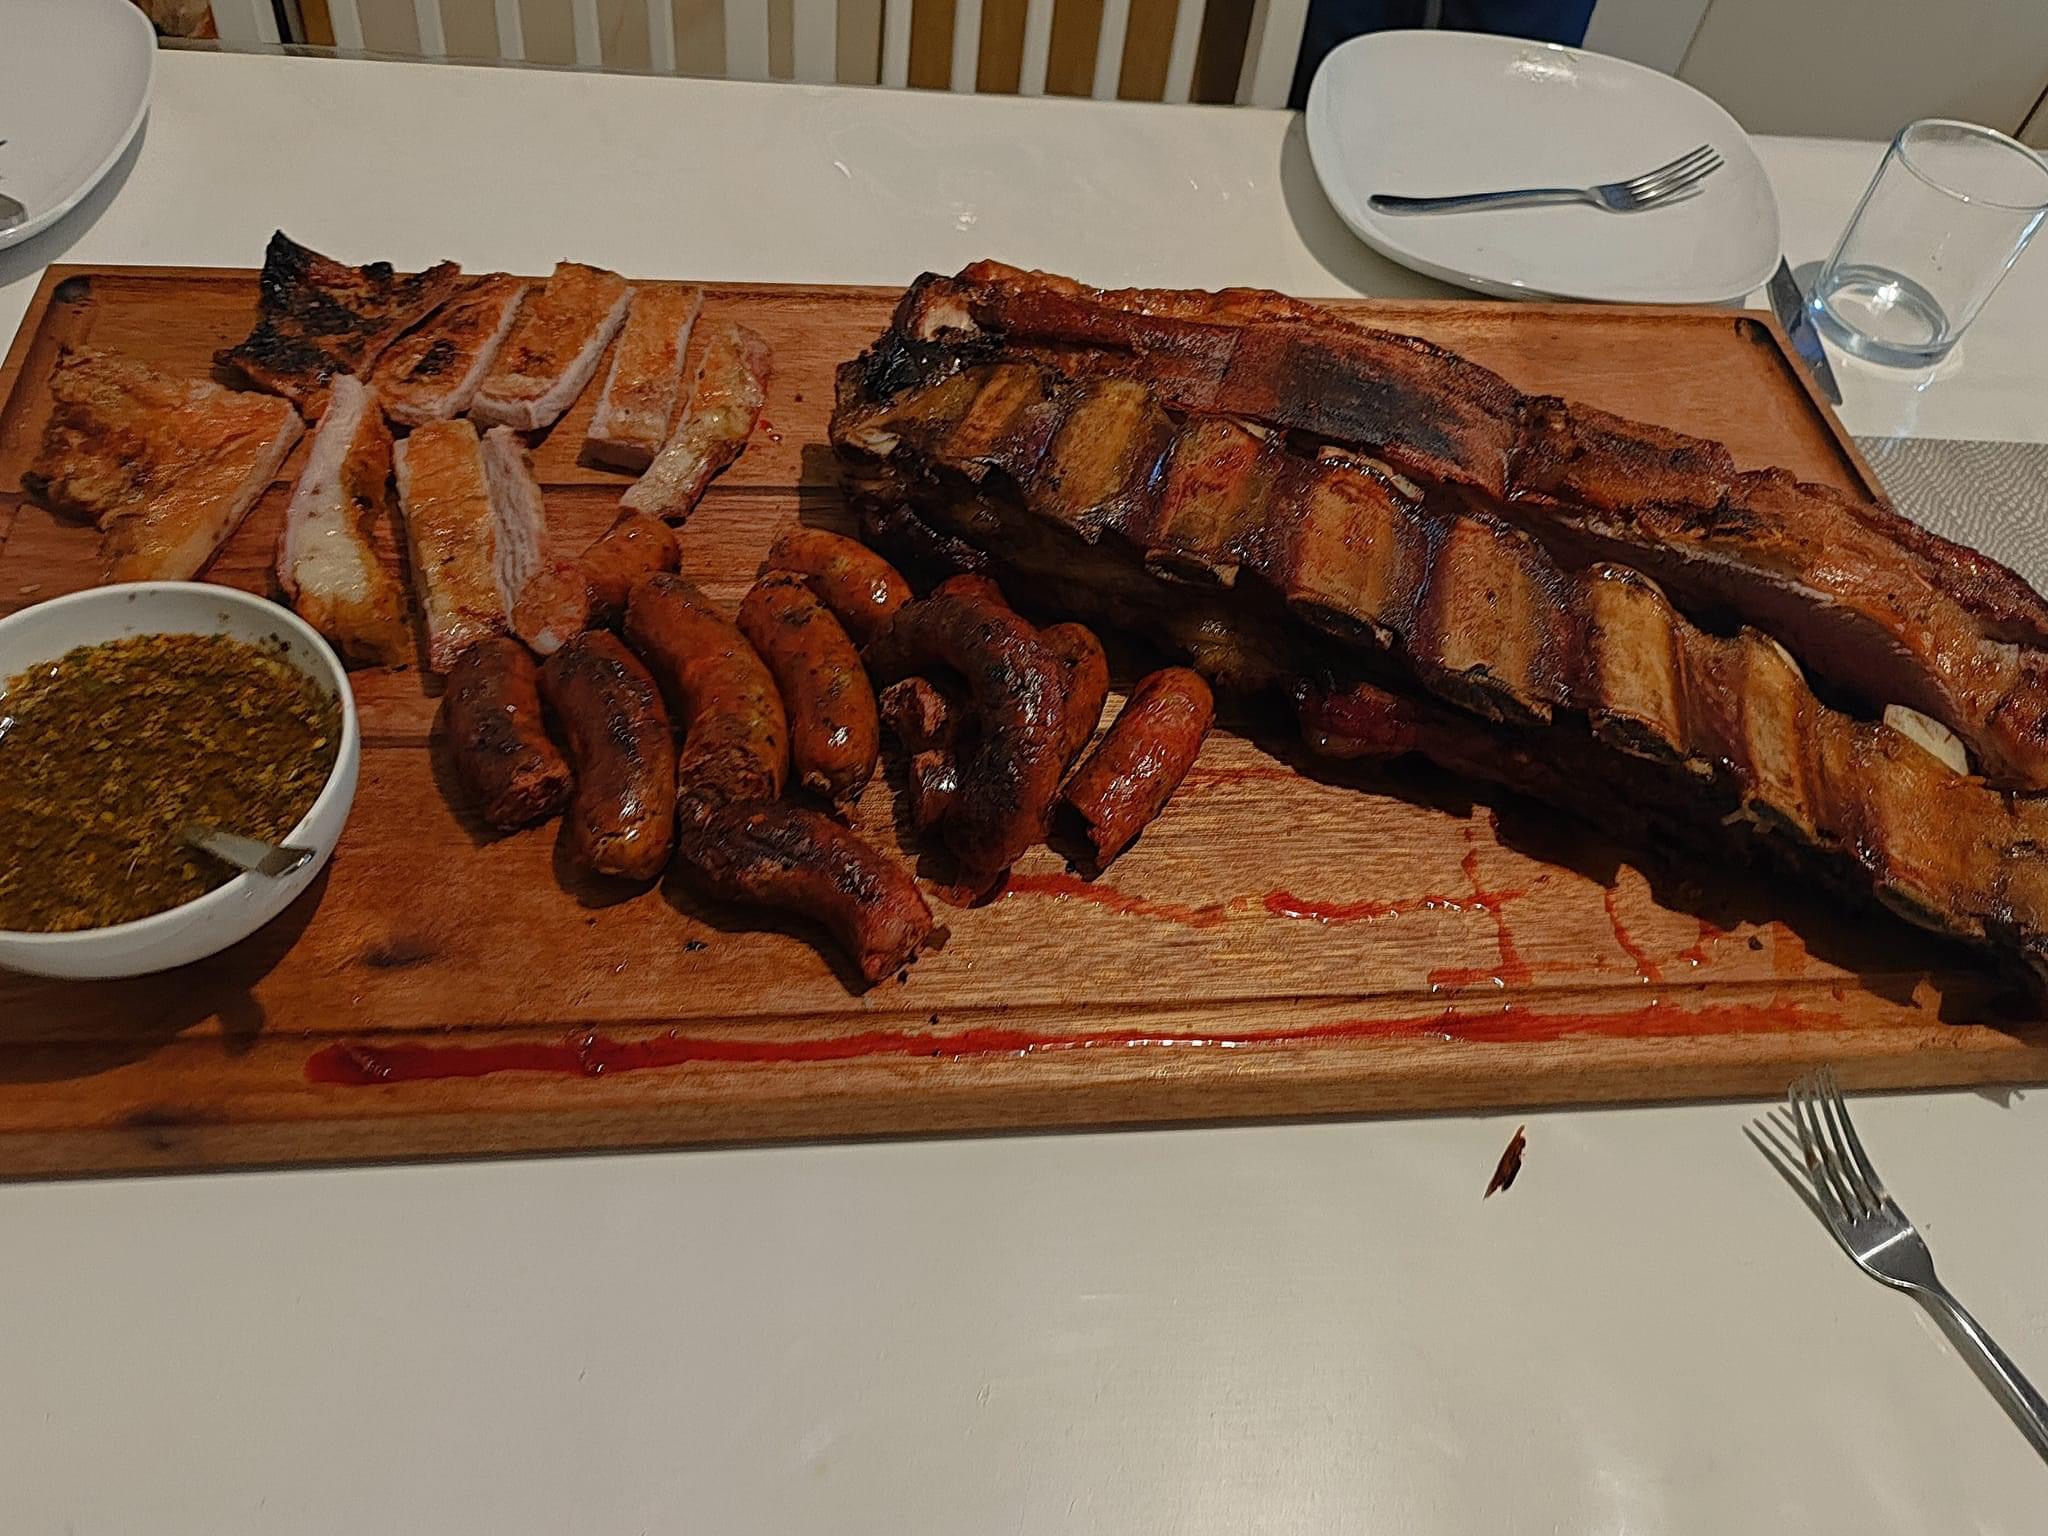
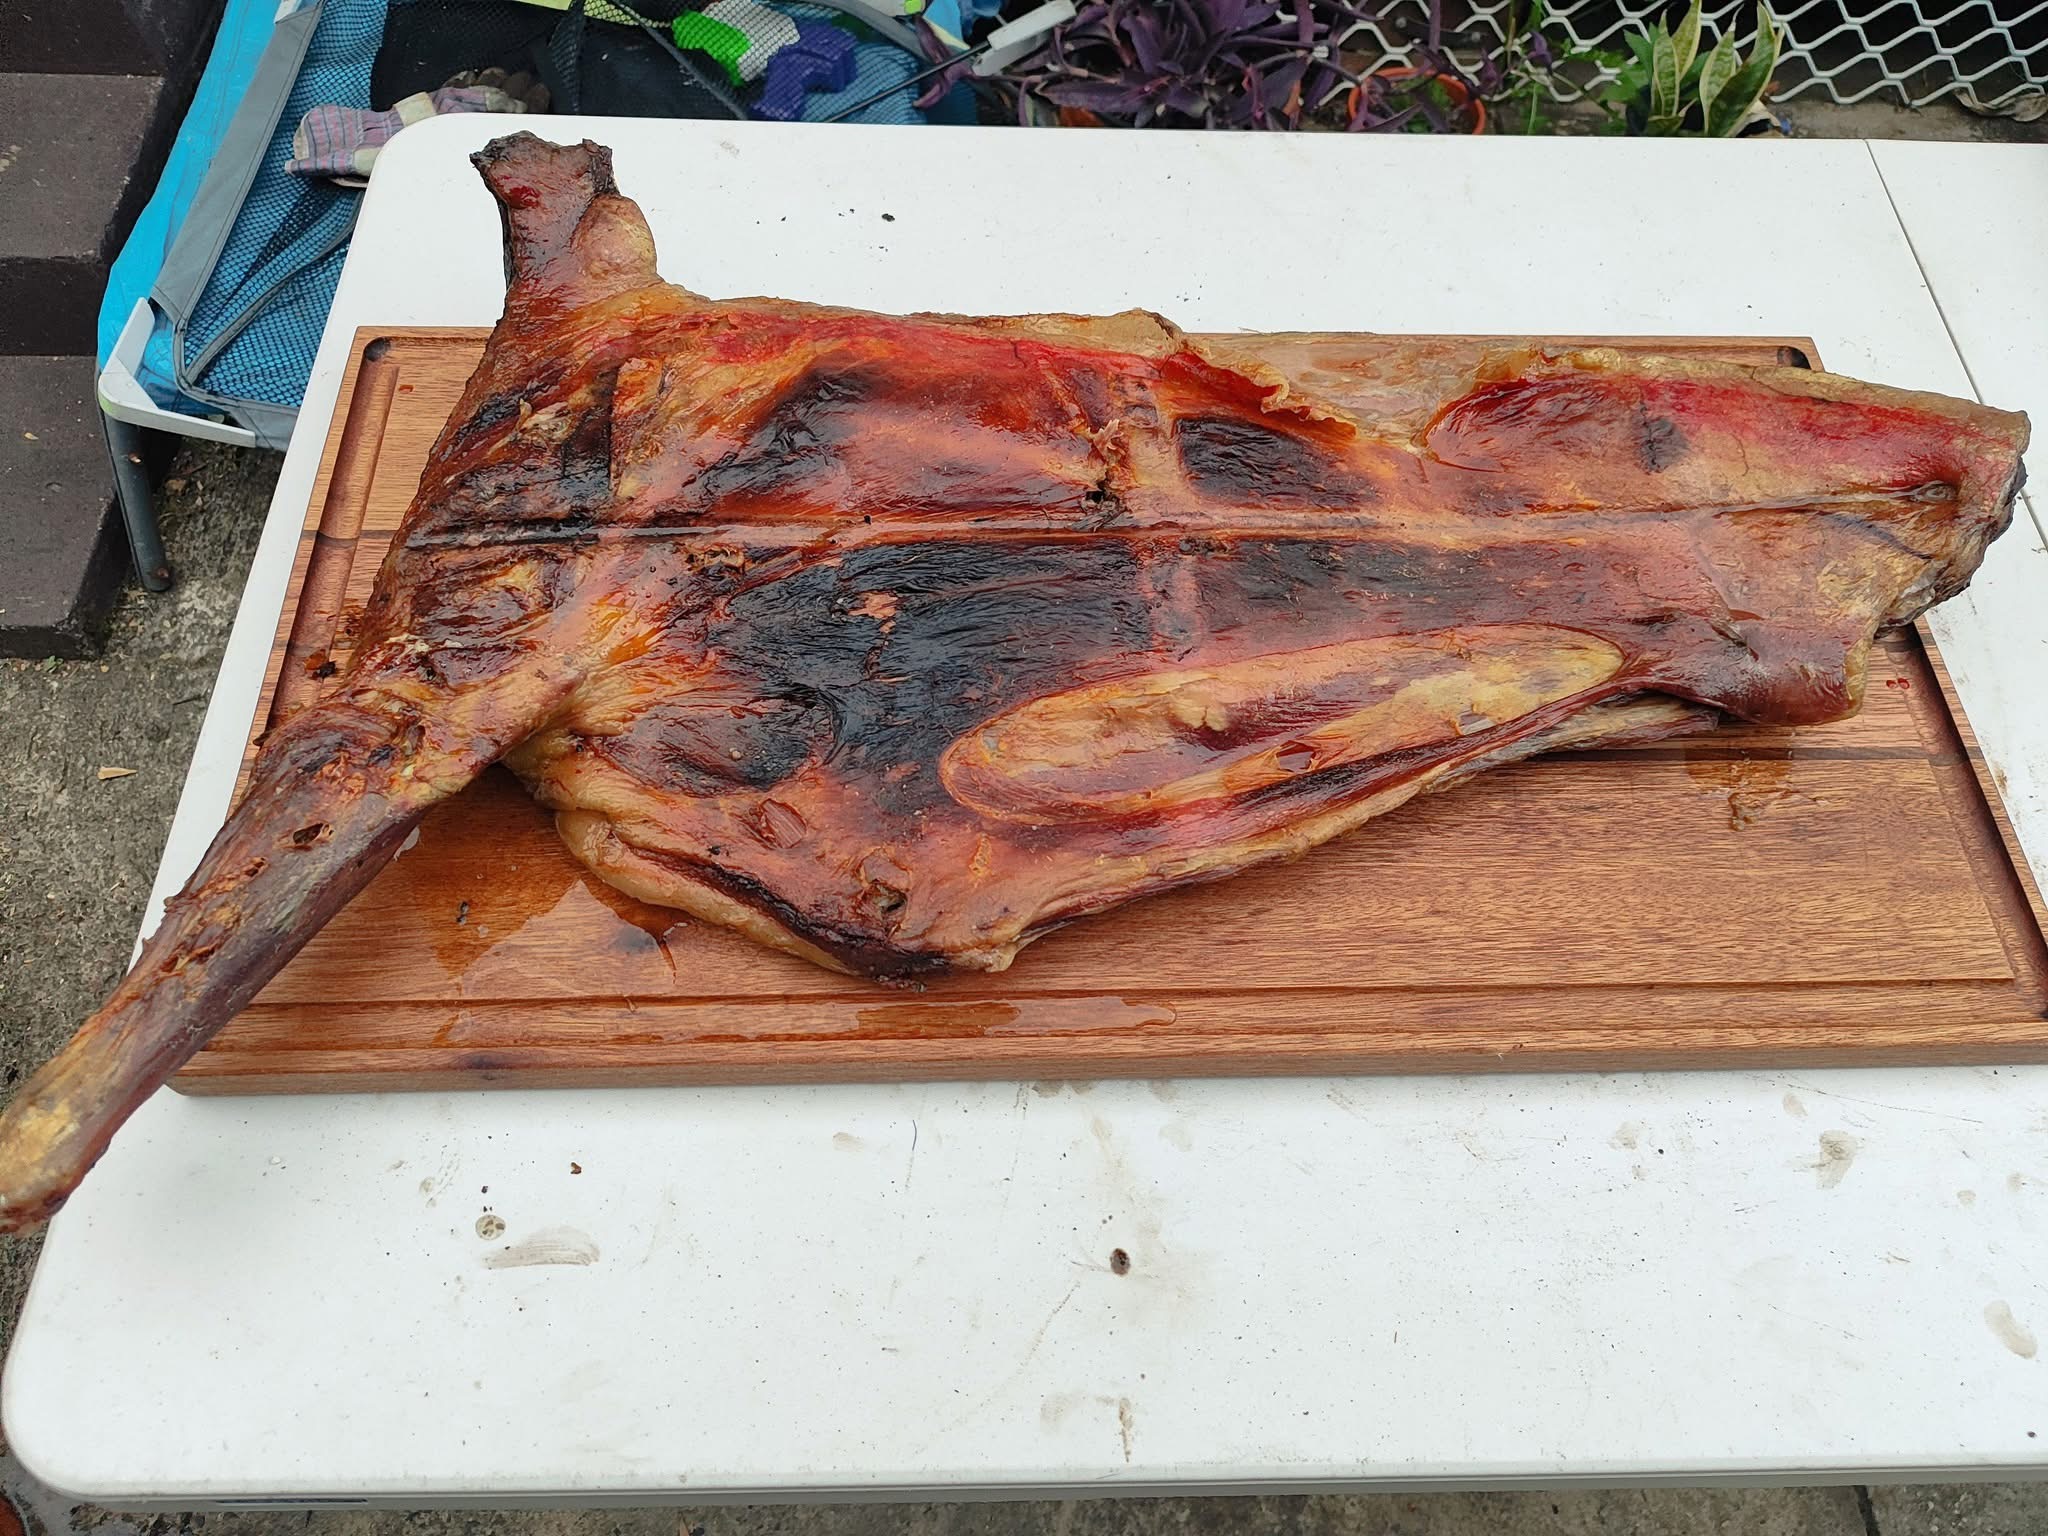
I was really happy with the final result, as was Juan! He later sent me some photos of the board in use – he loves it, and uses it every time he does a barbecue.