A friend gave me a nice small log of wattle after cutting a tree down, and I was keen to have a go at milling it.
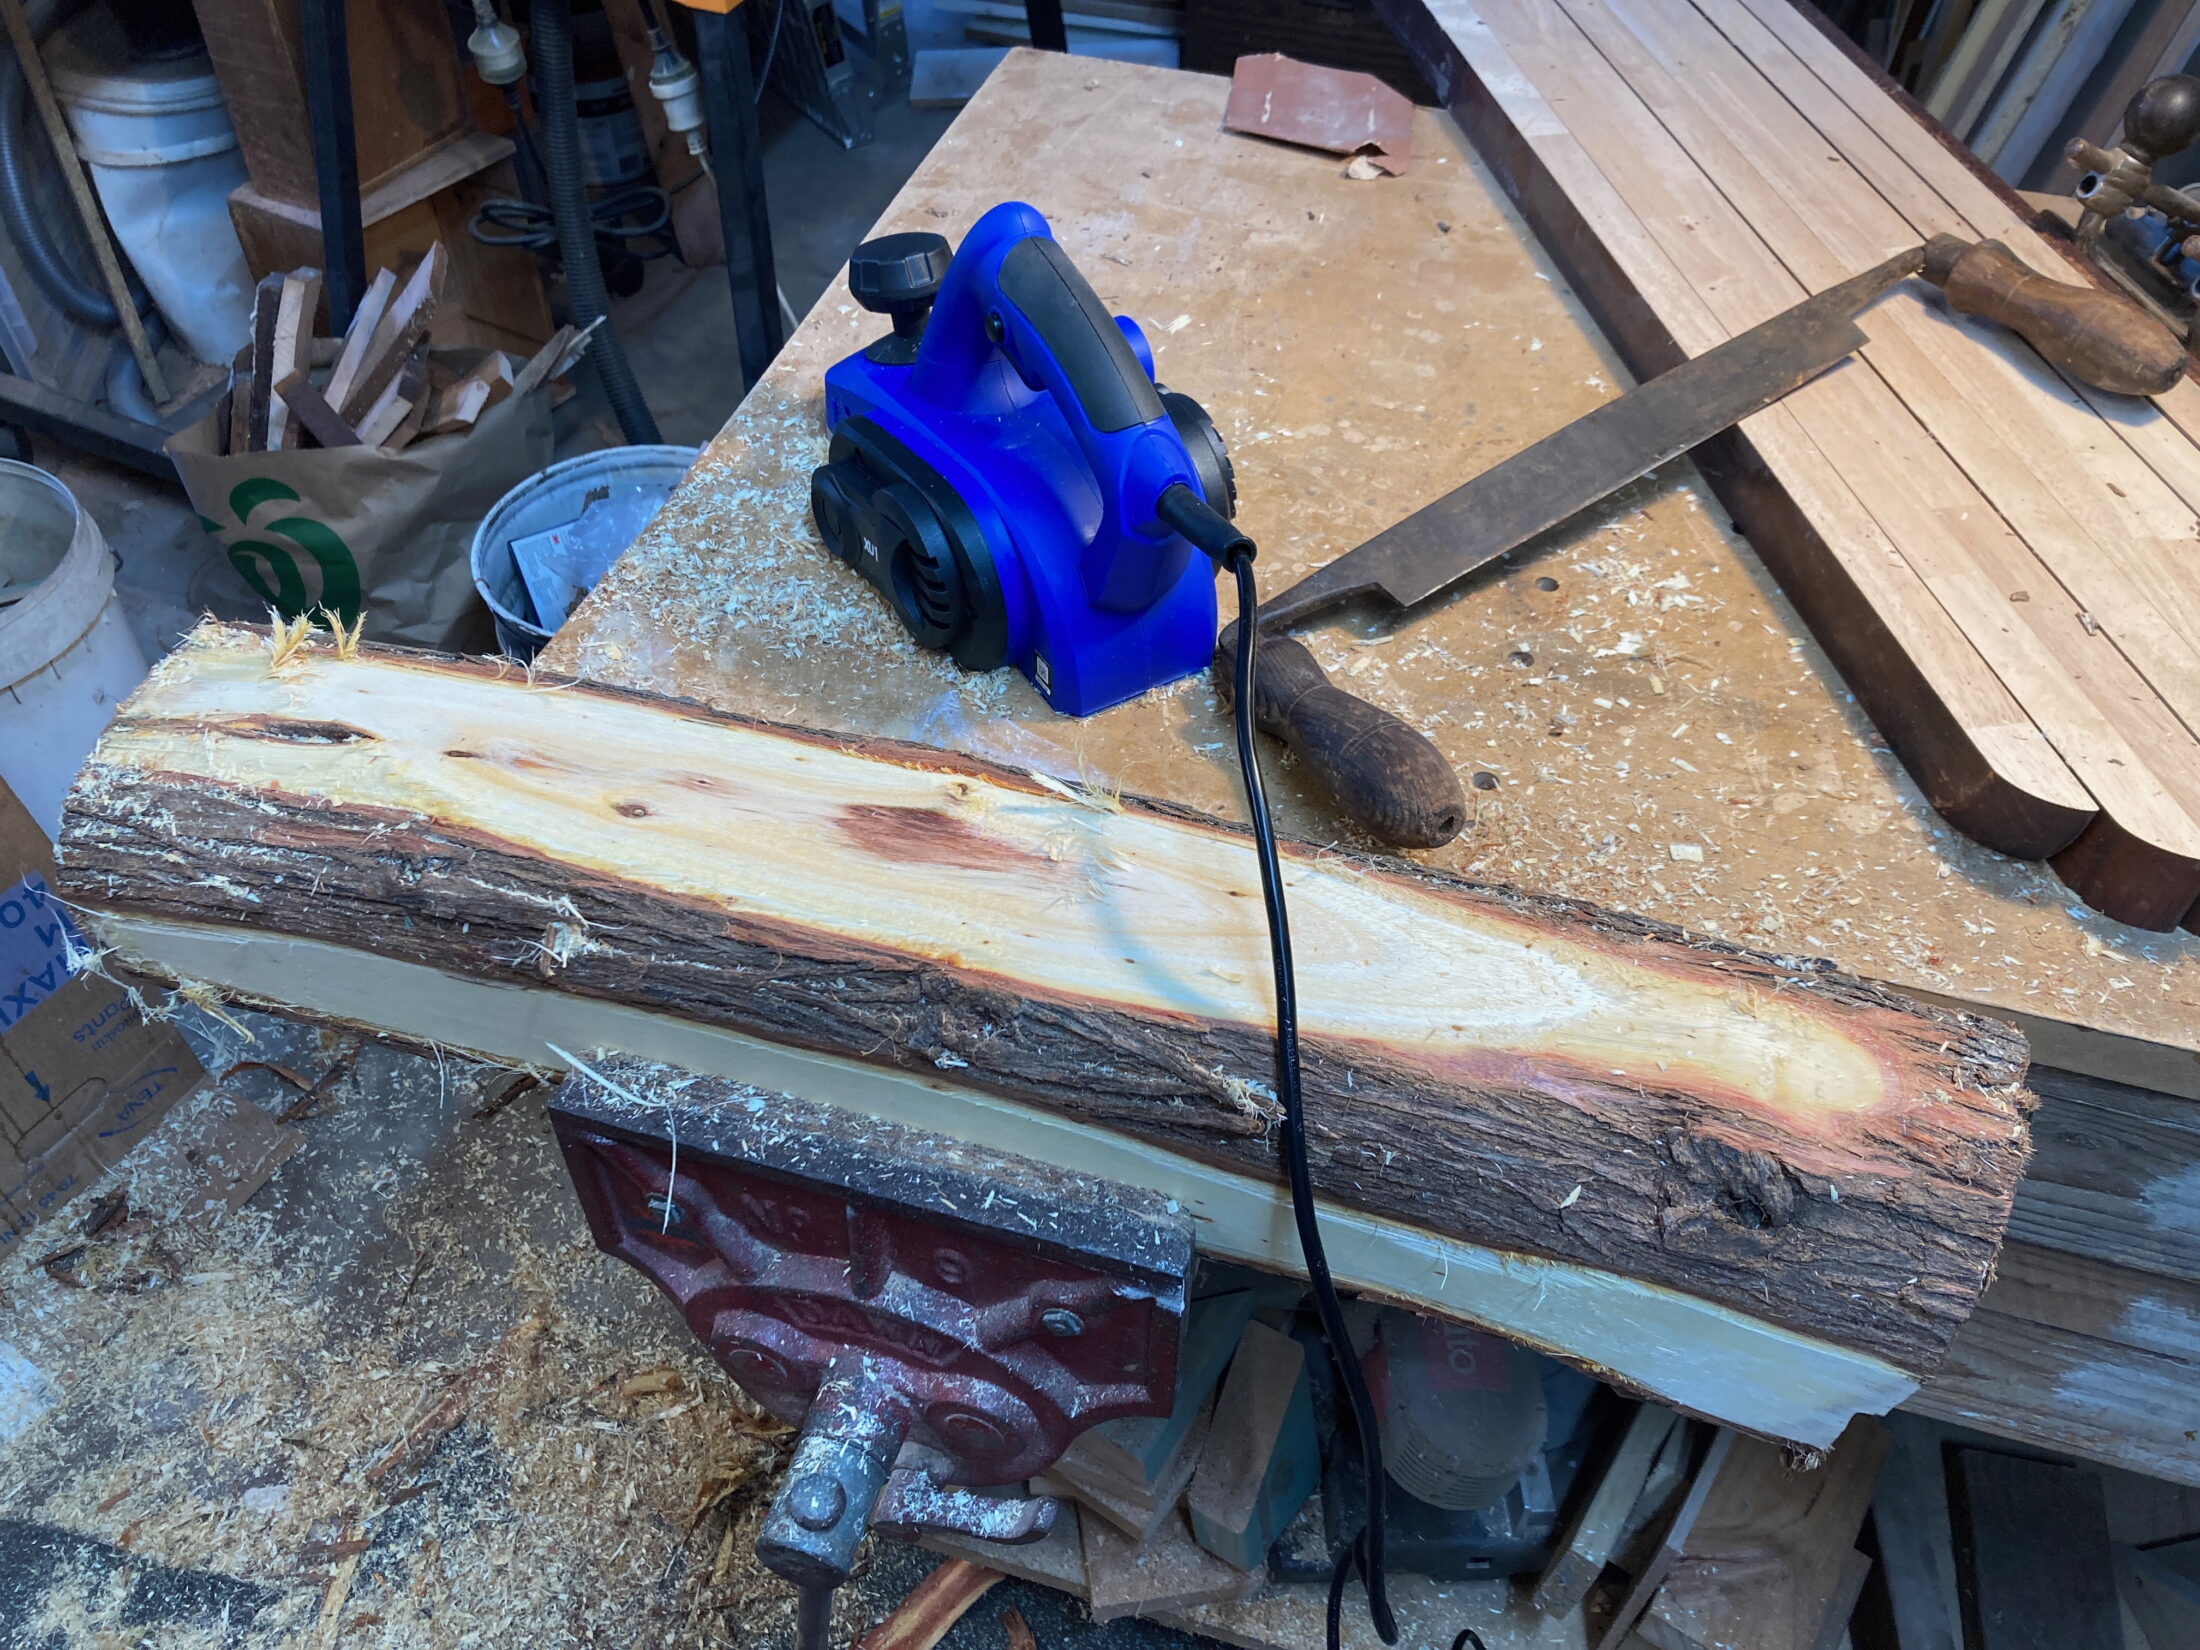
My first challenge was to get some flat reference surfaces on the log. I used a draw knife to clean the bark off the log, and an electric plane to get some roughly-flat sides on it. Initially, I just got two sides flat and square to each other.
I then tried to cut the log on my old bandsaw (before I bought the new, bigger one!), but it was underpowered and the blade wandered, so this was not very successful.
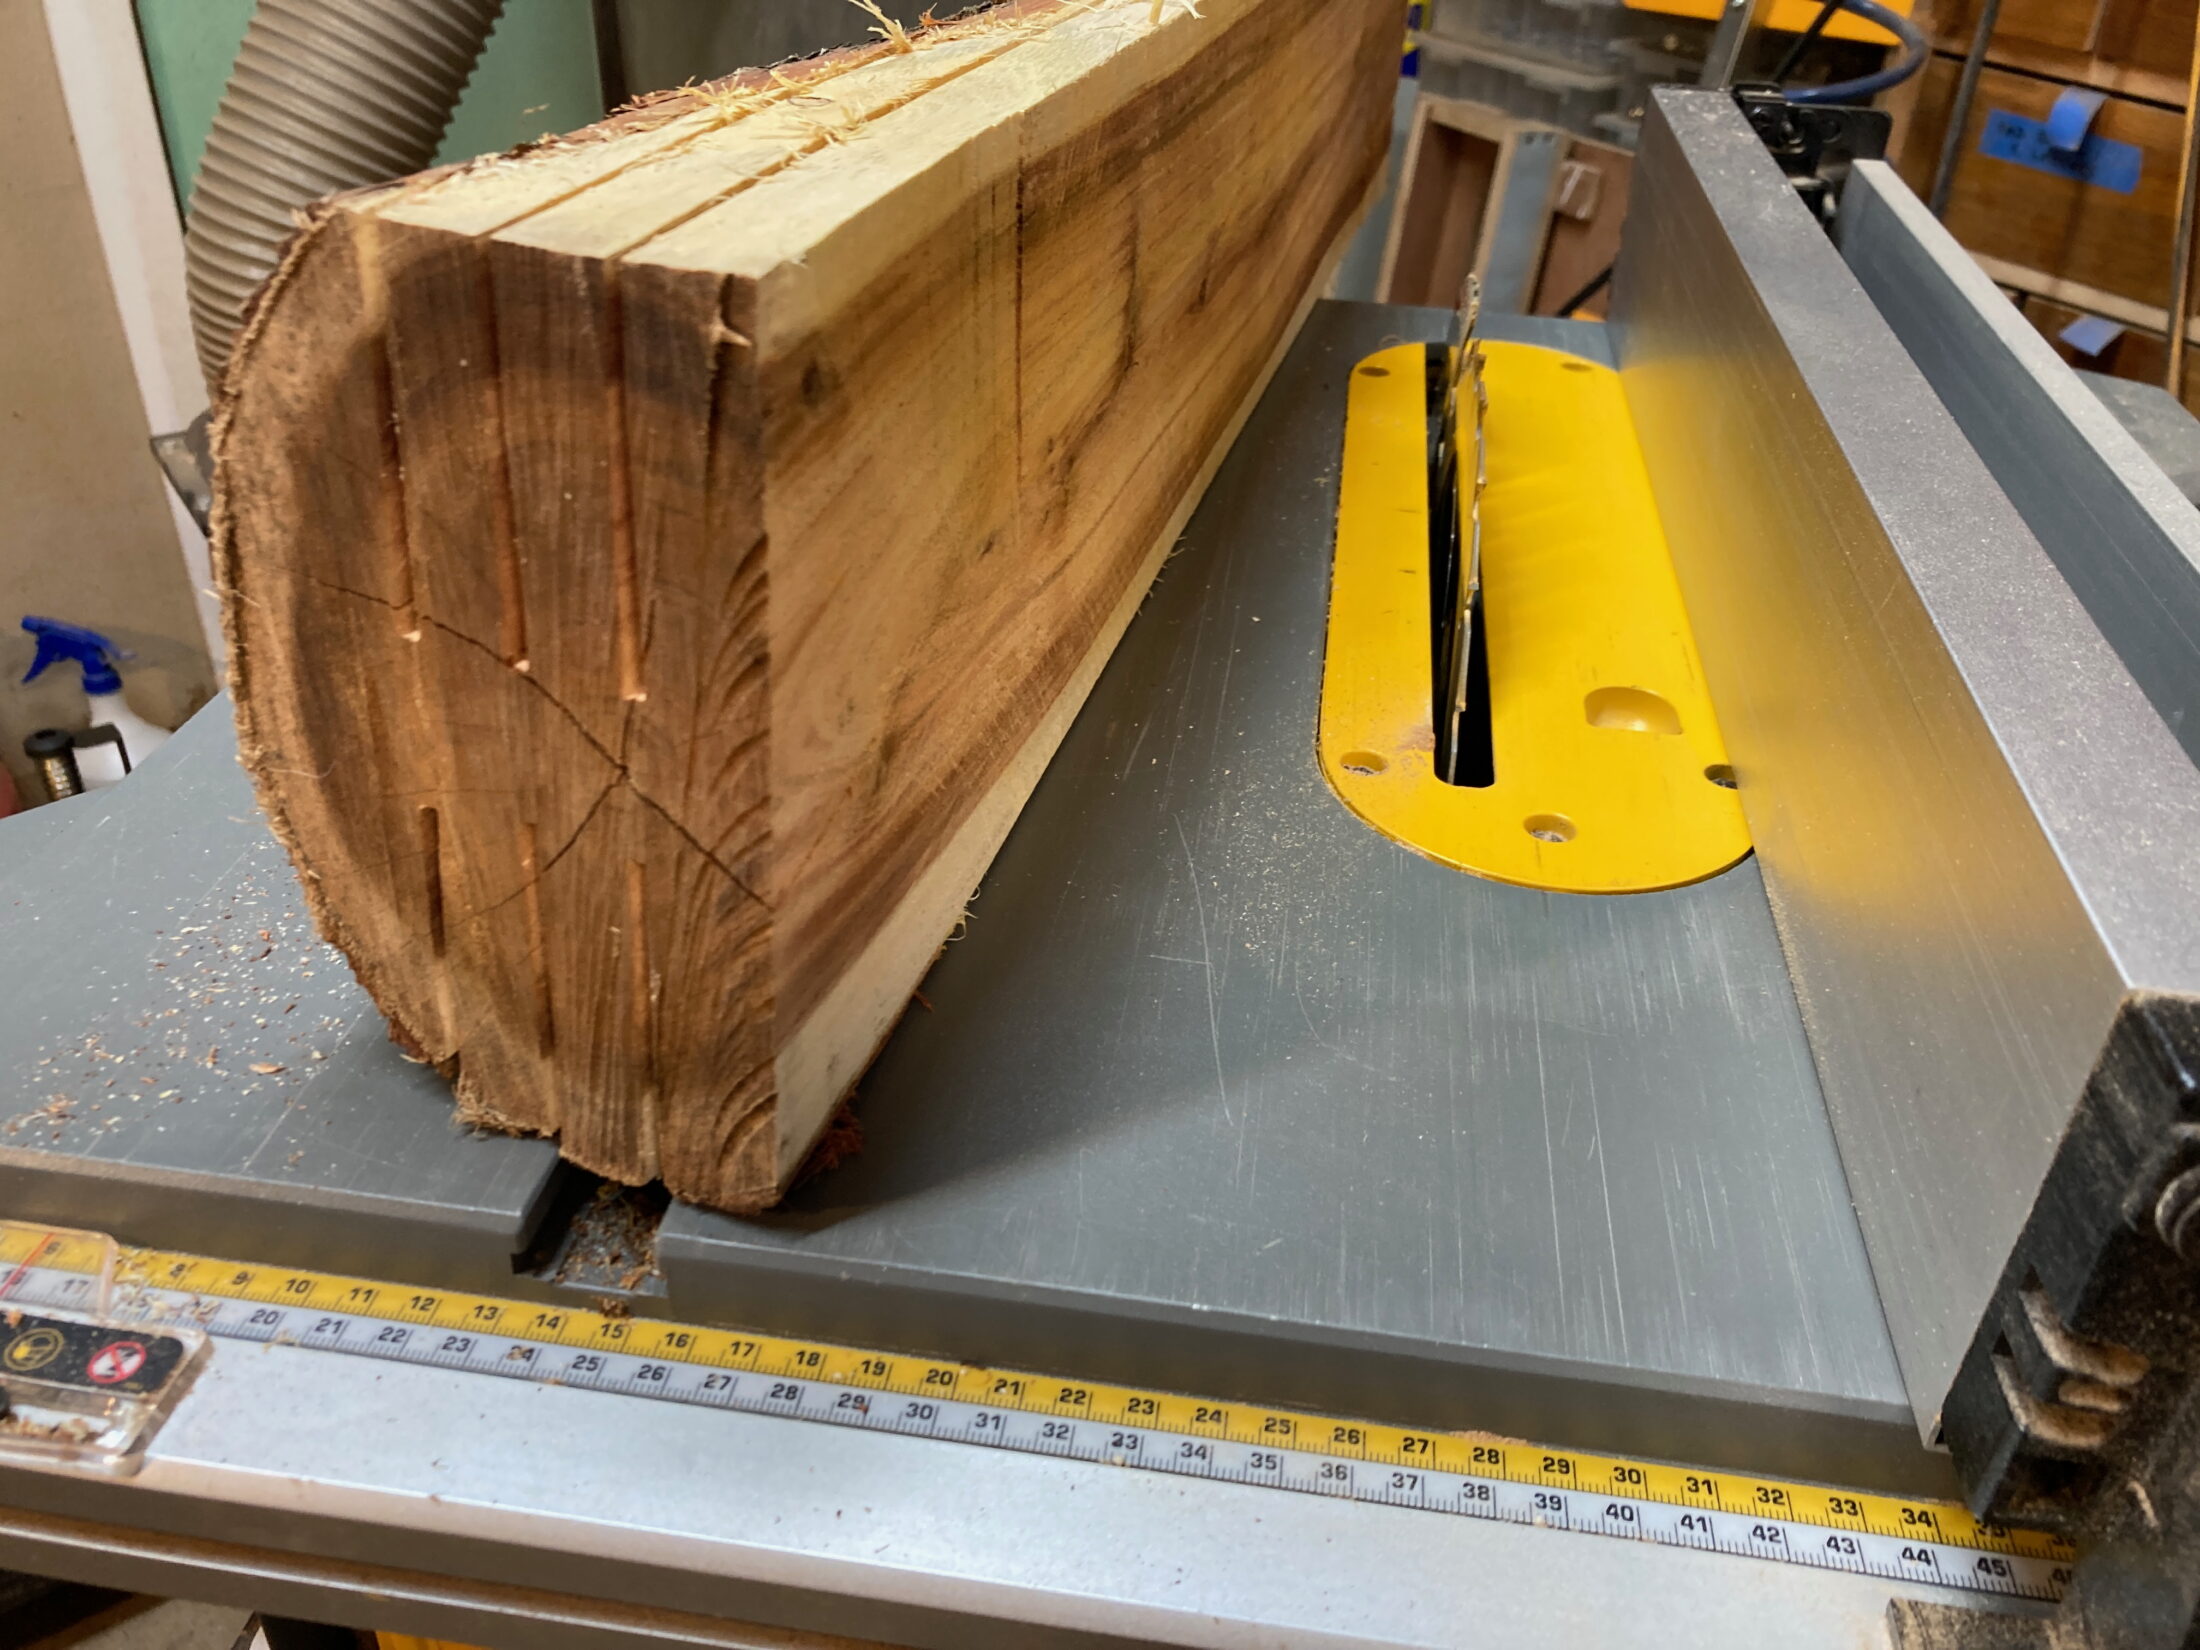
I cleaned up the bandsaw cut as best I could using the electric plane, and then flattened another face. I now had three flat faces to work with.
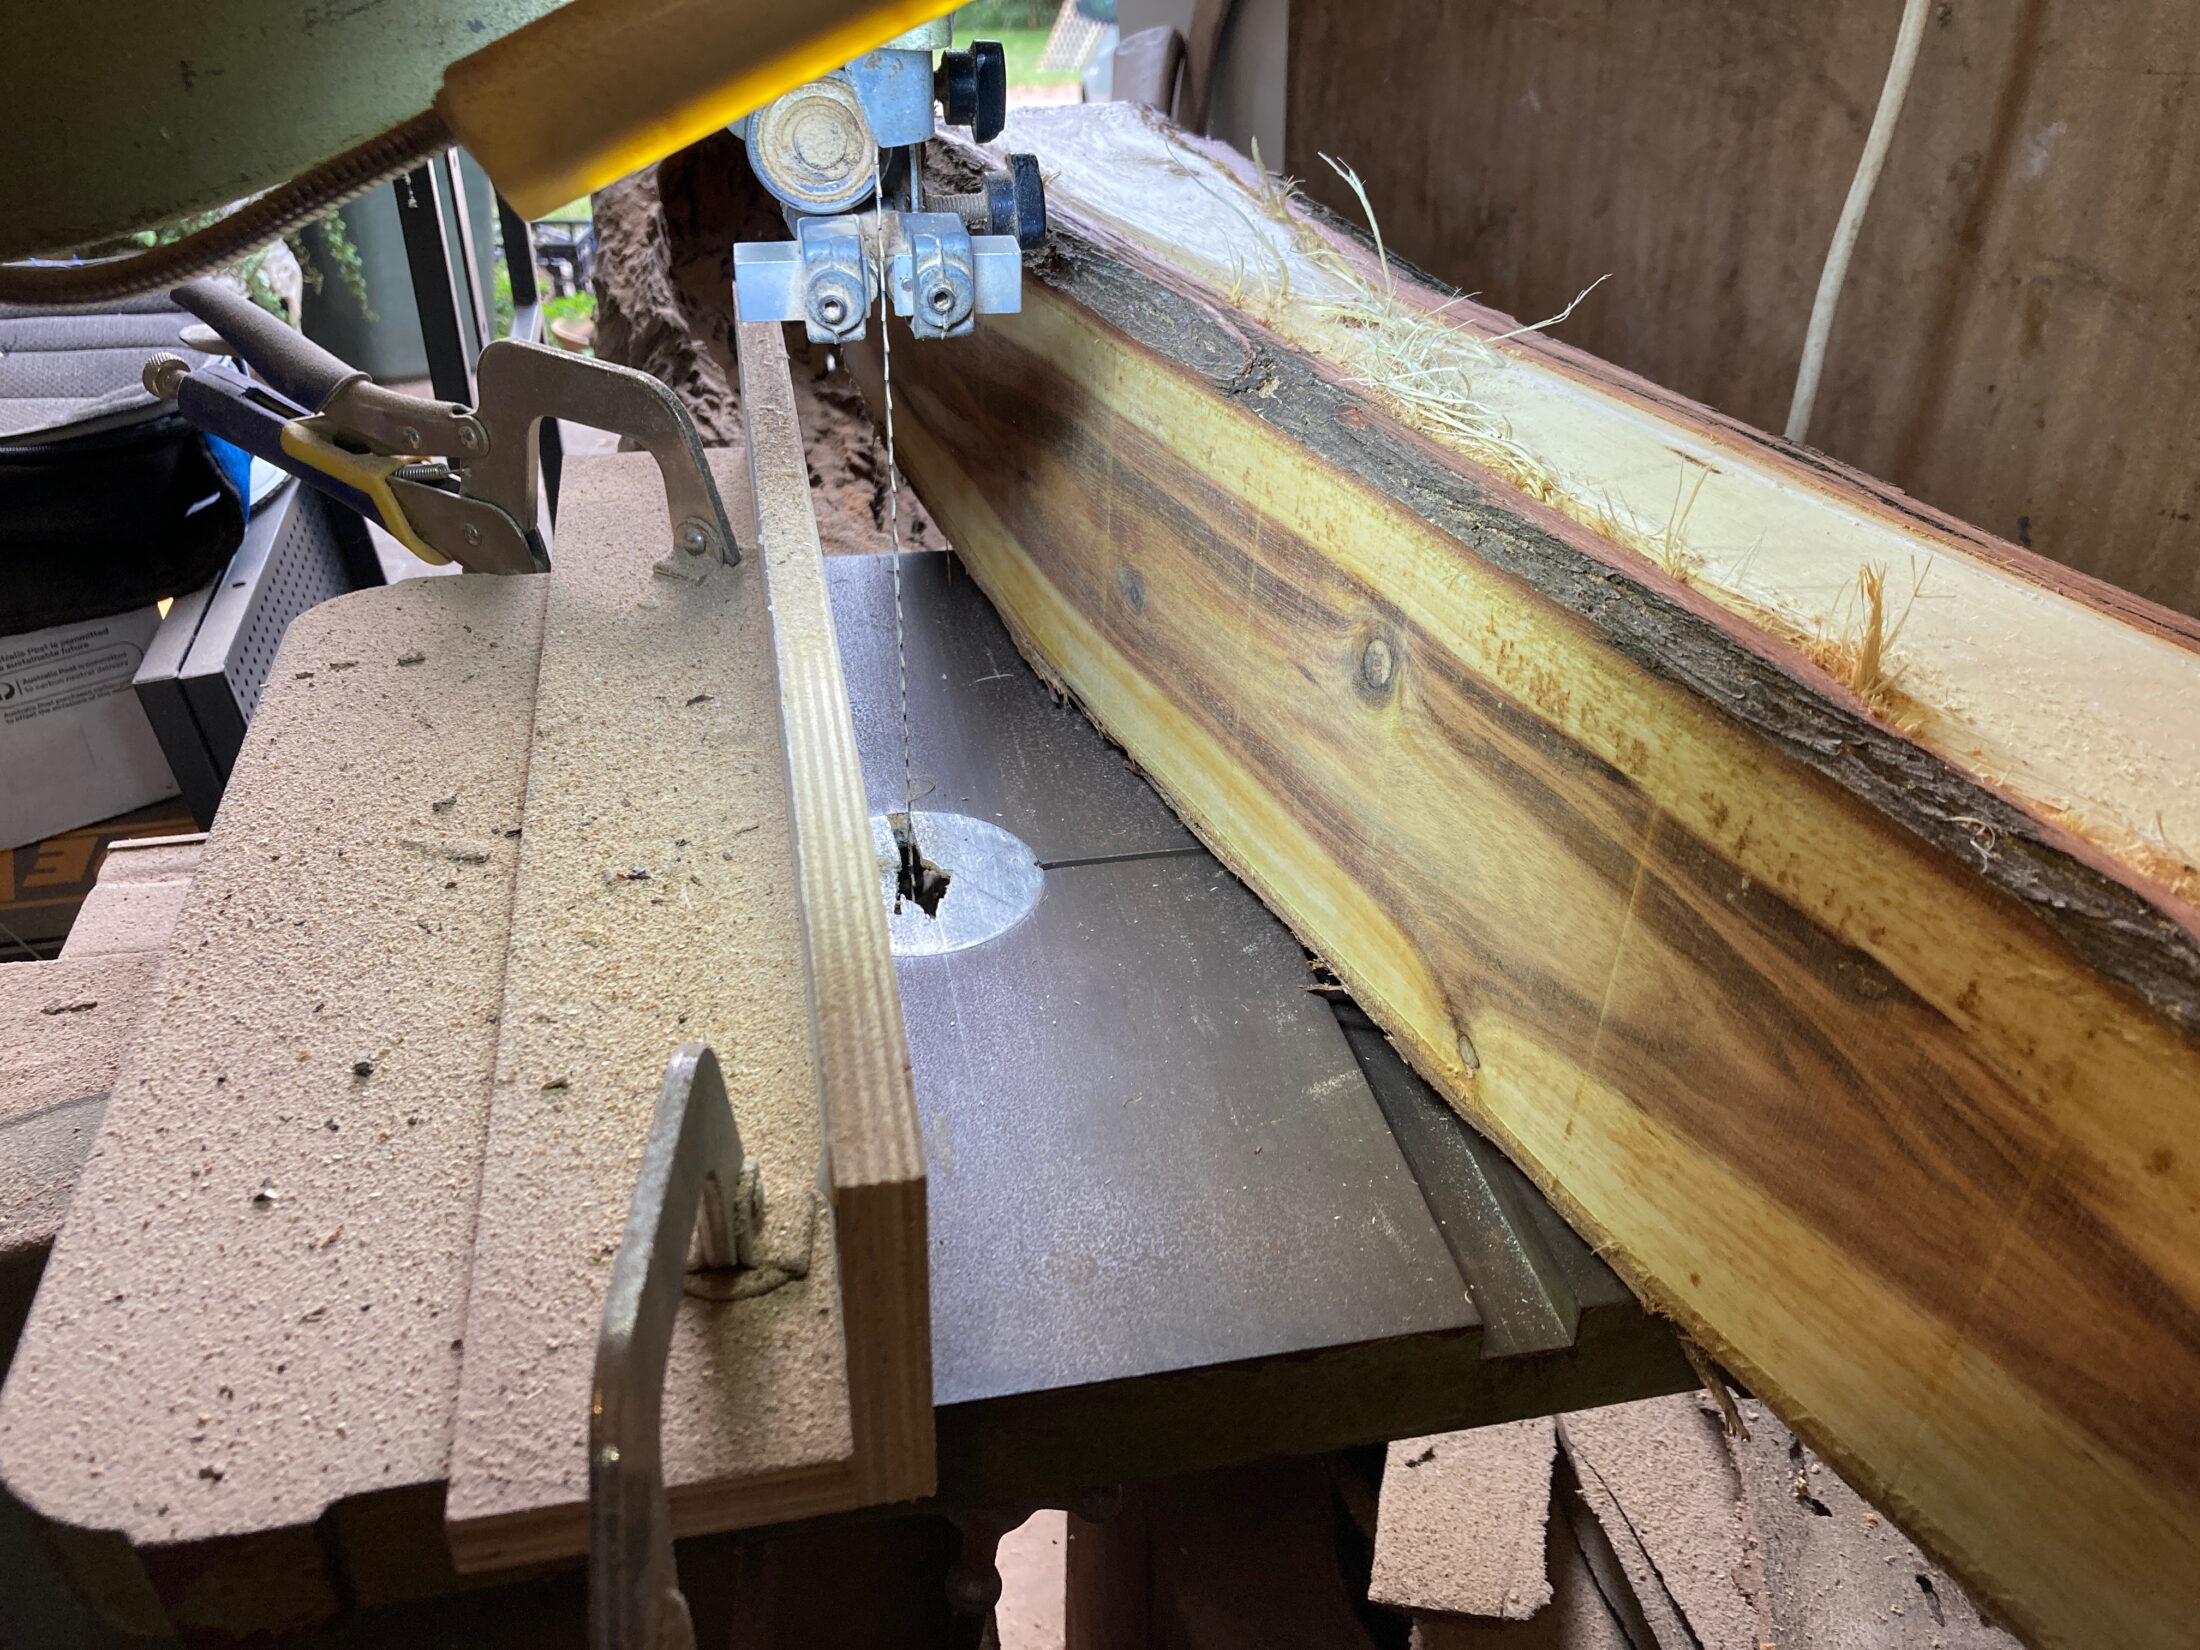
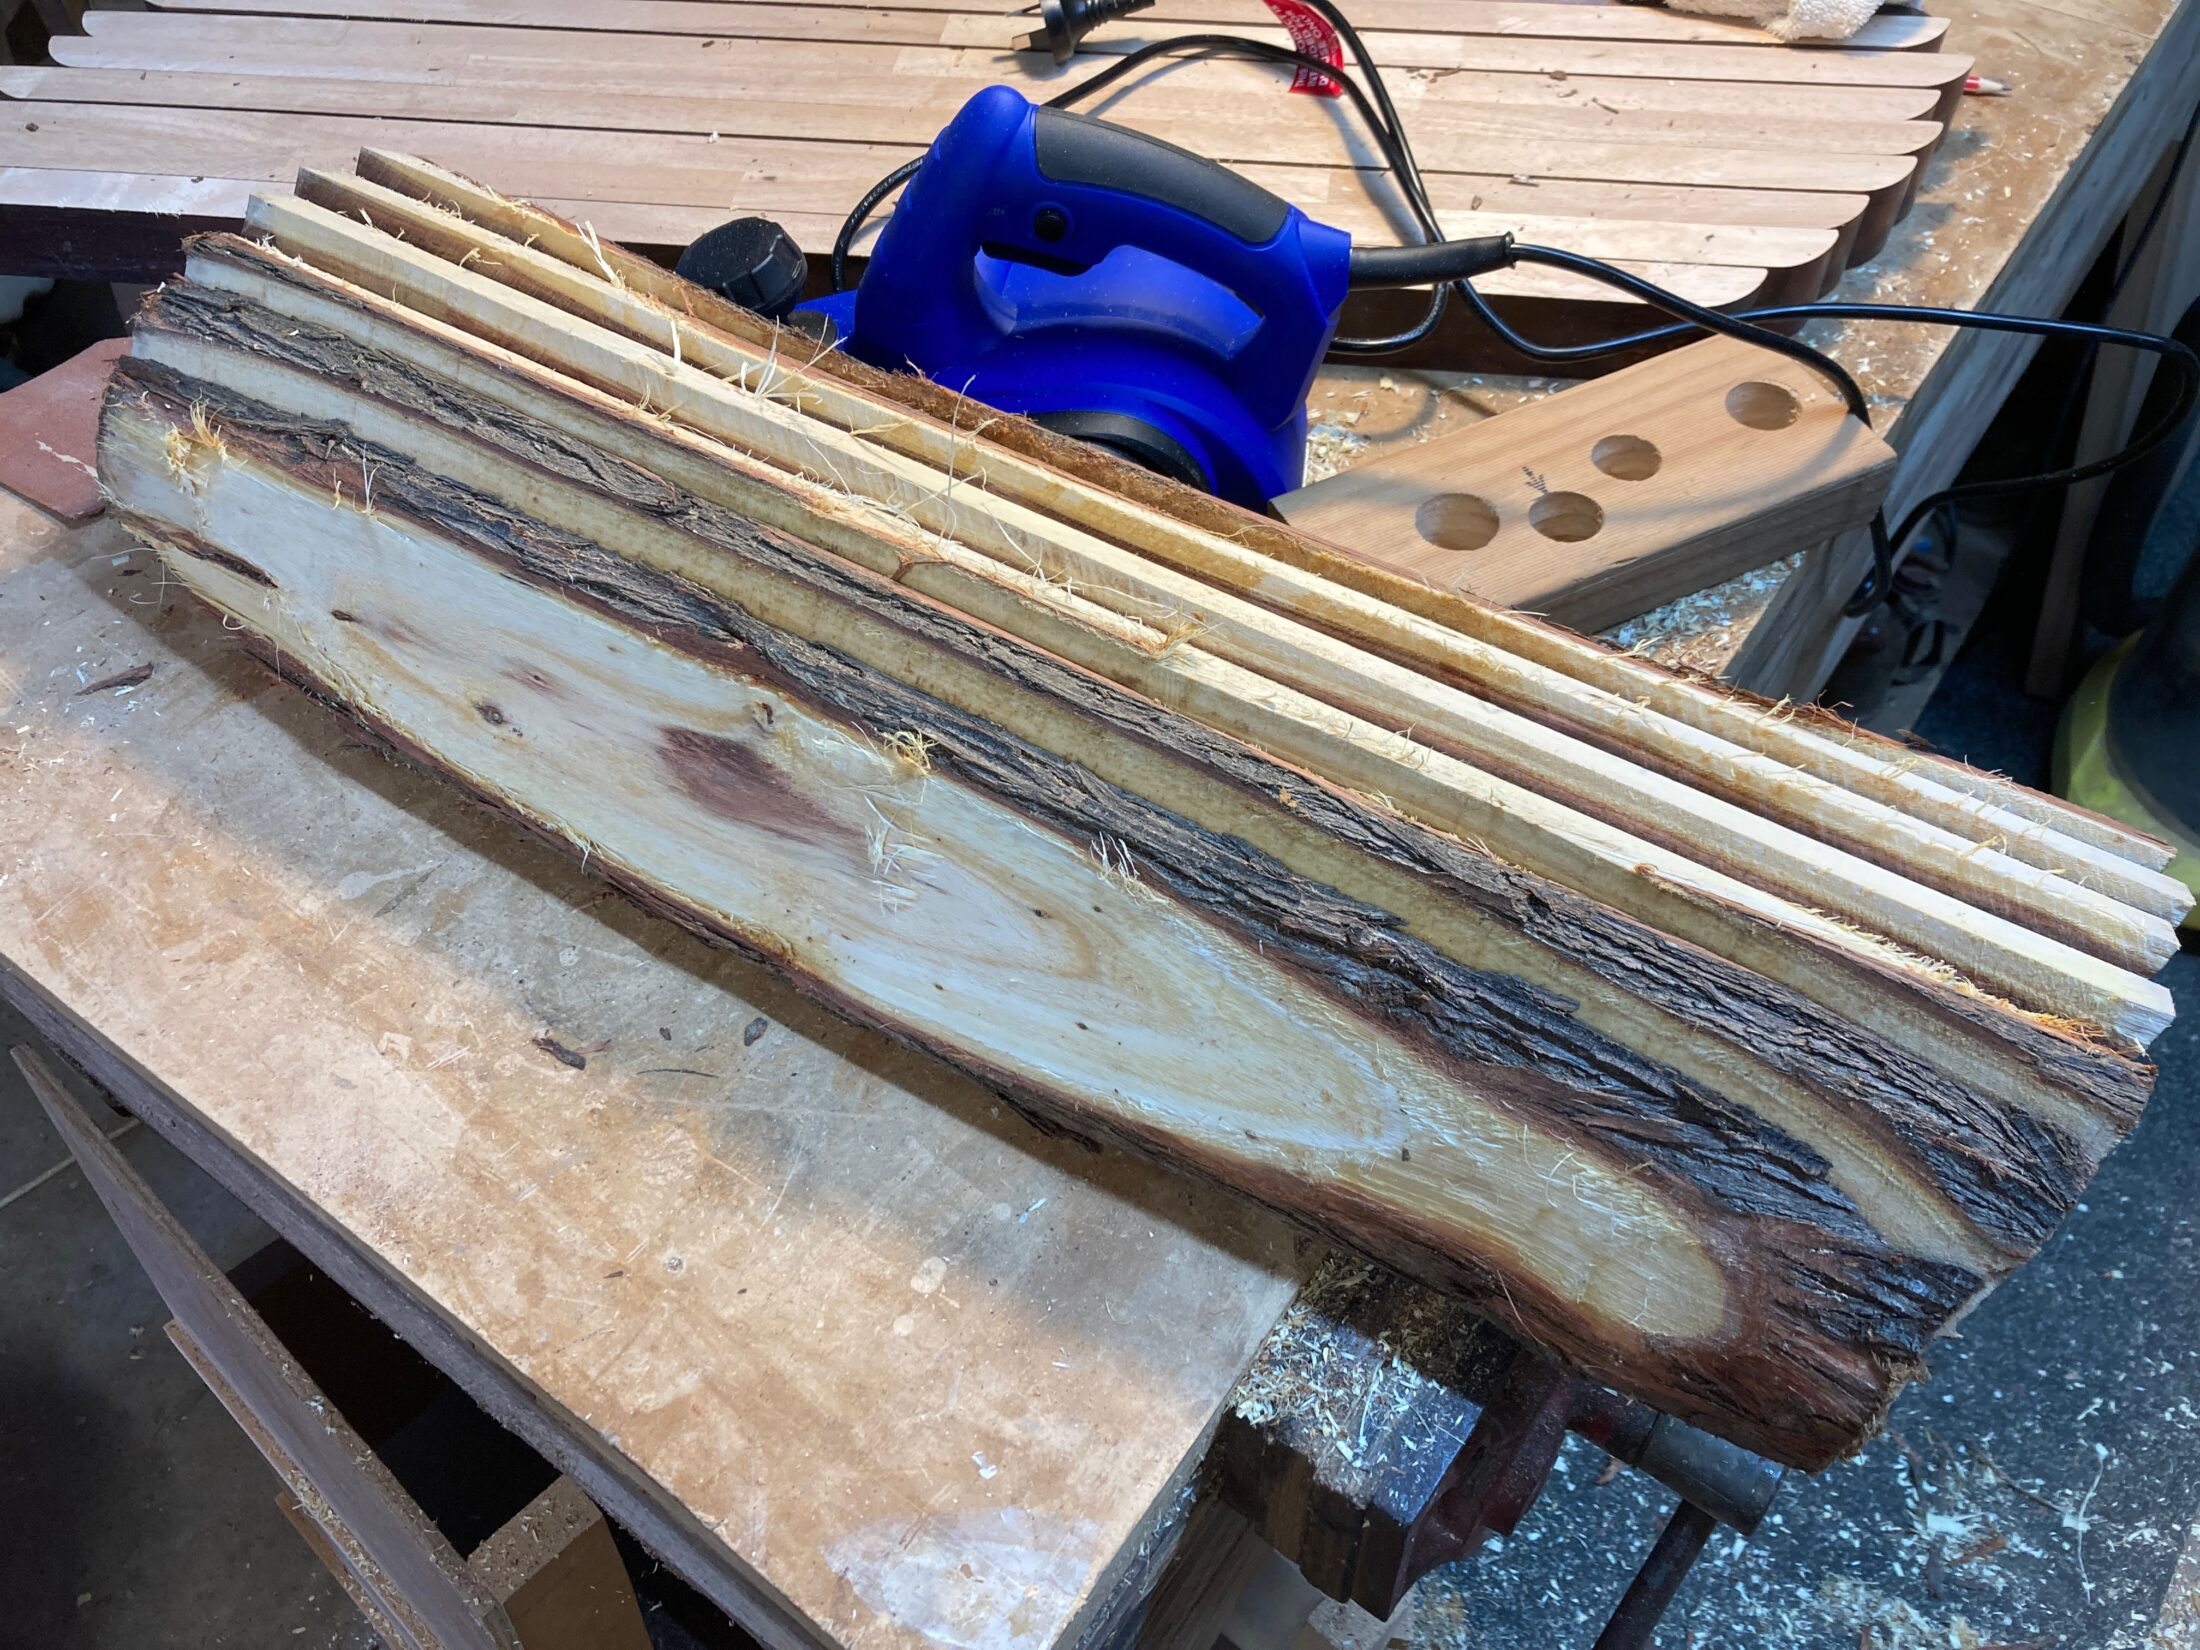
I ran the log through my table saw, only cutting a couple centimetres of depth on opposing sides, raising the blade, and repeating again on both sides, until I had cut completely through.
I realised that if I kept cutting in this way, the log would get narrower, and I’d have less control and my cuts would not be square.
So I made the remaining cuts without cutting right through, keeping the log in one piece. I just moved the fence over for each board. This meant I could handle the log safely, and the cuts were consistent because they were all referencing off the same flat face.
It was a simple matter to then finish the cuts on the bandsaw. The table saw kerf is thicker than the bandsaw blade, so it was only cutting through about two centimetres of wood, which didn’t cause any strain on the saw. If you don’t have a bandsaw, you could easily finish the cuts with a hand saw.
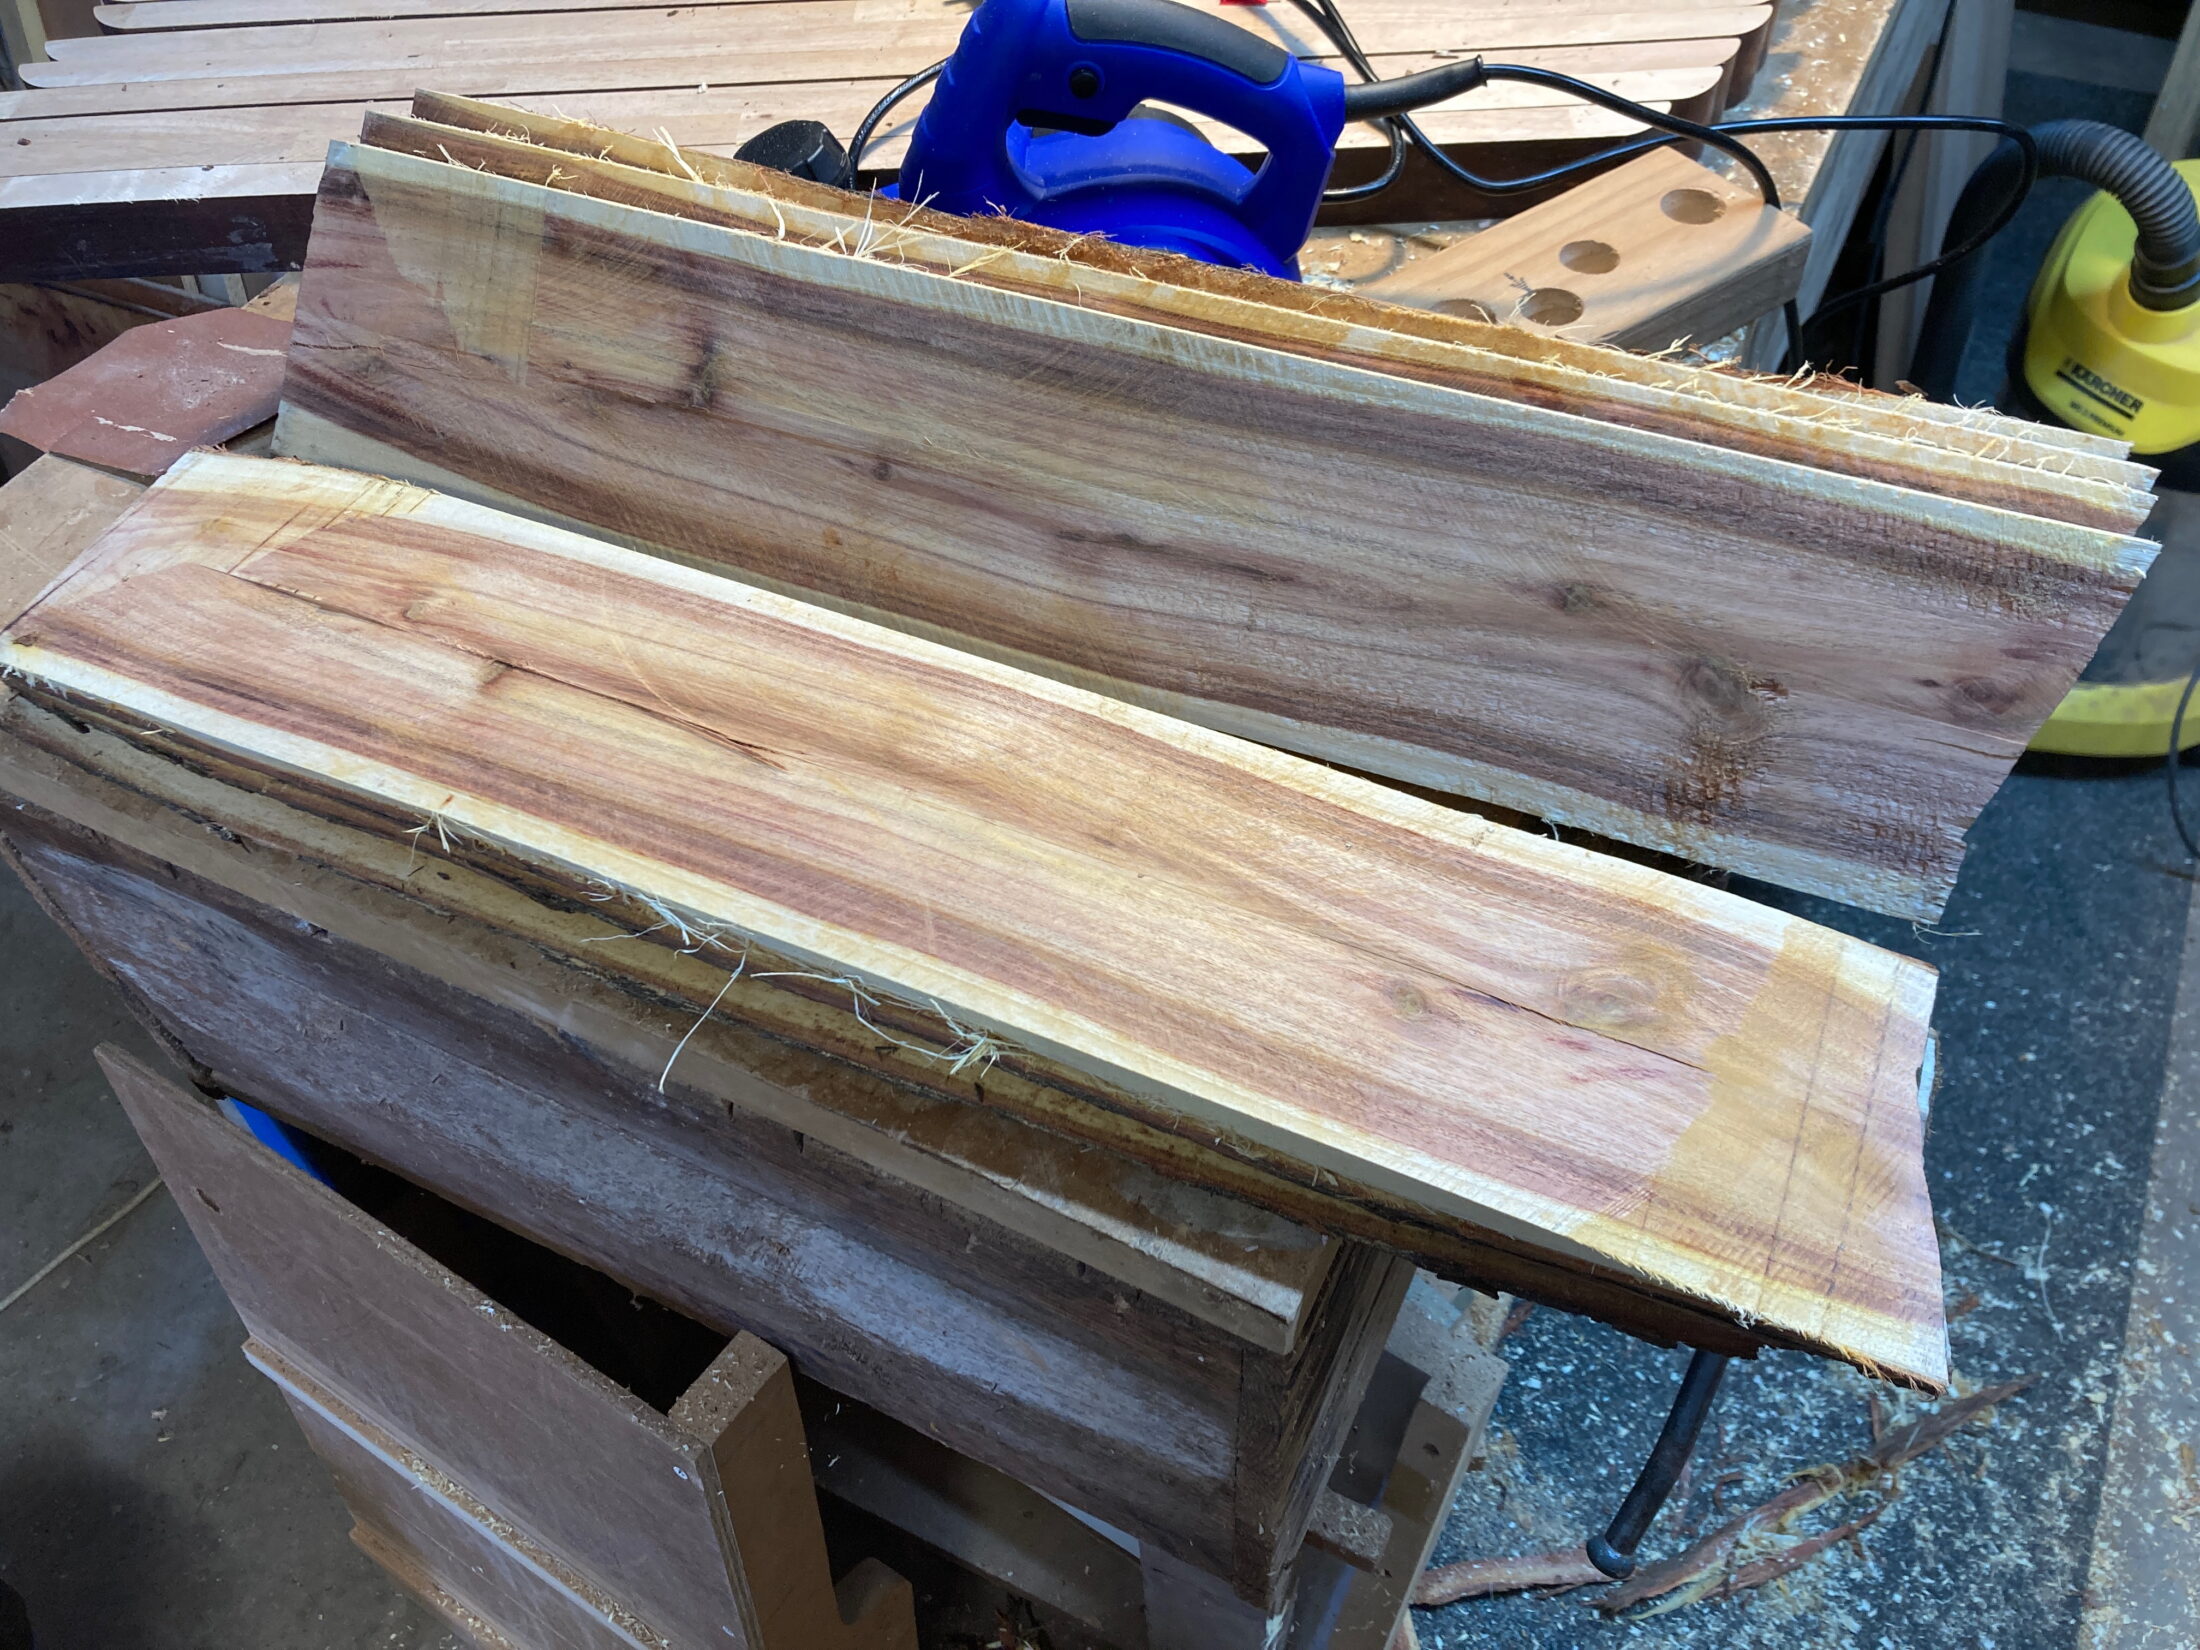
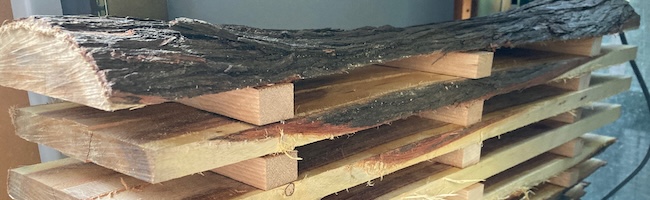
I then stacked and stickered the boards so they would dry evenly.
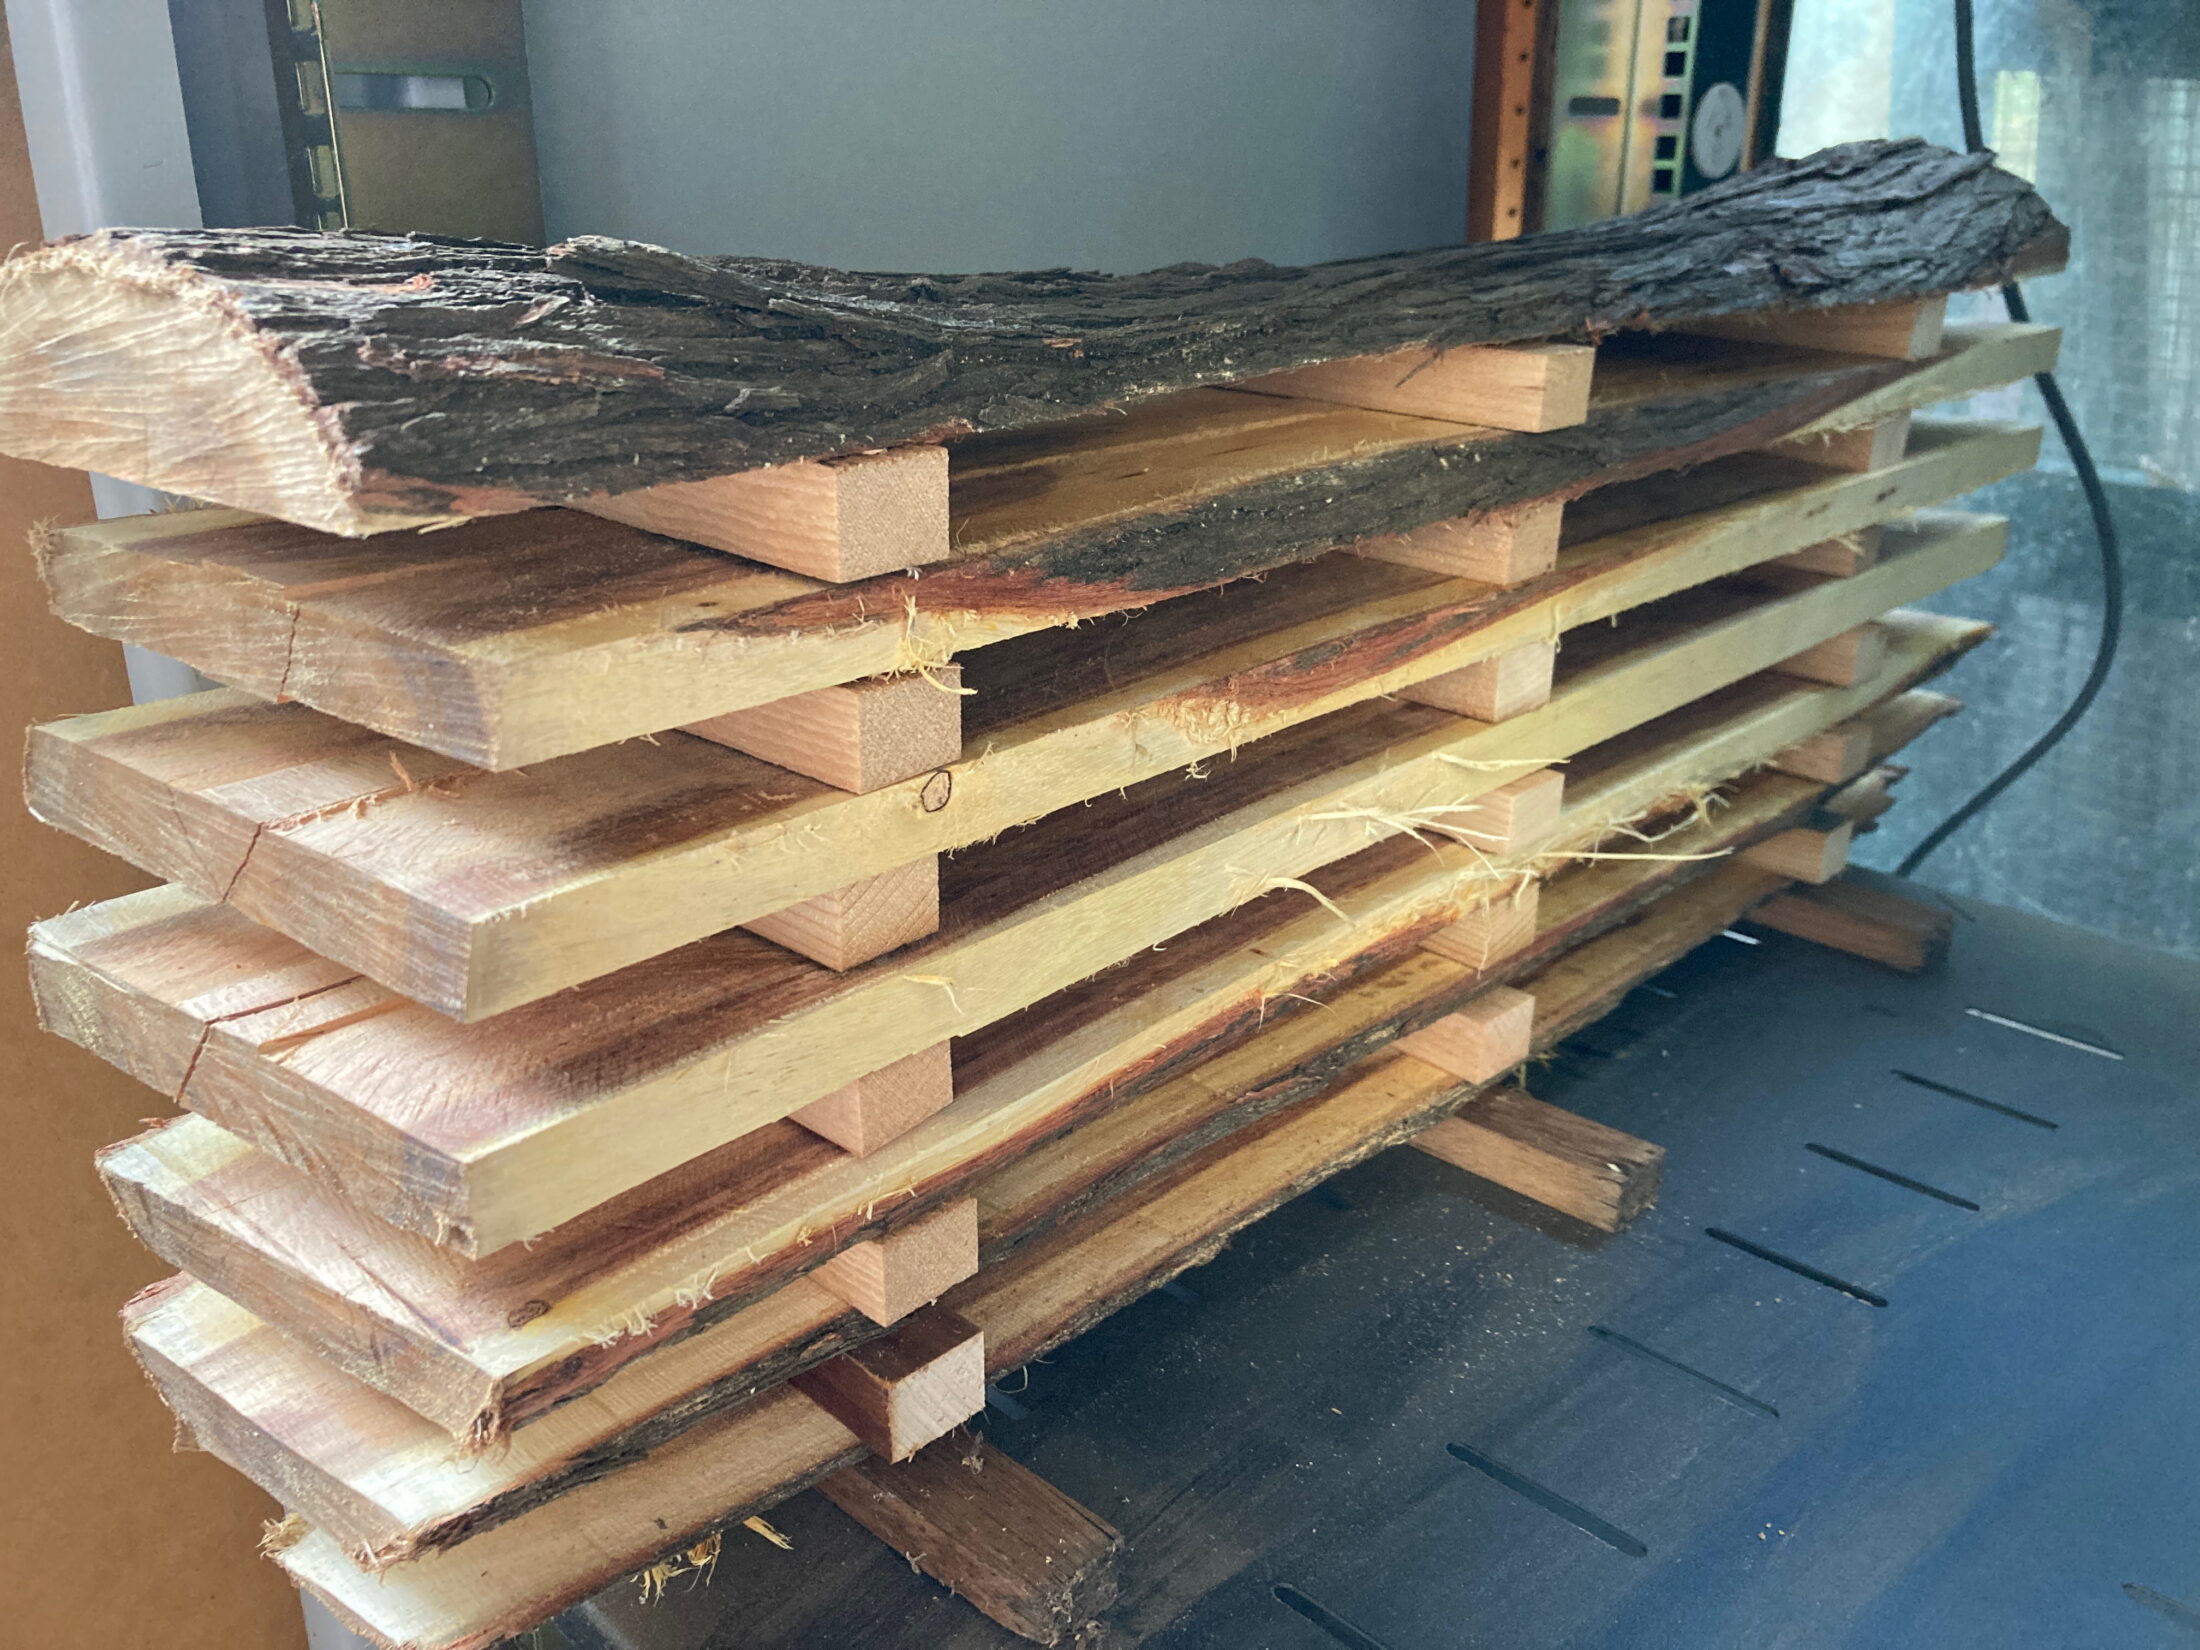
I didn’t take a photo of it, but I also wrapped fencing wire around the bundle to hold the boards firmly in place. This should help stop them from twisting as they dry. As the boards lose moisture and shrink, the fencing wire can be tightened so it continues to hold them firmly – similar to what John Daniel did when milling juniper.