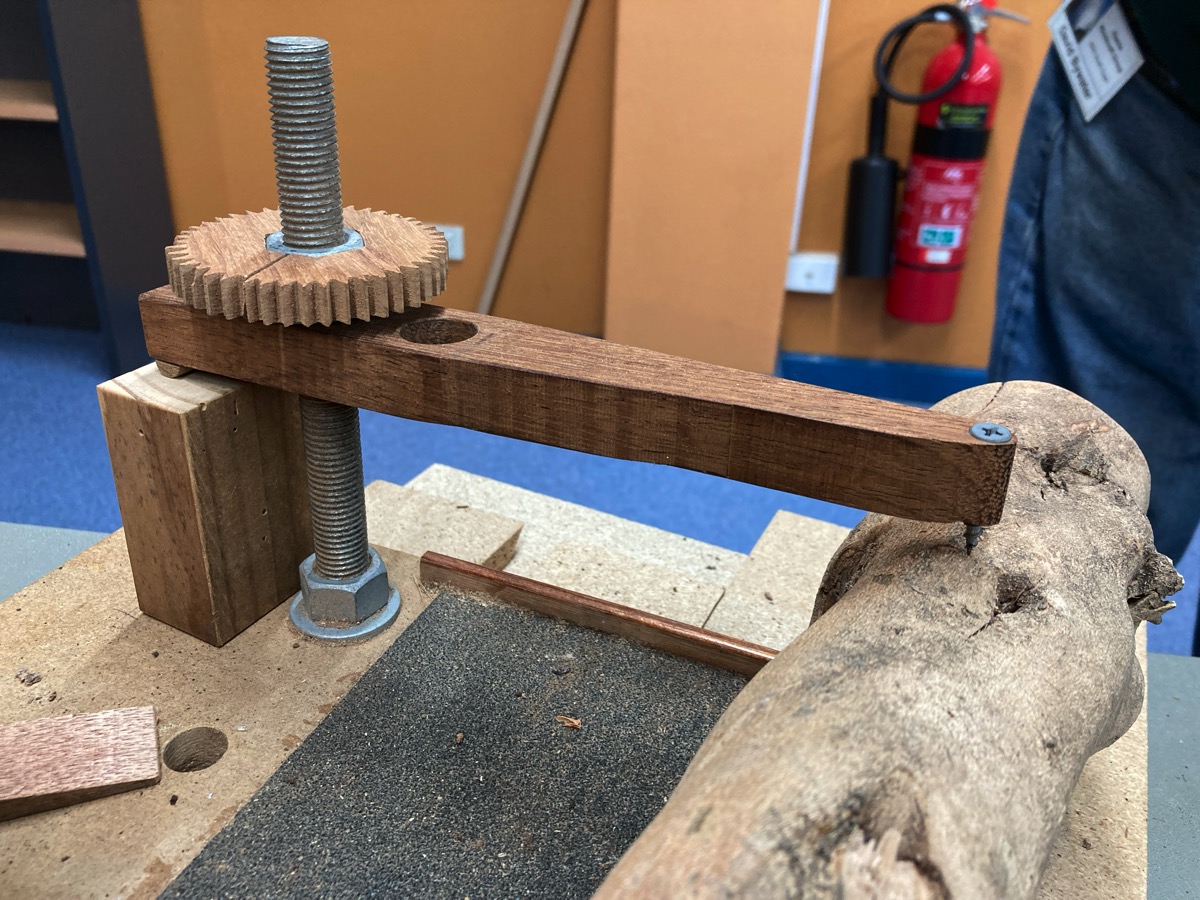
At a club meeting a while ago, Tony Walsh brought along a bandsaw milling sled he had made, and offered a box of spare parts to anyone wanting to build something similar. There were no other takers, so I thankfully accepted the box.
I took a bunch of photos of Tony’s sled (I can never remember details after the event!):


When I got home and looked at the project, I realised that my current bandsaw only has a cutting depth of about 120mm – not much to work with! This stalled me for a while as I considered options, including adapting a bandsaw riser block from a different model.
After many months of procrastinating, I spotted a great deal for a used bandsaw on Facebook Marketplace with a lot more cutting depth, a more powerful motor, and therefore much better suited to milling logs.
The project was back on!
I pulled out Tony’s box of bits and was into it.
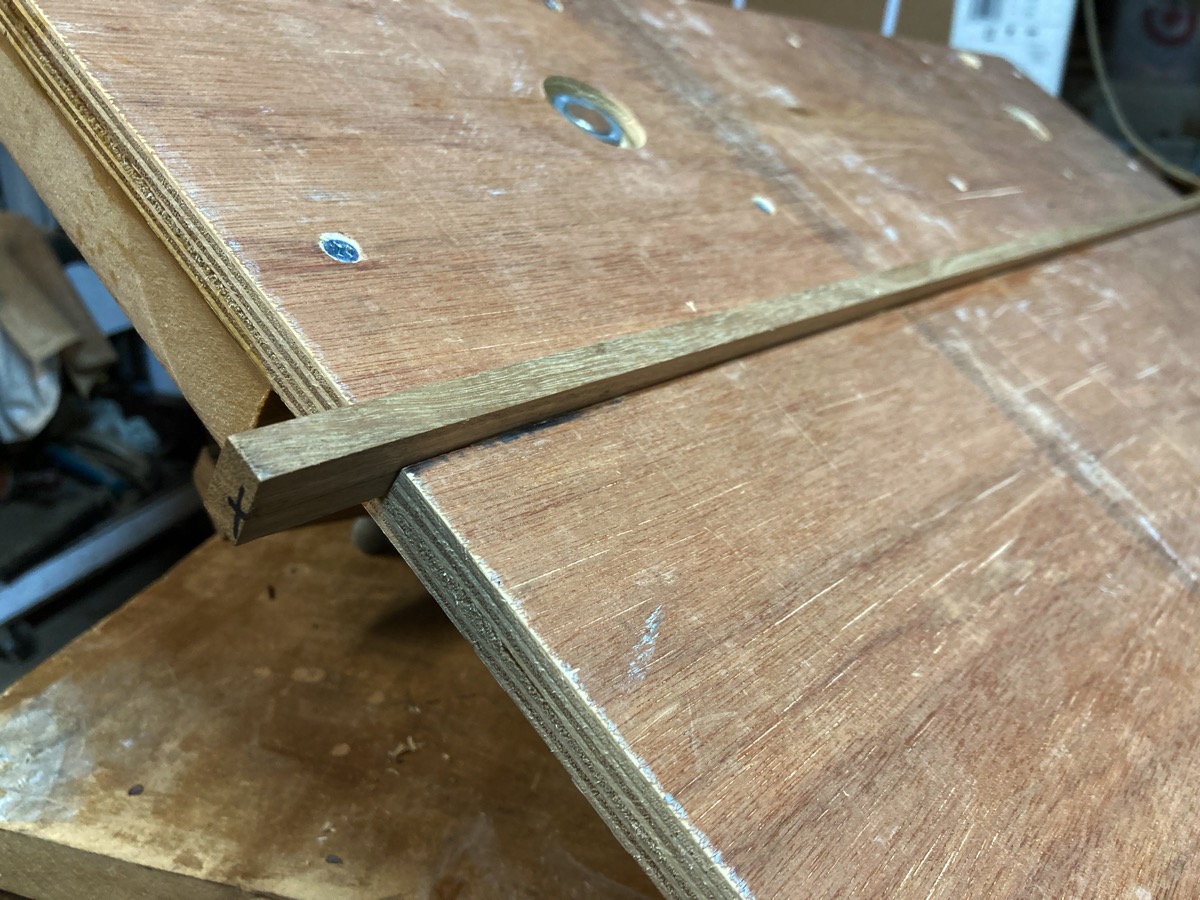
The first step was to find a suitably-sized scrap of plywood to serve as the base. This needed to be about 700mm long (the logs I want to process are up to 600mm long), and about 400mm wide (giving space for logs up to 250mm diameter, plus posts to mount the log-holding arms).
I then cut a groove in the bottom of the plywood on my table saw, and glued in a runner positioned and sized to the slot on the bandsaw’s table.
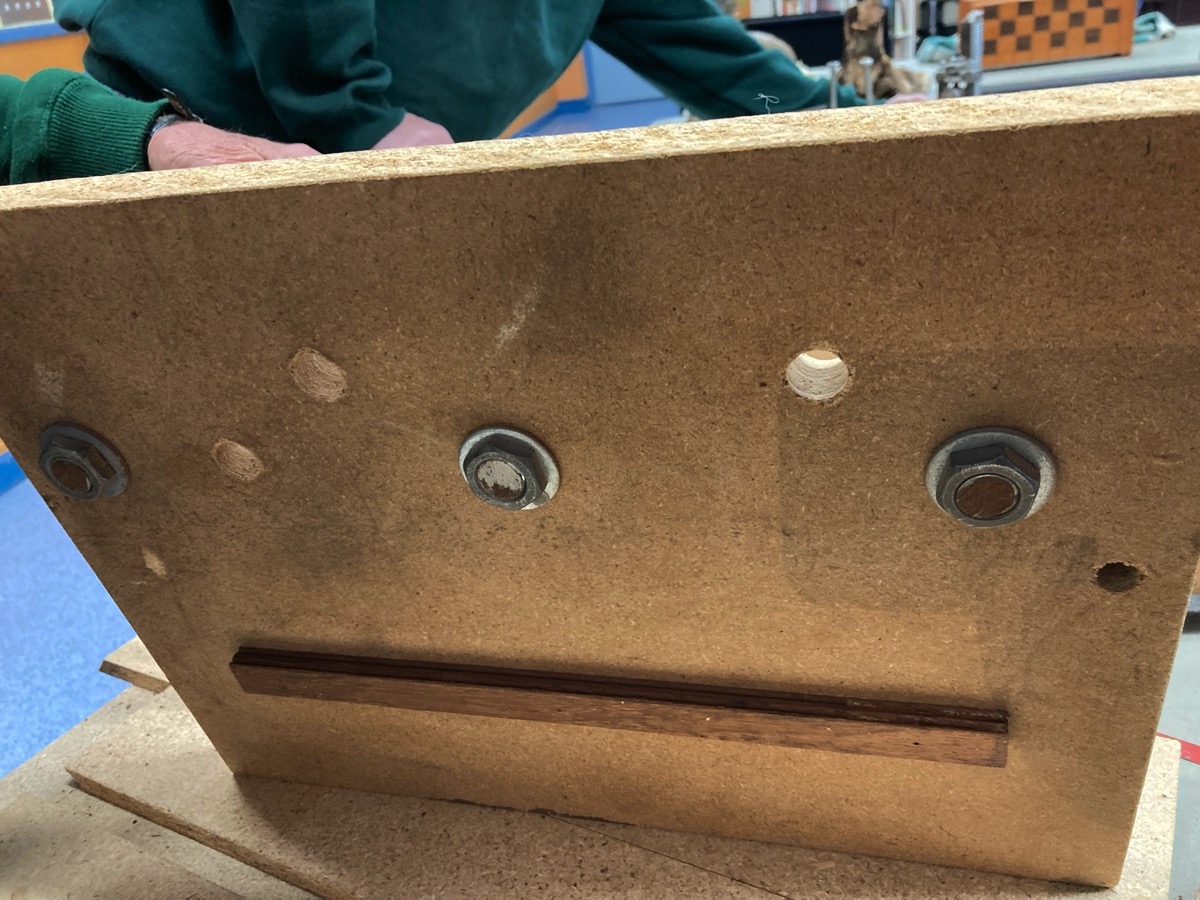
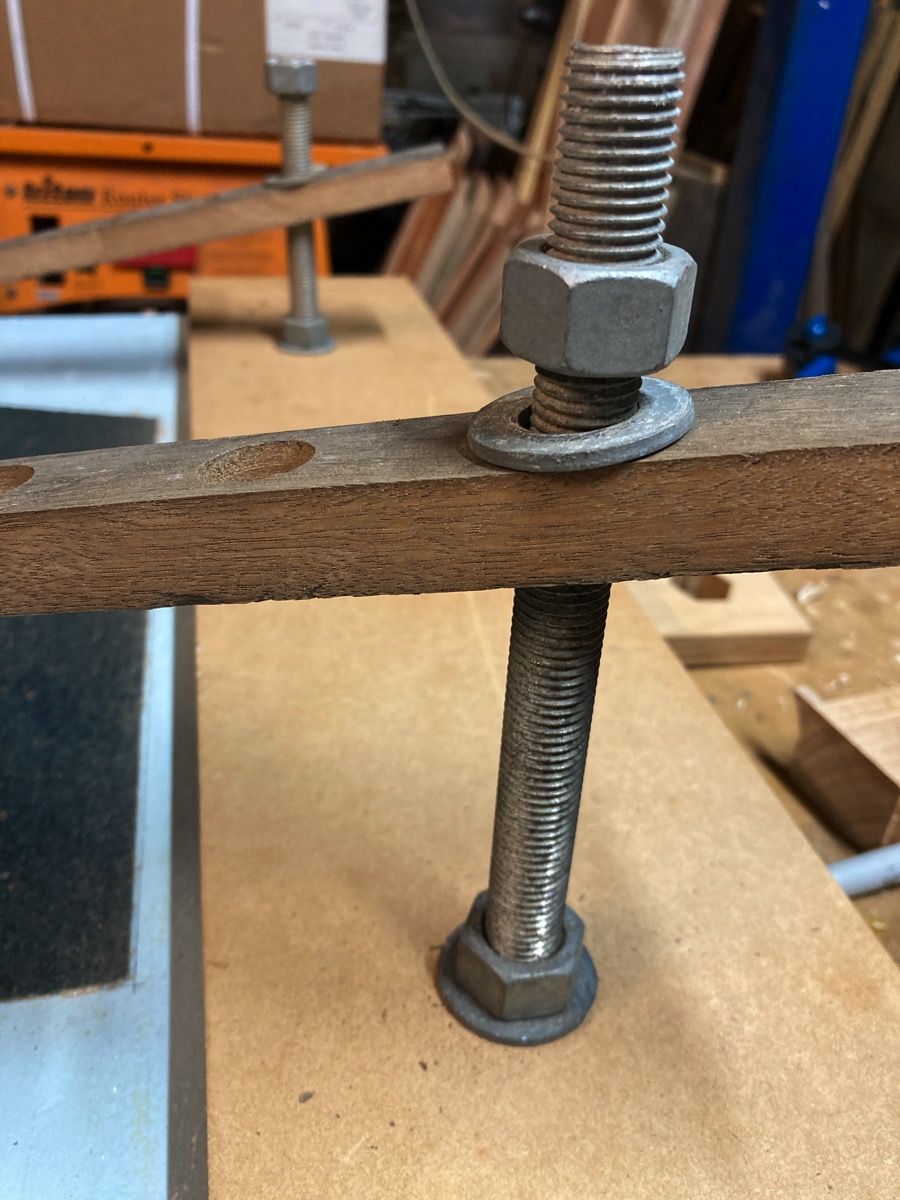
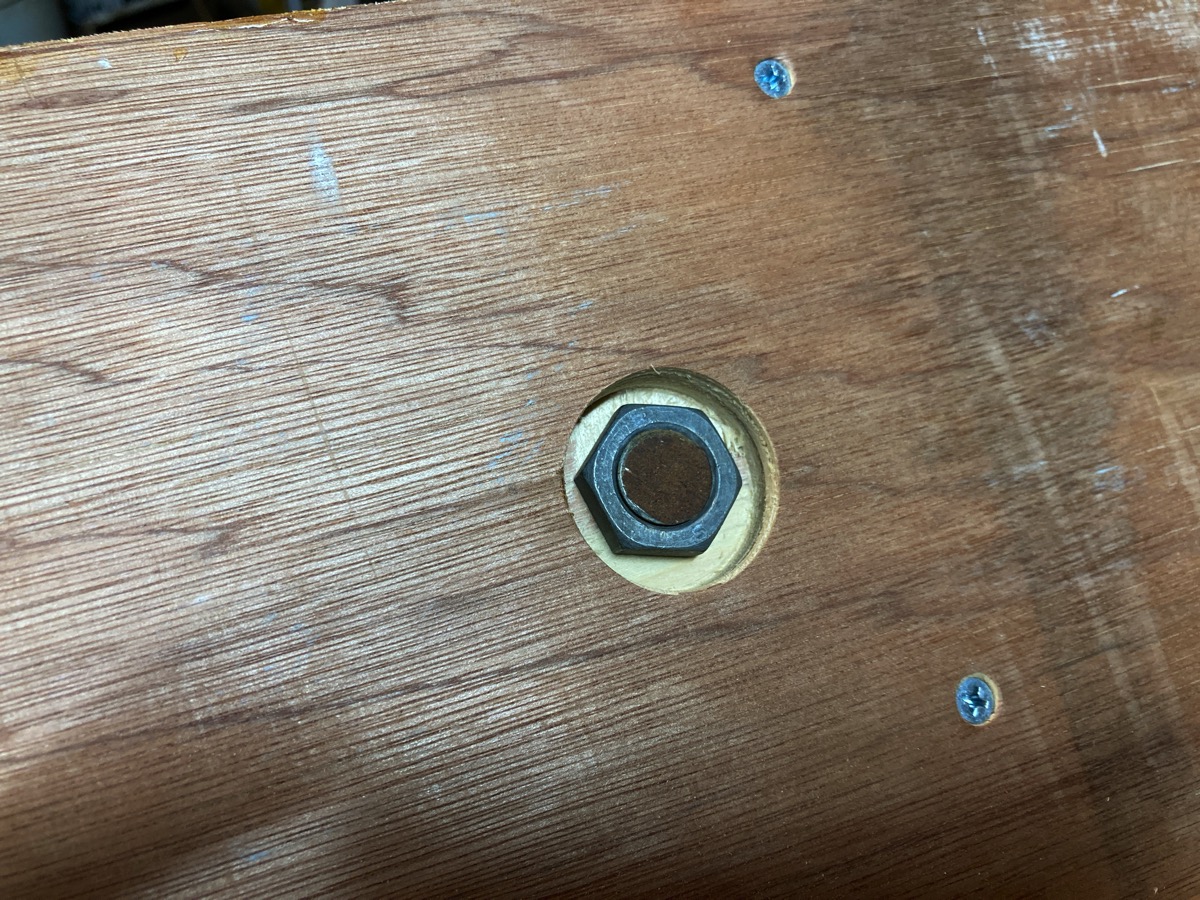
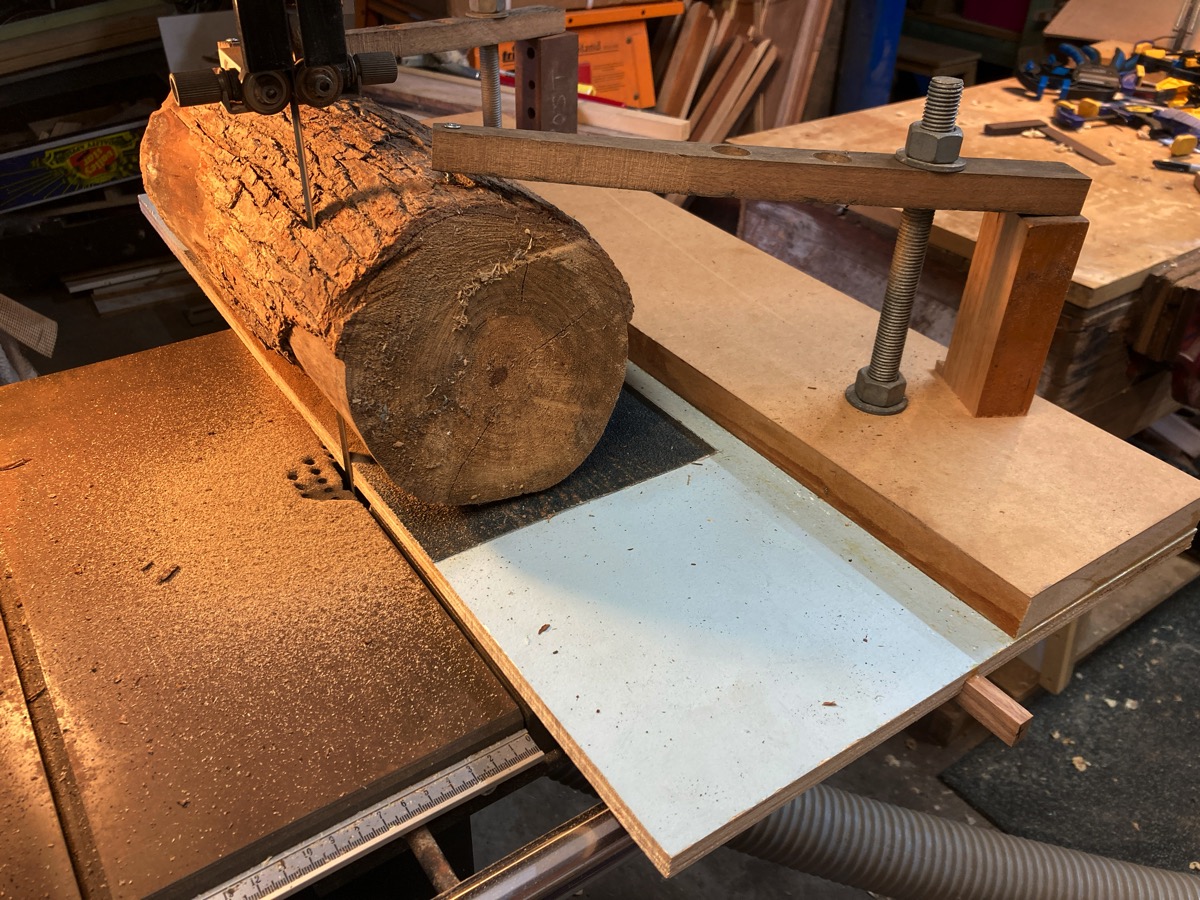
I then constructed the rest of the sled, following the photos I took of Tony’s project. A piece of MDF was glued onto the plywood base to stiffen the plywood and give strength to the threaded rods that would secure the log-holding arms. The rods are held in place by a recessed nut on the underside of the sled.
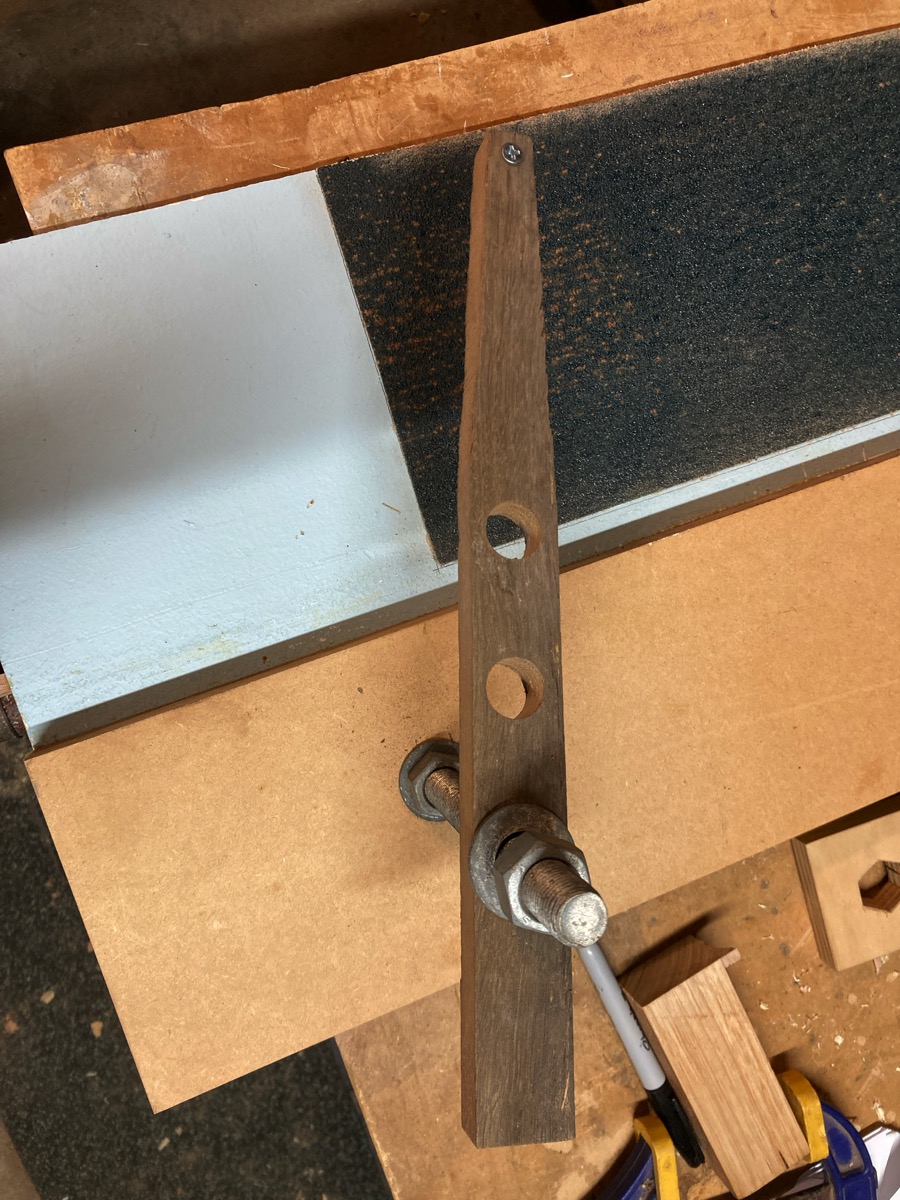
The log-holding arms are just lengths of hardwood with a screw driven through the end, to bite into the log and hold it firmly. I drilled a few holes in the arms to give some options when securing different sized logs.
Tony’s supply box contained a piece of sandpaper to glue to the base, which prevents the log from slipping around while being cut.
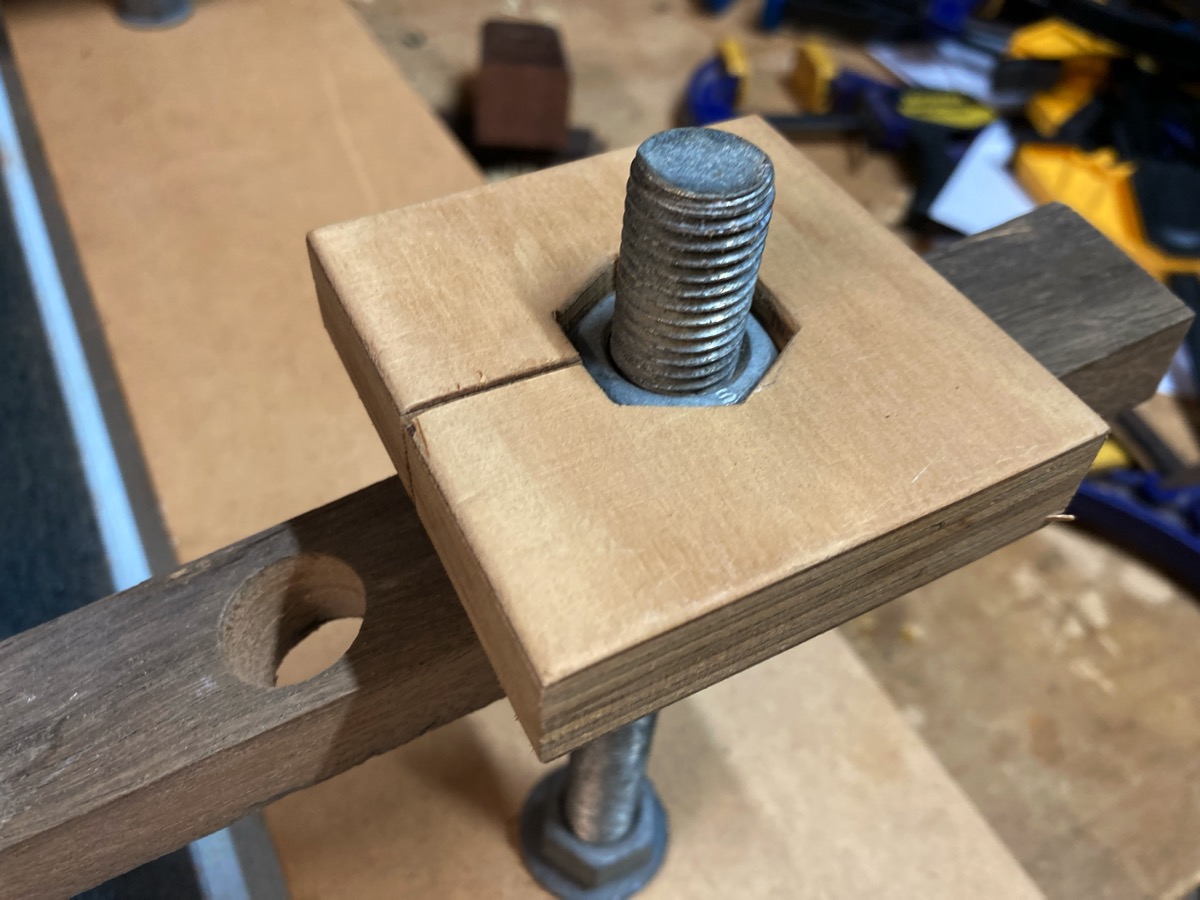
Tony also provided a very handy wooden “nut handle”, to make quick work of tightening and loosening the nuts that hold the arms in place.

The sled was now finished – time to test it out!
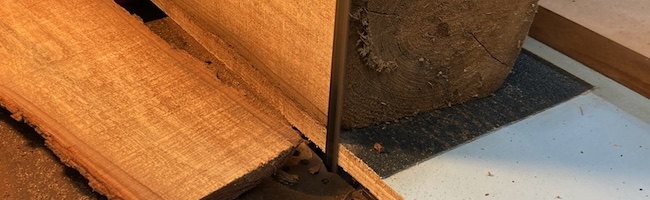
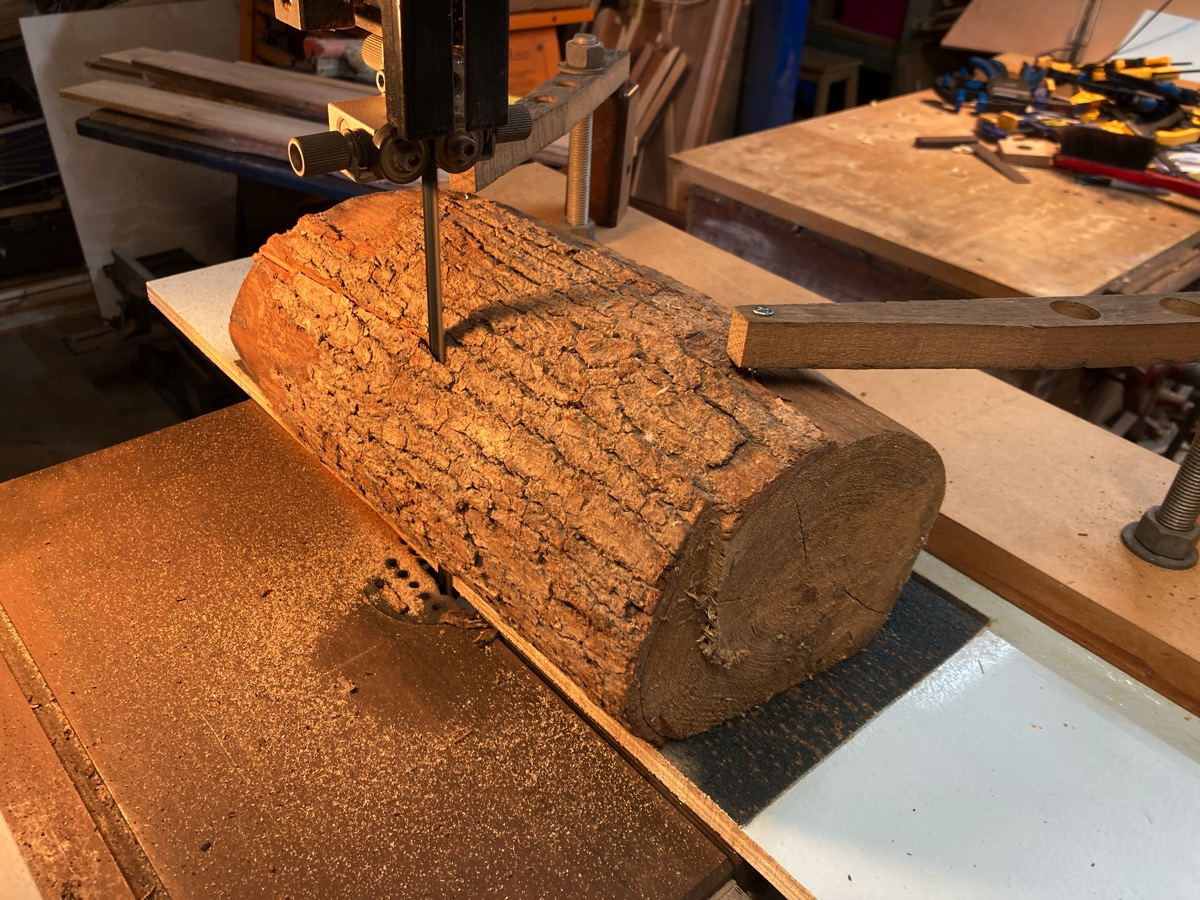
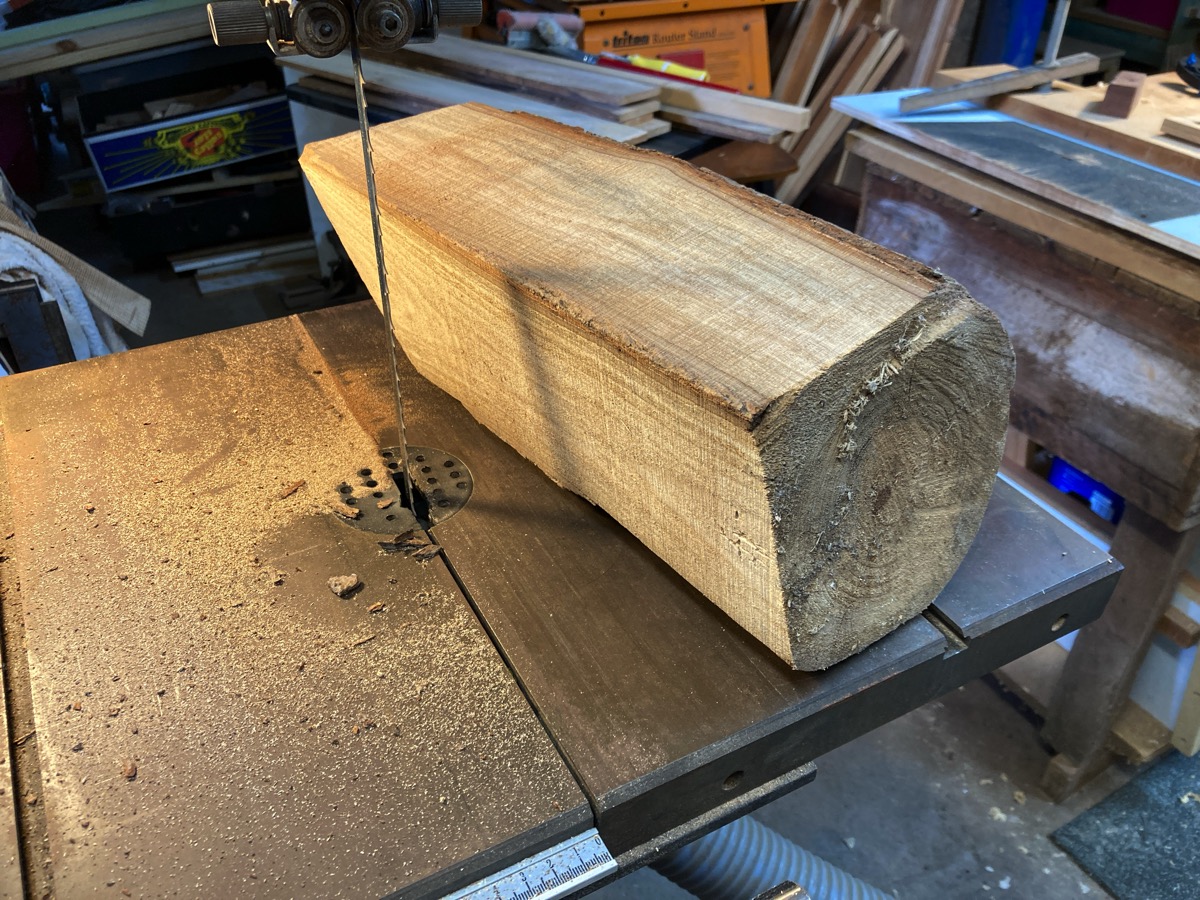
I had a piece of camphor branch from a KWG auction night that was a perfect size. I positioned it on the sled, lining up the sled edge with where I wanted the first cut to be, then tightened down the arms. It felt very securely held.
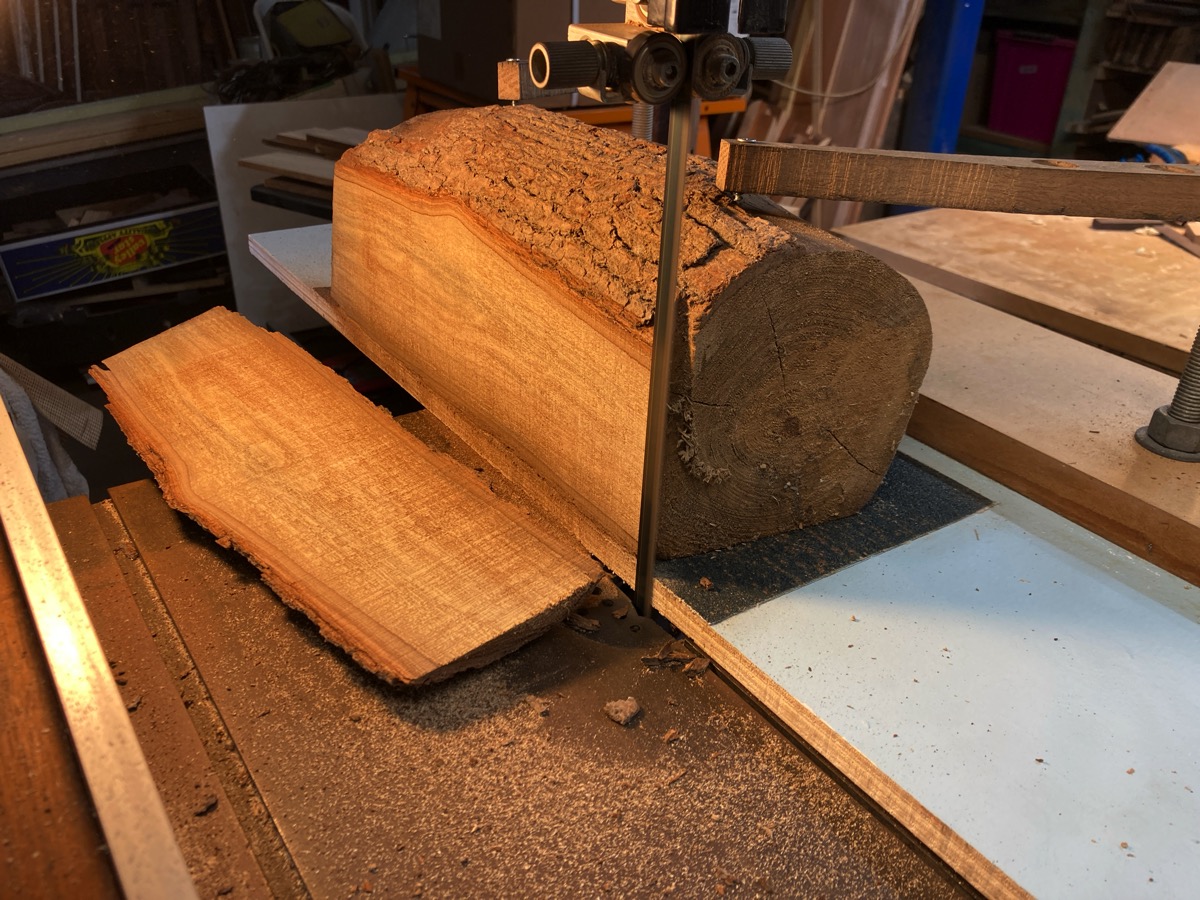
I cut off the first side, then rotated the log to lay on the now-flat face, and cut off the second side. This gave me two very flat faces at 90 degrees to each other.
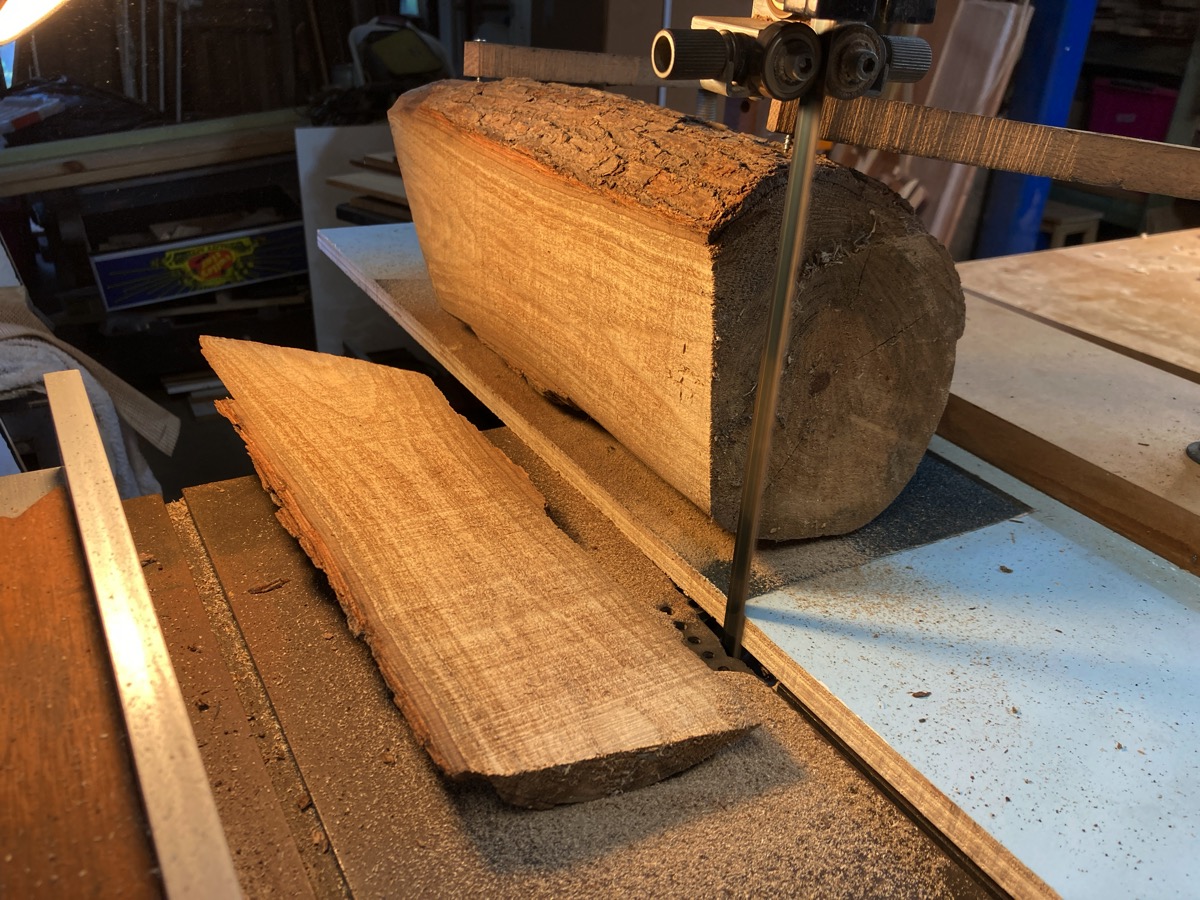


I then brought the bandsaw fence in to about 22mm, and used the two flat faces to run the log through and rip boards off it. The result was a very nicely milled log, with very straight and clean cuts – not much to clean up on the thicknesser!
Thanks again to Tony for the inspiration and the box of parts to get me started. This is a very handy sled, not just for milling logs but also for straightening up rough-cut or live edge boards for the table saw.